How to Hike Half Dome…And Live to Tell About It [Podcast + In-Depth Guide]
This website contains affiliate links from trusted partners. If you purchase through a link on this site, I may earn a commission at no extra cost to you. As an Amazon Associate, I earn from qualifying purchases. See my Privacy Policy and Disclosure for more information.
So, you’ve got your sights set on the iconic Half Dome hike in Yosemite National Park, and you’re wondering if you can tackle it off of your bucket list!
Spoiler alert: You absolutely can…with some preparation!
With nearly 17 miles of rugged trail, jaw-dropping scenery, and that heart-stopping cable ascent at the end, you’ll need more than just a sturdy pair of boots—you’ll need a rock-solid game plan.
In this in-depth guide, we’ll cover everything you need to know to make your Half Dome adventure not just doable but unforgettable.
When I rolled with my RV into Yosemite, I had no clue that I was going to be completing one of the most iconic and dangerous hikes in the US.
Therefore, here is everything I learned from my half dome hike all in one day as a solo female hiker.
This isn’t just going to be a podcast episode and video – it’s going to be an intense deep dive into how to survive Half Dome!
Ready to conquer one of the most epic hikes in the world? Lace up those boots, grab some snacks, and let’s dive in!
Key Takeaways
- Half Dome is one of the most iconic hikes in Yosemite National Park.
- It consists of hiking 14 miles or more, gaining over 5,000 feet in elevation, and climbing the iconic Sub Dome and cables system. Because of this, it is considered one of the most dangerous hikes in the US.
- Hiking Half Dome requires a permit that is very hard to obtain…good luck!
- In order to hike this beast of a trail, you need to be prepared with the right gear and training.
- After this hike, be kind to yourself and your body ☺️
Listen to This Podcast Episode About Half Dome
Watch the Full Video
This podcast is also in video version and you can find it below👇
Important Parts in the Video and Podcast
- 00:00 – Welcome to Half Dome
- 0:45 – How to Get a Permit for Half Dome
- 4:11 – How to Train for Half Dome
- 6:35 – What to Pack for Half Dome
- 17:35 – My Biggest Regret for Hiking Half Dome
- 19:38 – Tips for the Half Dome Hike Itself
- 22:40 – How to Recover from Half Dome
If you don’t want to watch the video or listen to the podcast, don’t fear! I will give you all of the important information now about how I survived Half Dome (and how you can too!)
What is Half Dome?
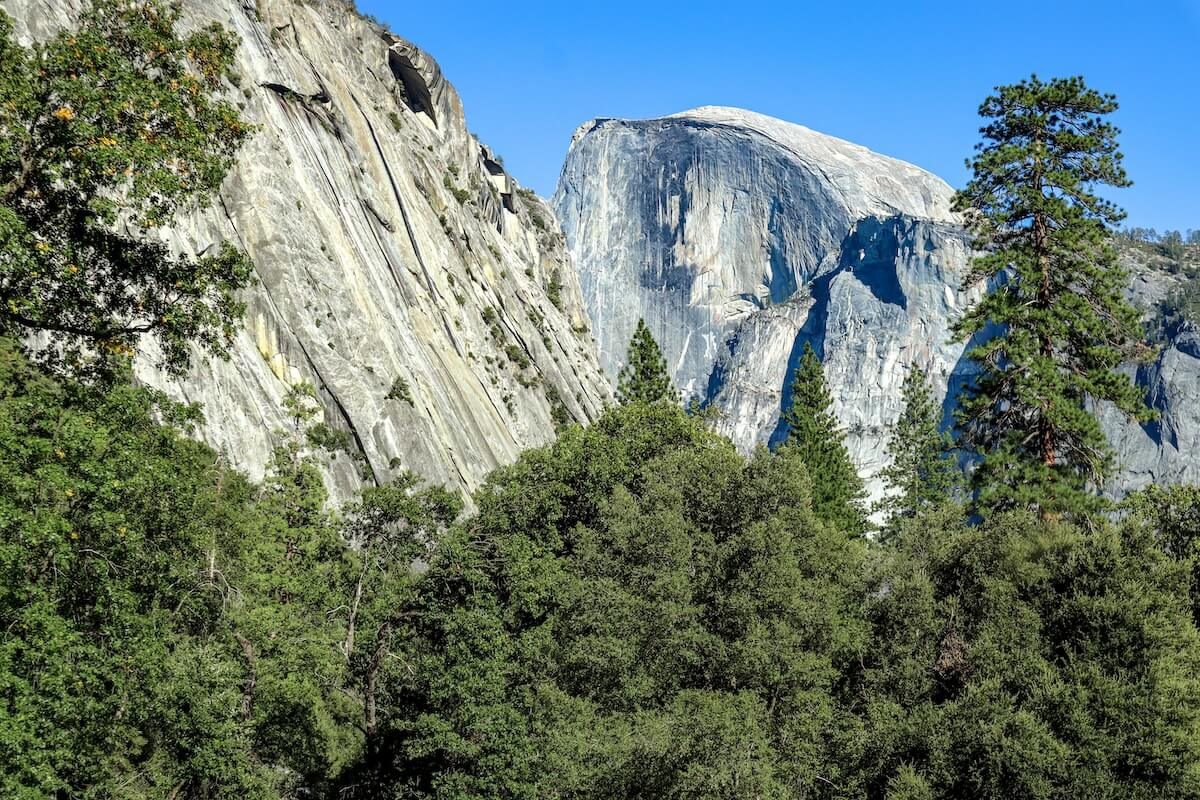
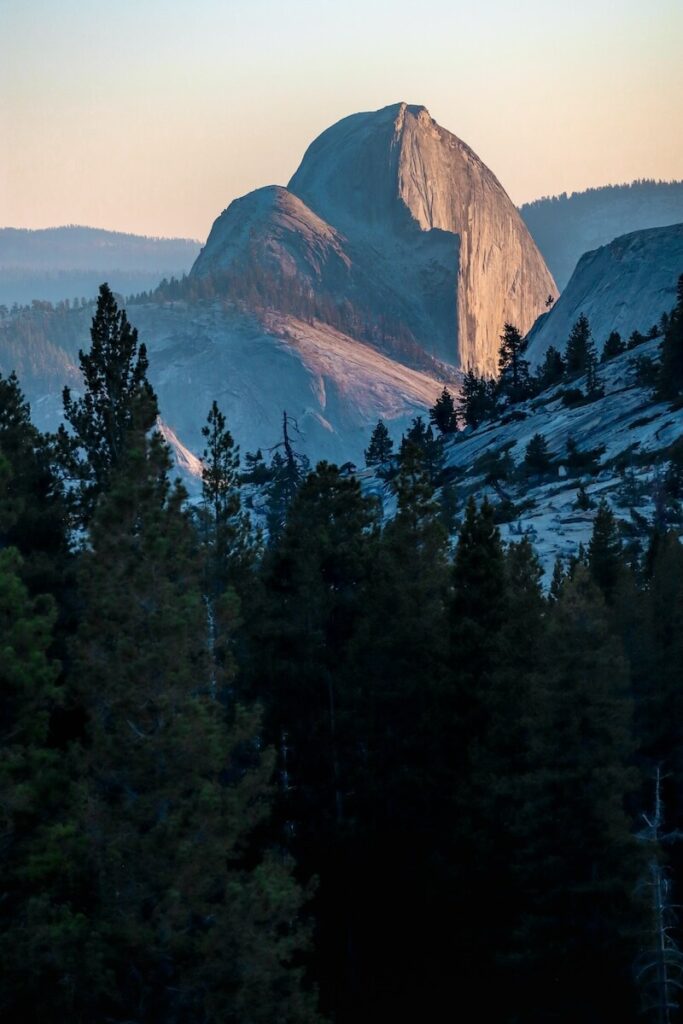
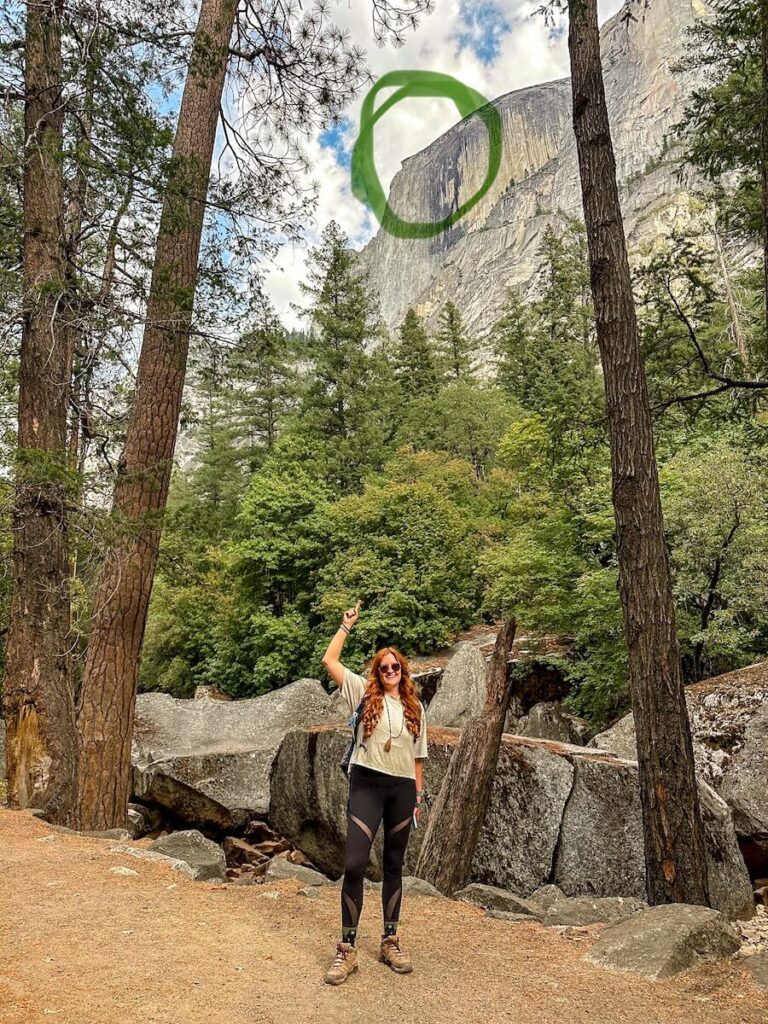
Half Dome is an iconic rock formation that graces the Yosemite Skyline. In fact, it is one of the most recognizable formations in the park.
I had one heck of a time finding El Cap, but Half Dome? It’s always there.
Hiking to Half Dome is a challenging hike that is often on many adventurer’s bucket lists.
This hike consists of 14 to 17 miles with over 5,000+ feet elevation game. But that isn’t what makes Half Dome famous.
Half Dome is famous because of the sub dome and cables sections that are required to reach the summit.
*Note that a permit is required to do both the Sub Dome and the Cables.
Sub Dome
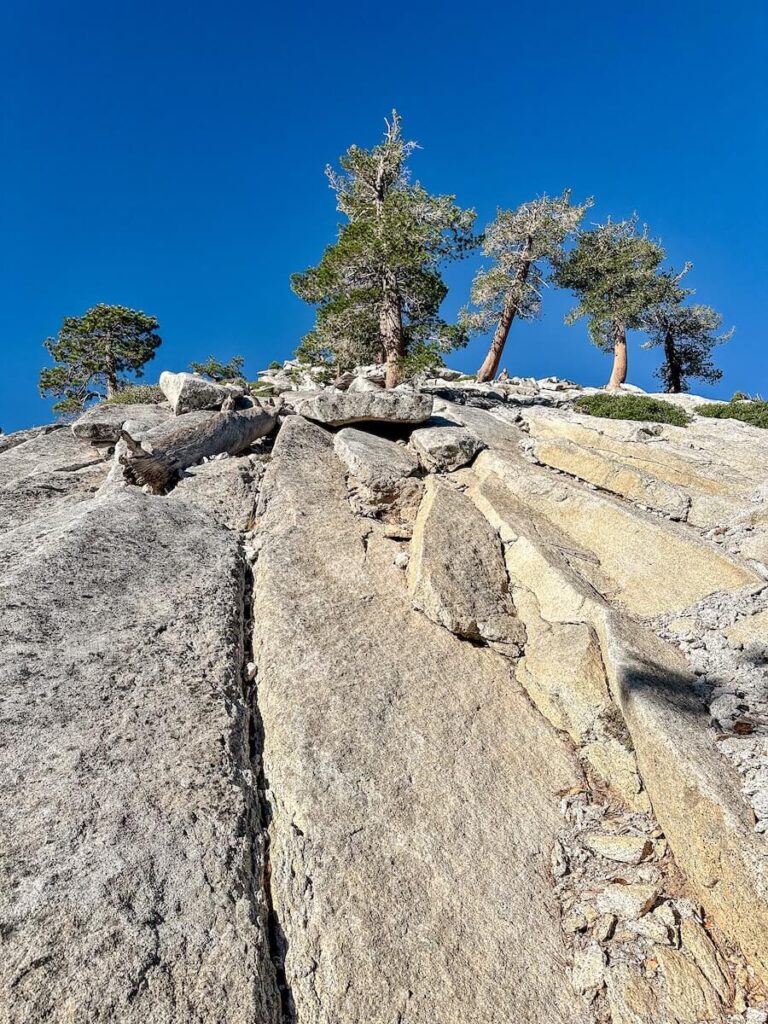
The Sub Dome is the final climb leading up to the cables section of Half Dome, and it’s a steep, exposed section that serves as a “warm-up” for the more intense cable ascent.
This portion consists of a series of rocky switchbacks and stone steps that require careful footing, as the slope is steep and the exposure to the surrounding cliffs is dramatic.
The Sub Dome climb is often where hikers begin to feel the effects of elevation and fatigue, so take it slow here, rest when needed, and prepare for the final push to the summit.
I talked to several hikers who actually said that they thought that the sub dome section was worse than the cables.
The Cables
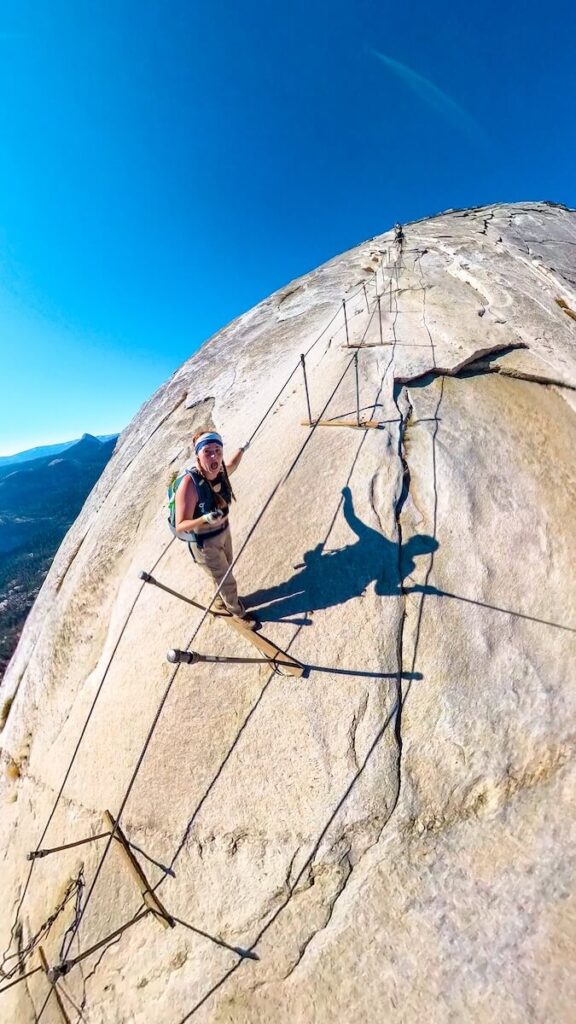
The Cables Section is the iconic, adrenaline-pumping final stretch to the top of Half Dome.
Two metal cables, set about shoulder-width apart, lead straight up the final 400 feet to the summit.
This section is steep and exposed, with only granite slabs beneath you and the valley far below.
Hikers use gloves for grip and move at a slow, deliberate pace, pulling themselves up the cables hand-over-hand.
Though the cables provide a secure way to reach the summit, they require focus, strength, and caution—especially in crowded conditions or when wet.
Once conquered, the summit rewards you with unmatched panoramic views of Yosemite Valley and the Sierra Nevada!
Do not underestimate the cables – adventurers have, sadly, given their lives to this hike.
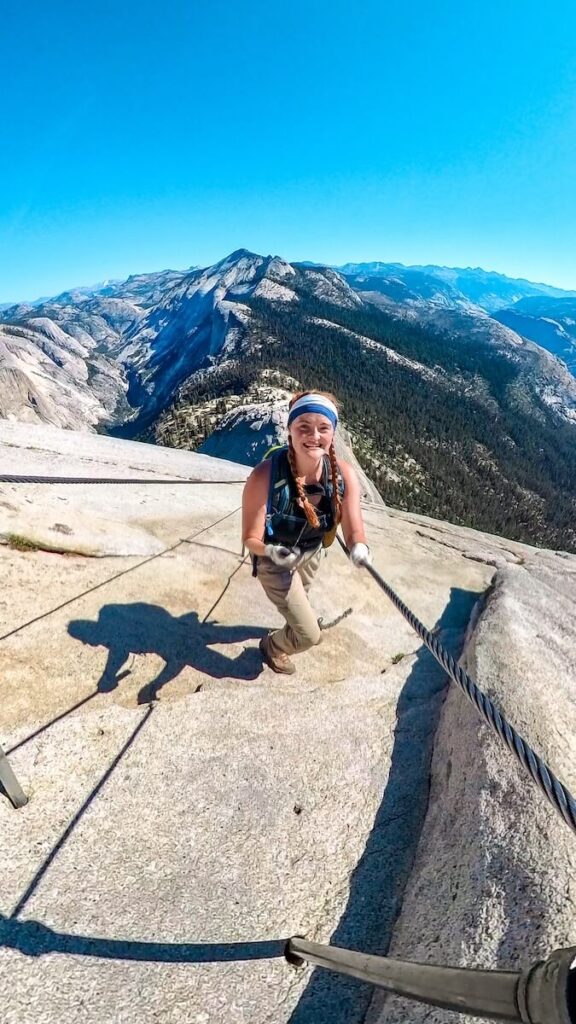
My Stats for Hiking Half Dome
- Length: 17.71 miles (walking from the parking lot, the Mist Trail up, and the John Muir down)
- Elevation Gain: 5,453 ft
- Total Time: 12 hours and 17 minutes with breaks
Best Time to Hike Half Dome
Timing your Half Dome hike is crucial for both safety and enjoyment.
Yosemite’s famous cable route to the summit is only accessible when the cables are up, typically from late May through early October.
Here’s a closer look at the best times to go and what to expect during each part of the season:
Cable Season (Late May to Early October)
The cables are generally set up just before Memorial Day and are taken down after the first week of October, depending on conditions.
This time frame is the only period during which you can legally and safely summit Half Dome using the cable system, so plan your hike accordingly.
Early Season (Late May to June)
Late spring and early summer are ideal for cooler temperatures and fewer crowds.
However, snowmelt can make the trail slick and sometimes muddy, especially in shaded or higher elevations.
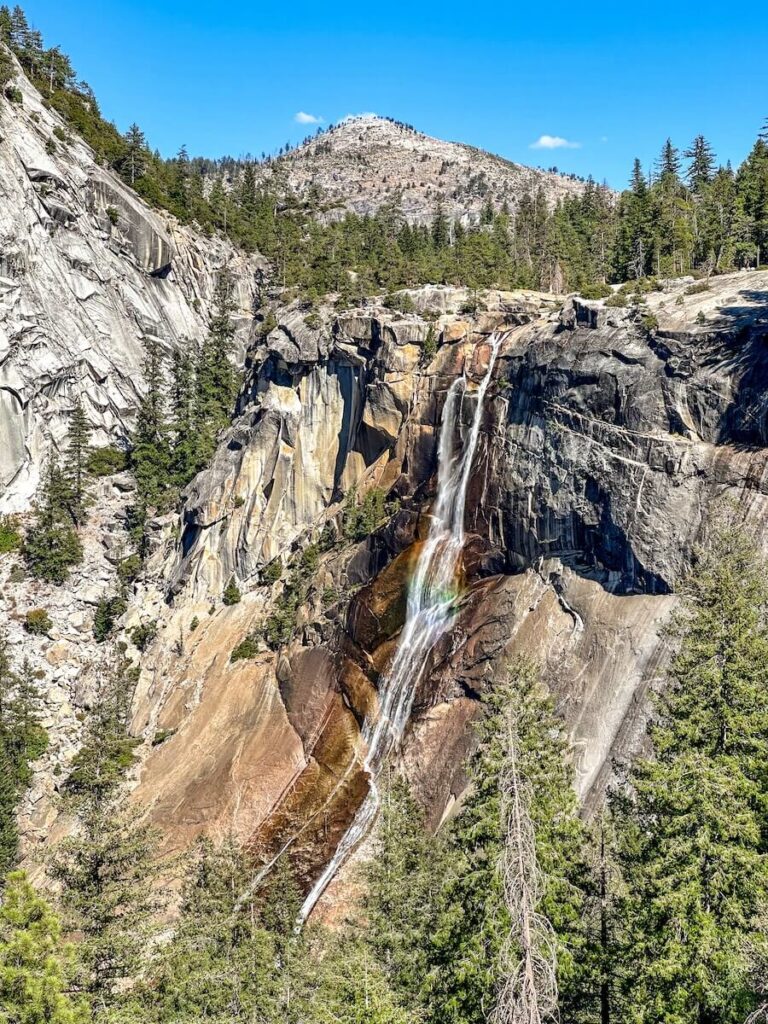
The waterfalls along the route (such as Vernal and Nevada Falls) are particularly powerful this time of year, making for some breathtaking views.
Be prepared for potential lingering snow or icy sections if the winter was especially heavy.
Peak Summer (July to August)
July and August bring warm temperatures and long days, giving you more daylight hours to complete the hike.
This period also tends to be the busiest, with more hikers on the trail and at the cables. If you plan to go in peak summer, start as early as possible to avoid the midday heat and secure a good spot on the cables.
Note that thunderstorms are common in summer, especially in the afternoon, so keep an eye on the weather and be prepared to turn back if conditions change.
This is also the hardest time to secure a permit.
Read More – July Bucket List | August Bucket List | Summer Bucket List
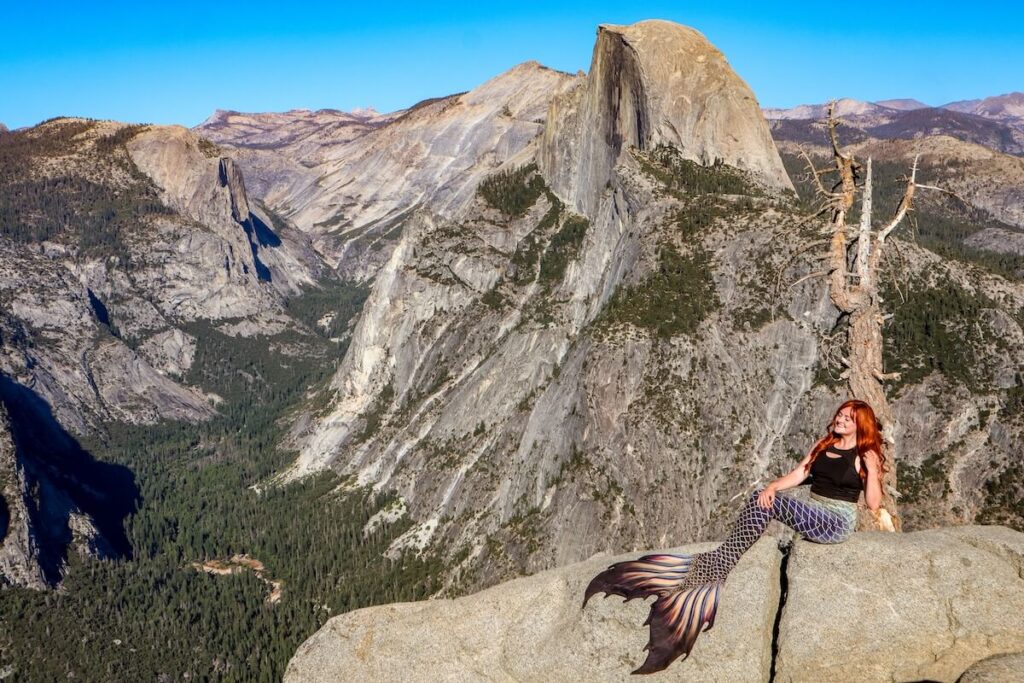
Late Season (September to Early October)
September and early October can offer ideal hiking conditions, with fewer crowds and cooler temperatures.
Autumn colors begin to show, adding a stunning backdrop to your hike. I noticed these the most on the John Muir Trail by Vernal Falls.
However, as the season winds down, weather can be unpredictable, with the potential for early snowfall or unexpected thunderstorms.
Park rangers may remove the cables anytime after early October, depending on weather patterns, so check with Yosemite’s website or visitor center if you’re attempting a late-season hike.
This is the time that I decided to tackle Half Dome and I don’t have any complaints. It was a little warm once the sun came out and I was lucky enough for a cloudless blue sky.
Read More – October Bucket List | September Bucket List | Fall Bucket List
Off-Season (Mid-October to Early May)
When the cables are down, summiting Half Dome becomes significantly more dangerous and challenging, essentially reserved for expert climbers with specialized equipment.
Winter conditions can make the route impassable, with snow and ice covering much of the trail. For most hikers, it’s best to wait until cable season begins again.
How To Get a Permit For Half Dome
Securing a permit for Half Dome is a crucial step in planning your hike, as Yosemite limits the number of hikers on the cables daily to preserve the trail and ensure safety.
The maximum amount of hikers per day is about 300 and this includes about 75 backpacking permits.
Here’s how to make sure you’re set:
- Lottery System: The main permit system for Half Dome operates through a preseason lottery that usually opens in March. You can apply for a specific date (or a range) and list multiple choices to increase your odds.
- Daily Lottery: If you missed the preseason lottery, don’t worry! There’s a daily lottery two days in advance of your hike date, but spots are limited, so plan backup dates if you’re flexible.
- Applying for a Permit: You’ll need to go through Recreation.gov. The fee is around $10 for the application and $10 per person if you win. Be prepared that this can be very frustrating and expensive as you get rejected over and over.
- Best Practices: Apply early, aim for weekdays to avoid high demand, and check Recreation.gov frequently for updates or cancellations.
In my experience, I started applying for the daily lottery in the off season in late September and early October.
I got rejected about 5 times before I finally secured a permit. Once I snagged a permit, I only had a day to prepare for my Half Dome adventure.
If I were to do it over again, I would plan ahead and do the preseason lottery. However, I am a spontaneous and chaotic little bean that did it very spur of the moment. I would not recommend this.
How to Train for Half Dome
This isn’t a casual day hike; it’s a grueling challenge. Training smartly will help you stay safe and truly enjoy the experience.
From what I have seen, the best way to train for Half Dome is by completing long endurance hikes with high elevation changes.
I would aim for hikes that are at least 8 to 10 miles long and have steep elevation gains of 2,000 to 4,000 feet to build endurance.
However, this might not always be accessible. Below are some other ideas for training for Half Dome👇
- Cardio Conditioning: Start with consistent aerobic exercises, such as running, hiking, or stair climbing. Try to get to a place where you can comfortably handle a few hours of hiking uphill—Half Dome requires endurance.
- Leg Strength: Exercises like lunges, squats, and step-ups are excellent for building the muscles you’ll need. Focus on gradually adding weight or intensity to simulate the load you’ll be carrying.
- Core and Balance Training: A strong core and good balance will help you tackle rough, uneven terrain and the famous cables. Add planks, deadlifts, and stability exercises to your routine.
- Altitude Acclimation: Half Dome sits at over 8,800 feet, so if you’re not used to higher elevations, plan to spend a day or two in Yosemite to adjust before your hike.
The Training No one Talks about
What a lot of adventurers don’t talk about is that Half Dome isn’t just a physical challenge, but also a mental challenge.
With that being said, there is also something that I would recommend in addition to physical training…and that’s training your mind, especially if you are doing this solo.
Have you ever tried walking for 10 to 14 hours straight? It takes a toll on your mind, trust me.
Because of this, I would recommend practicing some medication and mindfulness techniques so that you don’t go up the wall around hour 9.
No shame, but I shed some tears on the last mile. And it wasn’t because I was physically tired (I was literally running down cause I was so done with hiking at that point), I was just mentally drained.
Do You need to Train for Half Dome?
Training for Half Dome is highly recommended—it’s essential for most hikers, especially those attempting the full trek in one day.
Training prepares your body to handle the physical demands of sustained uphill climbs, rocky terrain, and the potential altitude effects as you approach the summit.
Building endurance, leg strength, and balance will not only make the hike safer but also much more enjoyable.
While seasoned hikers may already have the conditioning needed, anyone without regular hiking experience or intense cardio workouts should spend time preparing to reduce the risk of injury or exhaustion.
Proper training can make the difference between an exhilarating adventure and a grueling challenge!
Personally, I didn’t necessarily train for this specifically. However, I am a yoga instructor, a hiker from Colorado, and did multiple 9-11 mile hikes before I got to Yosemite.
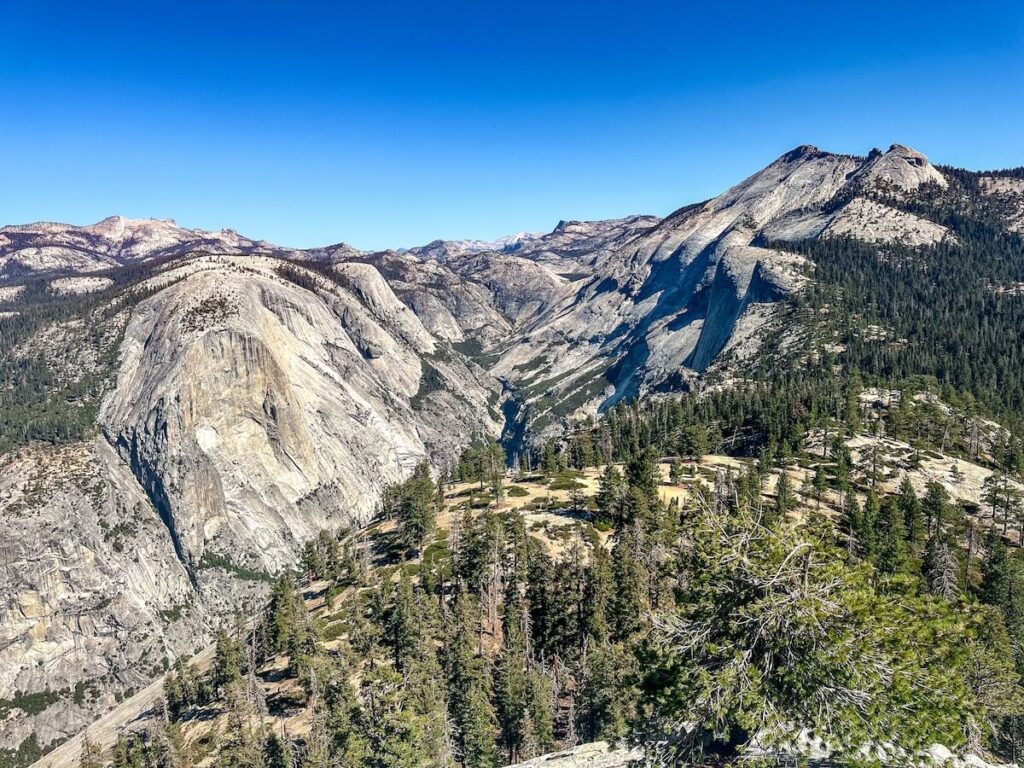
What to Pack When Hiking Half Dome
Packing wisely can make or break your day. Here’s a list of must-haves for a successful Half Dome hike:
Although there is a lot that is essential, be careful not to add too much weight…because you will feel it!
The essentials
- Permit & ID: Required for access to the cables, ensuring you’re registered and allowed on the trail.
- Clothing: Layered, moisture-wicking clothing helps manage the wide range of temperatures on the trail. I didn’t need a ton of layers and wore hiking cargo pants.
- Socks: I know it sounds weird, but good hiking socks can make all of the difference!
- Gloves: Protect your hands and improve grip on the Half Dome cables.
- Camelbak Backpack: A hydration backpack provides hands-free water access, ideal for long-distance hikes like Half Dome.
- Water: It is recommended to bring 3 – 4 L of water because there aren’t many places to refill.
- Hiking Boots: Durable, grippy shoes support and protect your feet on rugged terrain.
- Hiking Poles: Great for stability, especially on steep climbs and descents.
- Headlamp: A must-have for early morning starts or if you finish after dark.
- GPS or Downloaded Map: Essential for staying on track, especially if cell service is unreliable. I personally used AllTrails.
- Snacks: High-energy snacks keep you fueled and energized for the demanding ascent. I brought beef jerky and yogurt covered raisons.
- Via Ferrata Harness & Clips: While optional, this can add an extra layer of safety for the cable section by securing you to the cables (this is technically optional, but I wish I had one).
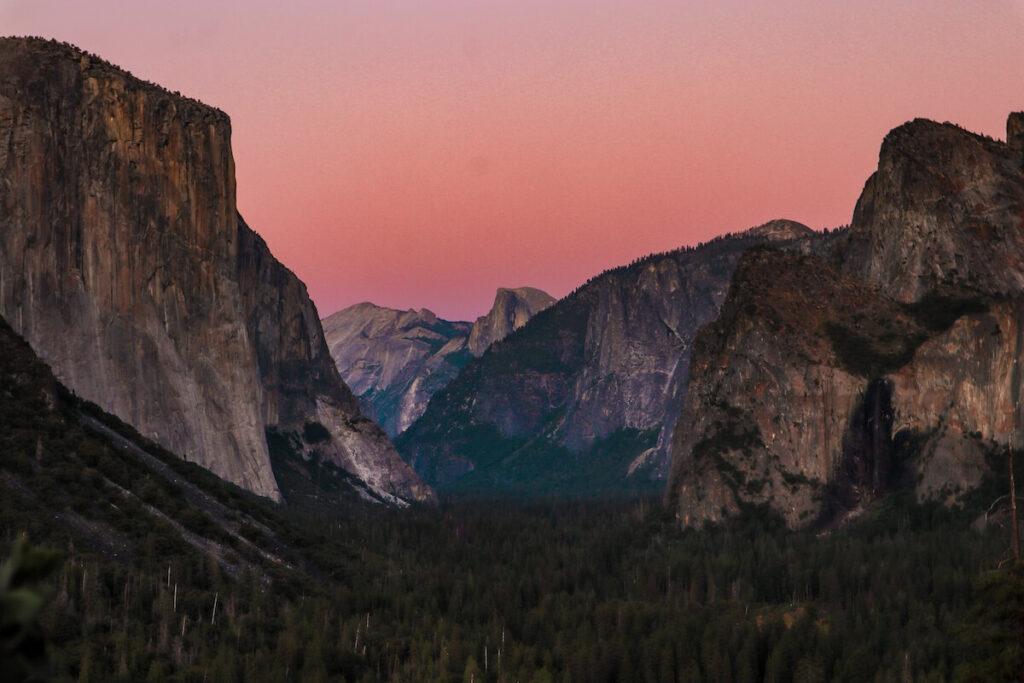
Recommended Stuff
While I say optional, I would seriously recommend bringing some of the following for comfort and safety. This is going to depend on the hiker.
- Portable Charger: My phone died around the summit and I was smart enough to bring a portable charger to keep taking pictures and staying safe.
- Corded Earbuds: Handy for music or podcasts on easier sections, but be aware of surroundings for safety. I brought my AirPods and they were dead by the end of my hike.
- Wet Wipes: Useful for freshening up and for quick cleaning of hands or gear on the trail.
- First-Aid Kit: Essential for treating minor scrapes, blisters, or any other mishaps.
- Emergency Alarm: Good for emergencies to make noise to get help.
- Hand Sanitizer: Keeps your hands clean, especially before eating or after bathroom breaks.
- Eye Drops: Helpful for dry, dusty conditions to keep your eyes comfortable and clear.
- Extra Batteries: Ensure your headlamp and other electronics don’t run out of power mid-hike.
- Whistle: An effective way to signal for help if needed.
- Sunscreen: Protects against sunburn, especially critical at high altitudes. I didn’t take this with me, but applied it before I started at 3 a.m.
- Sunglasses: Shields your eyes from UV rays and bright sunlight reflecting off granite. I would also recommend getting a chum.
- Hat: Provides extra sun protection for your face and neck.
- Water Purifier: This is optional, but good for safety if you drink a lot of water. This allows you to safely refill water from natural sources if you run low.
- Phone Pouch: I also love hiking with this phone pouch.
Tips for Hiking Half Dome
When it comes to Half Dome, preparation and timing are everything. Here are some top tips:
Start Early
Most hikers hit the trailhead between 4 and 5 a.m. to avoid midday heat and potential afternoon thunderstorms, which can make the cables dangerous.
I, personally, love night hiking. So, I started around 3:15 a.m. Surprisingly, there were a number of people hiking with me.
I got back to the car around 3:30 p.m.
If you start later in the day, be prepared to hike into the evening.
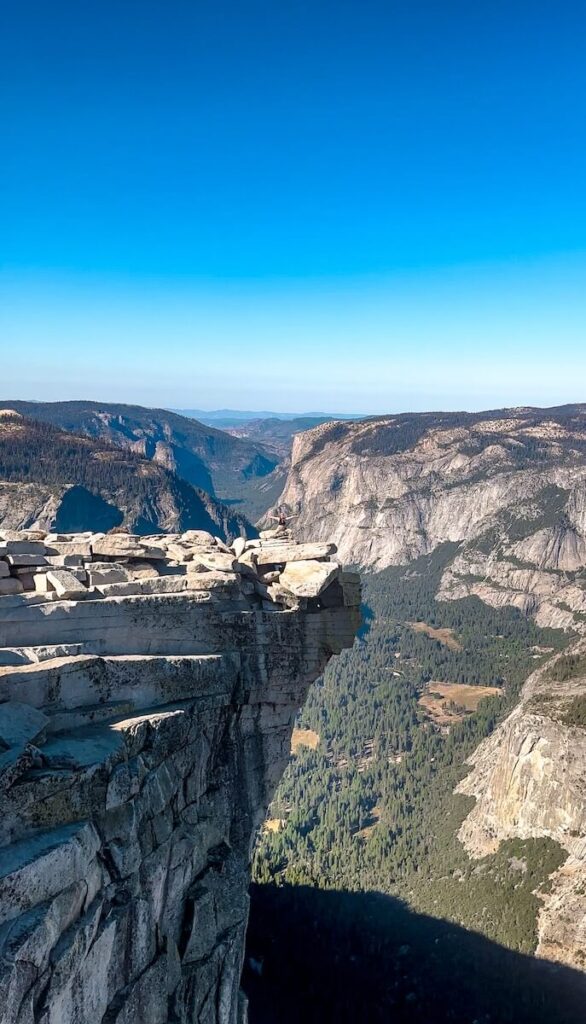
Pace Yourself
It’s a long hike with varied terrain, so conserve your energy early on.
Break often, stay hydrated, and fuel up regularly.
I would also recommend this on the way down. Often overlooked by hikers, the way down can be just as hard as the way up. Your legs are tired and your adrenaline is shot.
Give your knees and joints a break – it’s not a race.
Turn Around Points
It takes a lot of courage to make it to the summit of Half Dome.
But it also takes a lot of courage to know your limits and when to turn around.
Not gonna sugarcoat it, this hike is not for the weak. It’s hard! And if you have to choose between reaching the summit and yourself? Choose yourself every time.
One of the rangers I talked to had a very good tip: set a turn around time. If you haven’t summited by this point, turn around. Try again another time.
Also, turn around if you are feeling overly fatigued, dehydrated, starving, or having symptoms of altitude sickness.
Again, summiting Half Dome is not worth your life. You are more important!
Be Weather-Wise
Afternoon thunderstorms are common in summer. If thunder clouds are forming, it’s safer to turn around than risk the cables in bad weather.
There have been countless accidents and deaths due to lightning and the granite becoming slick in rain.
Respect the Trail
Pack out all trash and avoid leaving anything behind to keep the trail pristine for everyone.
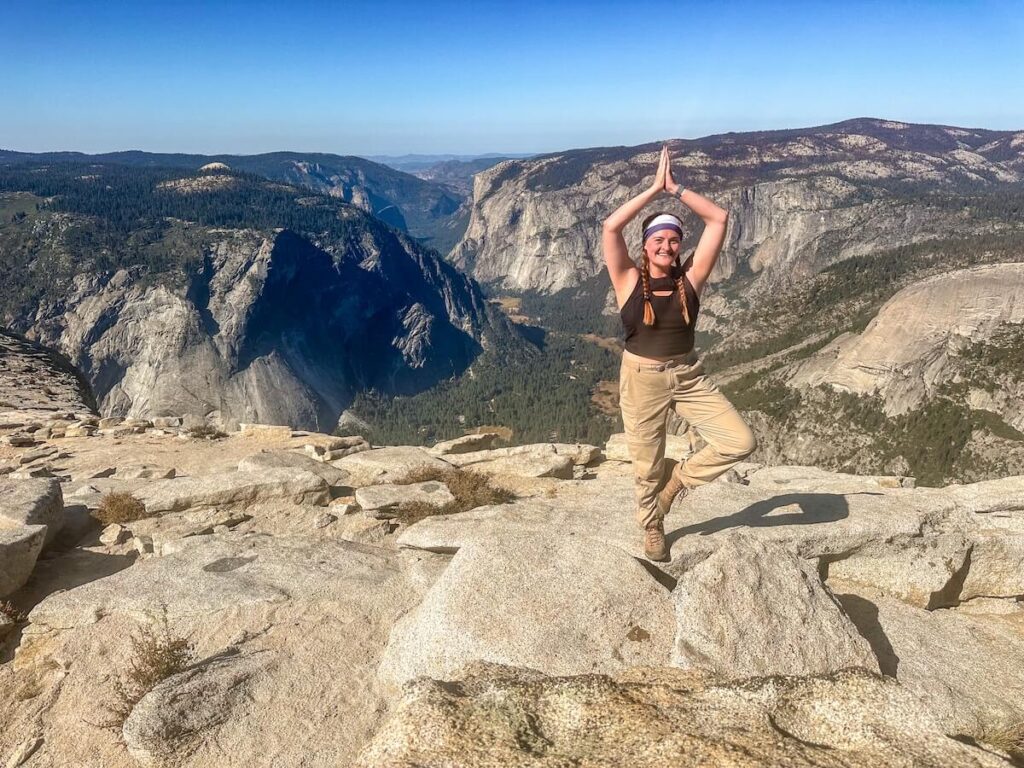
Tips for The Cables and Sub Dome
On Sub Dome, take your time and move slowly – this section is arguably just as grueling and dangerous as the cables themselves.
As for the cables – approach with caution. Almost every hiker (including me) had an “Oh, sh*t 💩” moment as soon as they saw the cables for the first time.
Use your gloves, grip both cables, and move deliberately, especially on busy days. Take your time and wait for space if needed.
I would HIGHLY RECOMMEND renting or bringing a via ferrata harness. Quite frankly, I read an article stating that “most people ascend without a harness”….and that’s total BS.
Read More – Via Ferrata Guide in Ouray
Sure, you could do it without a harness. I did. Do I regret it? Yes. Why take the risk on your life?
I don’t think I could, in good conscious, recommend the cable section without a via ferrata harness.
With a harness, I think that the entire cable section would have been a whole lot more safe to me and others. Not to mention more enjoyable.
Ascending vs Descending
This is going to depend on the hiker to determine which one was more difficult.
After making new friends at the summit, we all agreed: going up is a physical challenge and going down is a mental challenge.
Personally, going up sub dome and the cables was the most strenuous part of the hike, which I could handle. But, going down the cables was a new brand of terrifying, especially when you had to pass somebody.
What helped me was going down backwards, holding on to both cables, and making every step count. Communication was key to passing people going up and only one person moved at a time.
On the sub dome, I can imagine it would be quite unnerving without hiking poles. To put it lightly, there was a lot of “booty scooting”.
What to Do After Hiking Half Dome
Congratulations! You’ve conquered Half Dome! Now it’s time to unwind and recharge. Here are a few ideas to recover and celebrate:
- Stretch and Hydrate: Take a few minutes post-hike to stretch out your legs and rehydrate to help with recovery.
- Post-Hike Meal: Treat yourself to a hearty meal—either in Yosemite Valley (Yosemite Village has some great spots) or at a nearby campground.
- Soak in the Views: Reflect on your journey by taking in the views around Yosemite Valley or Glacier Point, where you can catch a glimpse of Half Dome from afar.
- Journal Your Experience: Document your hike while it’s fresh. Not only is it a great memory, but it’s also helpful if you plan to tackle Half Dome again or share your experience with others.
- Celebrate Your Achievement: You’ve accomplished something big! Whether it’s with a hot shower, a cozy campfire, an evening stargazing, or even staying in bed all day, take a moment to truly love yourself for accomplishing something that most people don’t have the guts to do!
Interested in another bucket list hike? → Half Dome vs Angels Landing
Travel Resources to Get You Closer to Climbing Half Dome
Getting to Yosemite
Fly to California
The closest airport to Yosemite is Fresno Yosemite International Airport (FAT) – 2.5 hours to Yosemite Valley, 1.25 hours to Southern entrance.
You can also fly into San Francisco International Airport (SFO) – 4 hours to Yosemite Valley, 3.5 hours to Big Oak Flat entrance.
Note that Yosemite is huge. I’d say that the central area is Yosemite Valley, but you might reach the entrances faster.
The trailheads Half Dome itself is in Curry Village which is in the Yosemite Valley.
Find Accommodation Near Yosemite National Park
If you are flying in to complete half dome, I would highly recommend finding a comfy place to stay after your hike to recover.
In the park, there are several places to stay and camp within Yosemite National Park itself.
My favorite would have to be the The Ahwahnee, which is an upscale hotel in Yosemite Valley.
Renting a Car
If you are flying into Fresno (FAT), they have public transportation to Yosemite (Yosemite Area Regional Transportation System).
If not, you might want to think about renting a car because Yosemite is huge.
Once you are in Yosemite, they have several shuttles that you can take around the park. Or, you can take a car.
I would recommend these shuttles in the summer since it can be quite congested and parking can be a nightmare. In the fall, it was manageable, even with our huge truck.
More Travel Resources
Adventure Bucket List Resources
I am here to help your travel adventures go as smoothly as possible! That way you can check off that bucket list with minimal complications and spending!
SHOP – Shop the best adventure gear and essentials on my Amazon Storefront – handpicked by a full-time adventuring mermaid!
AIRFARE – There are a few I use, but Aviasales is normally my go-to for flights without any extra fees or markups.
ACCOMMODATION – My two favorites are Booking.Com for hotels and VRBO for rentals.
GUIDED TOURS – If you are looking for quick and easy tours, check out GetYourGuide and Viator.
MULTI-DAY TOURS – For more in-depth tours that span several days, TourHub has many great options with reputable travel companies. Use my code (ALEXANDRA1GURU) for up to 5% off your next bucket list adventure.
TRANSPORTATION – You can either rent a car yourself with Discover Cars or do a guided bus tours like Big Bus Tours.
SIM CARDS – Avoid expensive roaming charges with an eSim card with Airalo. Personally, I prefer wifi boxes, and recommend WiFi Candy (get 10% of with the code THEBUCKETLISTMERMAID).
TRAVELER’S INSURANCE – Check out VisitorsCoverage for affordable insurance plans. If you are a nomad or remote worker, I would check out SafetyWing.
SEE MORE – Adventure Resources | Photography Resources
Hiking Half Dome FAQ
All of the most common questions about Half Dome answered. I will answer these to the best of my ability from my personal experience climbing Half Dome. For the best answers, speak with a park ranger.
Hiking Half Dome is an unforgettable adventure, blending breathtaking landscapes with the thrill of conquering one of Yosemite’s most iconic peaks.
With the right preparation, gear, and mindset, you’ll be ready to take on the steep switchbacks, brave the cables, and soak in the awe-inspiring summit views.
Remember to pace yourself, stay safe, and savor each step of the journey—it’s more than a hike; it’s a true bucket-list achievement.
So get ready, plan smart, and embrace the adventure that is Half Dome!
See Some PHotos You Like?
Check out my full photography page for a full gallery and prices.

