Is Snowboarding Hard? Here’s The Harsh Truth…
The Bucket List Mermaid contains affiliate links and is a member of the Amazon Services LLC Associates Program. If you make a purchase using one of these links, we may receive commission at no extra cost to you. See the Disclaimer Policy for more information.
We all love the mountains. The atmosphere, the soft snowflakes falling, the cozy cabins, the skis and snowboards, and the après ski activities. There is something so magical about hitting a good day on the slopes.
However, you might be asking yourself, “What if I don’t want to ski? What if I want to do something a little different…?”
Well, if you have skied before, you have probably passed a snowboarder falling on their face and crying (ahhhh the joys).
After that, I bet you thought to yourself that snowboarding looks like a ton of fun!
And I am here to tell you that in my humble opinion…it absolutely is!
So, let’s discuss that age old question: is snowboarding hard? And more importantly, is snowboarding worth learning?
This is going to be an epic snowboarding beginner’s guide, so make sure you bookmark it for later!
Key Takeaways
- Snowboarding is especially difficult to learn, especially as an adult.
- Expect those first few days to be filled with rough falls, bruises, and questioning your life choices.
- After you get over the hump and start connecting your turns, you will be hooked!
- Stay tuned for the FAQ at the end of this post!
Before We Start…LET’S GET ONE THING CLEAR
It’s important to preface here that I am not a snowboard company that is trying to sell you gear or classes.
I am not an early-20s male who came out of the womb snowboarding and can do a triple cork 1440.
I am just an average and semi-athletic lady who decided on a random Tuesday that she was going to learn how to snowboard.
While learning, I noticed that there were a ton of companies giving you advice or saying that snowboarding is easy to learn, but not a lot of personal accounts telling you about how it actually is…
In this post, I’m going to be talking about my own personal experiences with learning how to snowboard as an adult.
I’m going to be brutally honest not to scare you away, but to prepare you for the epic times ahead!
My hope is that you can take my snowboarding journey and mistakes and apply them to your own experience to eventually become a badass snowboarder.
The Basics of Snowboarding
Contrary to popular belief, when you first start snowboarding, you are not going to point your board downhill and scream at the top of your lungs (at least I hope not).
Let’s talk about some basics for snowboarding.
Note: this is not meant to be a “how-to” guide and I am not a snowboard instructor. There are more qualified snowboarders that you can go to for the details of this sport if that interests you.
This is just so you get some terminology down and know what the heck I’m talking about in this entire article.
It is also to give you some perspective of what you might learn and what it takes to learn the basics of snowboarding.
Heel side
You are most likely going to start with your body facing down the mountain and your board perpendicular to the slope.
Here, you are on your heel side. I personally always said “heel edge” but I think the correct term is “heel side”.
Slowly, you will lift your toes and start to move down the mountain, side to side, across the slope. This is commonly known as the “falling leaf”.
Toe side
Once you have mastered that, you will do the same thing but backwards on your toes (I can hear the panic when you read that).
Meaning, you will be facing uphill and you will slowly bring your heels to the ground to move from side to side down the slope in that same “falling leaf” fashion.
Linking Turns
Once you feel comfortable with your toe edge and your heel edge, you will slowly start connecting them and pointing your board downhill in between.
Let me paint a picture. You are on your heels. You will slowly start to point the board down the hill and then transition into your toe side. Then, point your board back down the hill and transition into your heels. Rinse and repeat.
Carving
Eventually, this becomes so smooth that you move down the mountain in the stereotypical snowboard fashion.
When you just tip into the edge and cut across the snow without skidding, you are carving.
And TA-DA! You are now a snowboarder! It sounds super easy, right?! My tailbone would disagree.
My Experience of Learning to Snowboard as an Adult
Before we get into the nitty-gritty aspects of snowboarding, let me tell you about my experience of learning how to snowboard as an adult.
Before Learning to Snowboard
If you do not know me, I am a Colorado native. And if you don’t know anything about Colorado, I can tell you that snow sports are a BIG deal.
My father and my uncle both were on the slopes religiously as I was growing up. Was I? Absolutely not.
I have had plenty of opportunities to go, but I just never got around to it. Maybe I was too busy studying because let’s face it—I was a nerd.
I actually never got onto the slopes until I was 16. But me, that bunny hill, and some skis absolutely slayed.
I cross-country skied a few times in Norway during university and loved it! However, that love was still not enough to get me to go up to the mountain on a constant basis.
Soon after I got back from college, my uncle decided to teach my cousins how to snowboard. I decided to go on a whim (cause why not?).
Learning how to Snowboard
I soon learned a very very hard lesson that would come at the cost of my poor head and tailbone.
I’m not gonna sugarcoat it: snowboarding is absolutely brutal to learn compared to skiing.
Now a quick disclaimer: I was a 21-year-old 5’7” girl who did yoga. I was strong, but my body was not used to more aggressive physicalities and I am a bit awkward. I surfed and rode a longboard once.
Aka—I was not prepared for this at all. I have noticed that highly athletic individuals who have done activities like these pick up snowboarding a lot quicker!
Or some people just have a natural feeling and talent for it. Hint: I was not one of these people.
Getting Angry with Snowboarding
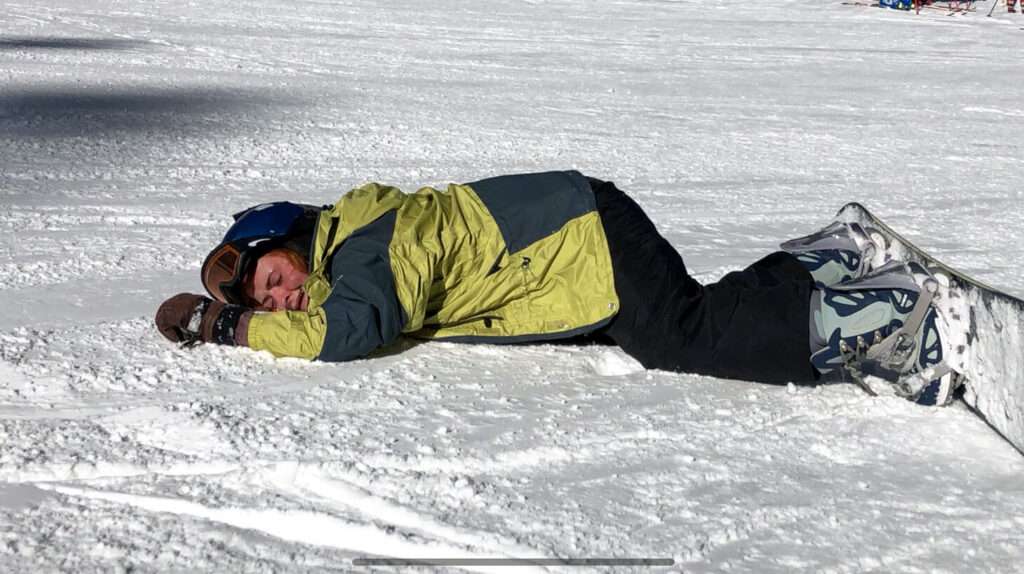
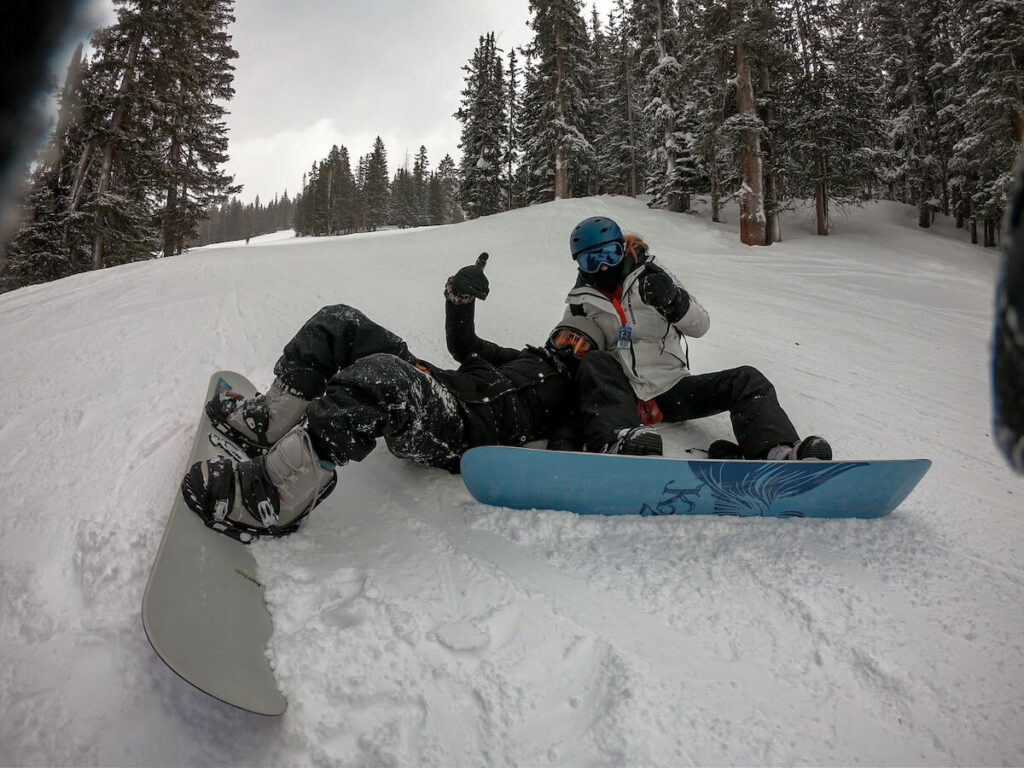
When I was learning how to snowboard, I landed on my butt, I landed on my face, I landed on my wrists.
At one point, I fell forward so hard that my back curved and my board hit my helmet. I would learn that this is called ‘catching a front edge’. More on that later…
I would go a few feet, fall, and then it would take every ounce of energy to get back up. Only to fall again in another 10 feet.
I then would hit a ‘back edge’ and get the wind completely knocked out of me. I would end up just kinda laying there and contemplating my existence. Okay, maybe it wasn’t that dramatic, but it did feel like that sometimes!
And because I wasn’t naturally gifted, my trips up to the mountain consisted of this for a while. The entire experience was extremely frustrating for me.
So, you might ask: why did I go back? If I’m being honest with myself, it was because it made me angry. Every time I fell, it made me angry. It made me want to get back up and do it until I conquered it.
This anger really did push me through the learning phase until I became a true beginner.
Then, whenever my calves stopped screaming from constantly being on my heels, I found that I was actually having fun.
Then once I started linking my toe and heel edge, I was absolutely hooked!
Who Would Like Snowboarding?
People who enjoy a challenge
I am going to be honest, if you think that snowboarding is easy and a quick hobby to pick up then I would say that you are either Shawn White or you are in denial.
If you are closer to the rest of us mere mortals then please believe me that this is HARD work!
Learning to snowboard consists of a lot of falling and getting back up…even when your body and mind don’t want to.
For some, it is more difficult than others. However, I think that every snowboarder can remember those bumps and bruises that they got from the first few times they put their boots into their snowboard bindings.
Stubborn people who hate it when things get the best of them
I have also found that learning to snowboard can also be motivated by ultra-stubborn people. This would be my category.
I remember my soul lighting on fire when I would fall. Even though my body went through a lot, my stubbornness just wouldn’t let it win and would not allow me to give up.
People who can take a hit and get straight back up
If you are the type of person who takes a bad fall and doesn’t want to do it again, that is OKAY (aka my mother)!
It is natural to not want to feel that level of pain and there are a lot of other ways that you can enjoy a ski resort without breaking your body over and over again.
Hell, just enjoy the après ski minus the ski! You do you!
However, if you are the type of person who can fall and be mentally strong enough to get back up and the entire thing exhilarates you, then learning how to snowboard is definitely for you!
I do think that some people are lucky in this department. For example, my 7-year-old cousin would fall and then pop back up again like it was nothing because he was simply closer to the ground.
My tall body, however, had quite a long way to fall and a more energy-consuming way to get back up. Plus, I’m not super athletic.
To add to it, getting up becomes increasingly harder when the preceding fall hurt like hell!
However, there is something very powerful and rewarding about being able to fall hard and get back up! And if you can stomach it, I would 100% recommend sticking with it for those sweet rewards!
What to Bring & Gear You Need When Learning How to Snowboard
Best Snowboards for Beginners
You don’t need to know what all the board styles are, but the basic ones are rocker and camber.
In typical Coloradan fashion, I bought a used snowboard out of some dude’s garage and had no clue what it was. A snowboard is a snowboard, right?! Wrong.
Turns out it was a stiff camber and I ate more snow than my own lunch because it is easier to catch edges on a camber board.
You can, of course, transition to a camber if that better fits your riding style.
My dad loves riding camber boards! Me? Not so much. I prefer medium flex rocker hybrids (I sound super cool, don’t I?)
LTR Snowboards
If I had the necessary funds, I probably would have rented an LTR or “Learn to Ride” snowboard for the first 3 days or so.
These boards are designed to combat the main problems beginners face (like catching edges and contemplating their existence).
They have edge beveling, an aggressive sidecut (gives you more flexibility), and a soft flex (this is more forgiving during turns).
After my first season, I ended up actually buying a retired Burton LTR from my neighbor. I didn’t realize how much better it was for progressing and working on technique.
I don’t think you that need to necessarily buy one as I did. However, I think it would have been nice to have one during those first few days when I was catching edges left and right.
Renting For Your First time
If you are renting for your first day, make sure they know that you are a beginner.
If they are truly lost on what to give you, you could ask for a directional twin rocker or hybrid rocker with a soft to medium flex.
As for how tall, it should be between your chin and your nose. I have also noticed that longer boards feel more stable and shorter boards are easier to turn.
Buying Your First Snowboard
I would recommend learning on an LTR or soft rocker to begin.
Once you feel comfortable and can connect a turn, find a place that offers demo programs.
Here’s how it worked: I rented different styled boards and tested them out on the mountain.
Once I realized what snowboard profile I liked, all of that money I spent on renting the snowboards went towards buying my actual board.
Best Snowboard Brands
There are some amazing snowboard brands out there!
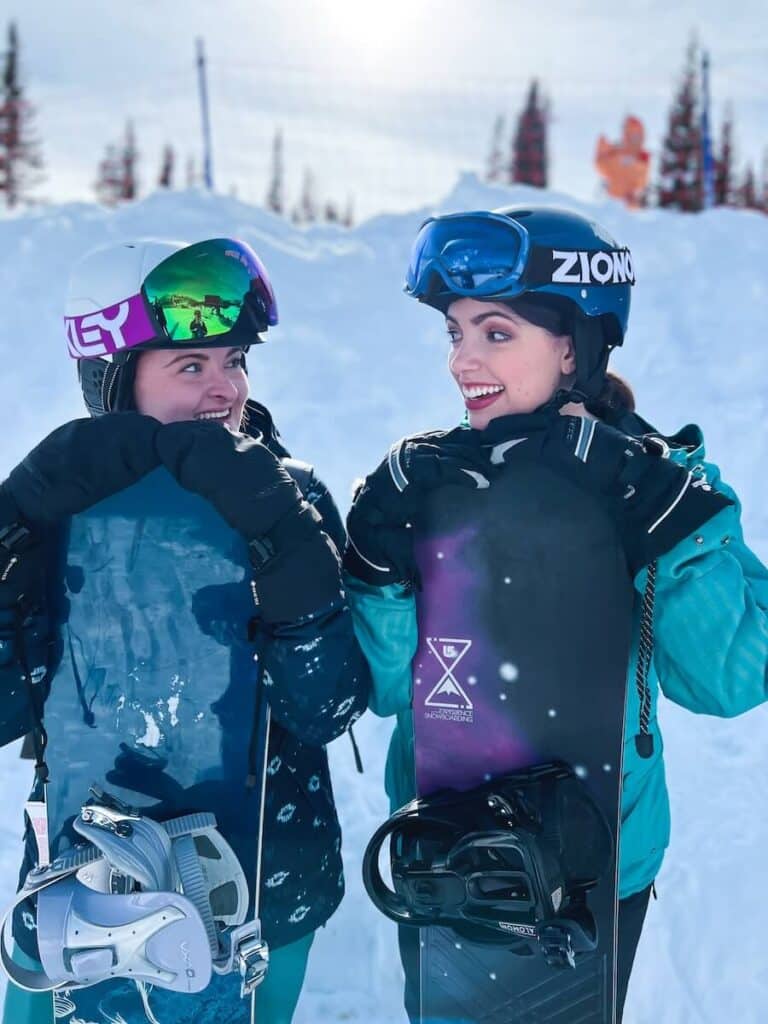
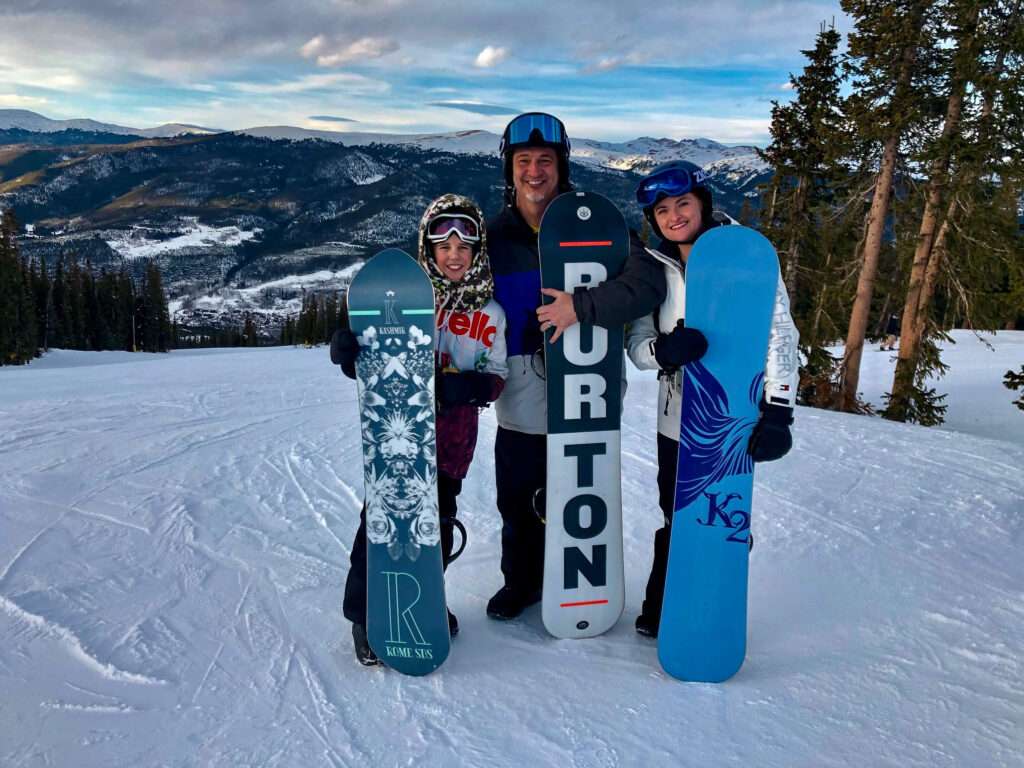
My favorites are Never Summer, Burton, and CAPiTA.
Investing in Snowboard Boots
This is easily the thing that I most regret when looking back. Let me remind you: I bought all of my gear out of someone’s garage in Denver.
All of it was used and it was very cheap (compared to the monster price tag that comes with buying new gear).
Although it was good for my wallet, there was definitely some gear that I would invest in if I were to go back in time.
One of those is BOOTS. I had old boots with laces that had been worn by multiple users. In addition, I could not keep the laces from coming undone. This caused my ankle to progressively get looser as I went down the run.
I found that my ankles and the souls of my feet were absolutely destroyed after a day of boarding.
After my first season, I invested in some boots that were recommended to me by a professional. These had the BOA system instead of laces and I cried tears of joy.
Best Snowboard Boot Brands
I’ve worn both K2 and Salomon and have no complaints!
Get a helmet with MIPS before You hit the mountain (and wear it!!!)
I know we all love that guy who flies down the mountain at an ungodly speed only wearing a beanie and goggles.
He may seem cool but please don’t be him. There are more times than I can count when I have been grateful that my helmet is there!
Your brain is so precious and it is worth the extra upgrade to make sure that your head and everything in it stays protected for the entire duration of your time on the mountain.
In my third season, I invested in a helmet with MIPS in it. For those of you who didn’t know, MIPs is a slip-plane system that moves inside the helmet.
How Mips Works And Why You need It when learning to snowboard
In theory, it replicates the brain’s own protection system. The layer inside rotates inside the helmet in an effort to slow or reduce the impact/energy to the head.
I decided to buy this because I learned about it in my motorcycle program. Ever since I’ve found that it gives me a nice peace of mind and protects the noggin.
When I look back at the cracked, used helmet that I bought for $20 out of a garage and how hard I fell when I was learning, it is a marvel that I have any brain cells left (or maybe that would explain some things…haha!).
Long story short, your head needs to be protected at all costs. I would have invested in a good helmet before I even hit the slopes.
Other Snow Gear for Snowboarding
I have personally never rented snow gear, but it may possible depending on the resort.
- Thermal Shirt – I have worn long sleeves and sweatshirts before, but the thermal shirts are amazing. You can get them at any sporting goods store.
- Thermal Leggings or Long Johns (Women & Men) – I haven’t noticed as much of a difference with these and have worn leggings or sweats. I personally prefer it to be a big baggy to avoid feeling constricted.
- Winter Sport Socks – This is a must-have! These socks are made for snowboarding, provide adequate compression, and give extra support in all the right places. I never snowboard with my Smartwool snowboard socks!
- Winter Sport Jacket – This isn’t just a heavy coat. This is a coat that is specifically designed for winter sports and keeping you warm all day in the cold while falling in the snow! I’ve worn several used Burton jackets and loved them!
- Snow Pants/Bib – This is probably the most important since you are going to be falling on your butt and sitting in the snow for the majority of the day! I prefer bibs (vs pants) so the snow doesn’t go up my shirt when I fall.
This gear is important because you will be spending a lot of time in the snow from falls. A nice pair of sweats and a sweater isn’t going to cut it. Sorry…
Don’t Forget to Stay Hydrated
This is more for comfort than practicality or safety but nonetheless deserves to be talked about.
Since this is a sport, don’t forget to stay hydrated! Unfortunately, it is harder than you think to keep drinking water.
There is something incredibly annoying about stopping, sitting down, taking off your gloves in the freezing cold, taking off your backpack, and unscrewing a normal water bottle. After a while, I just stopped drinking water. Hint: that was not a good idea.
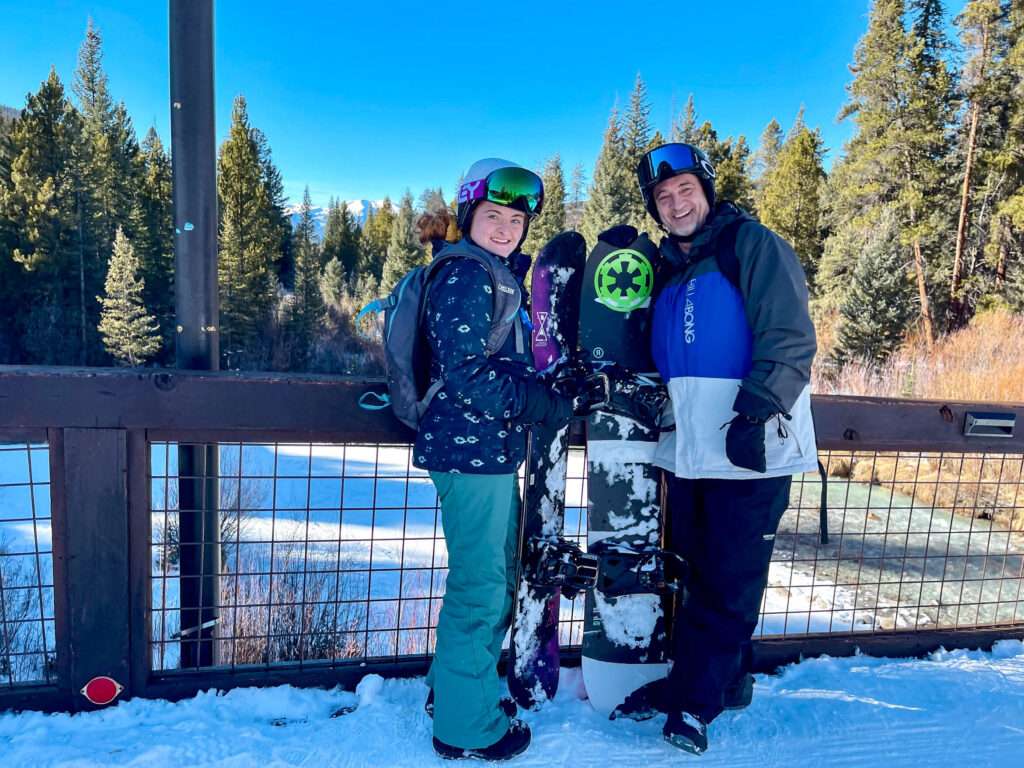
I then found the magic of a camelbak. Ooooo aaaaaa. I have the straw right there and it is no hassle at all.
Just an extra little tip, just make sure to get the insulator tube and cap. This is so it does not freeze the water inside of the straw.
And be careful! Carrying a backpack is helpful, but it changes your weight distribution.
Other Useful Things to Bring
- Sunscreen – Ever heard of a goggle burn? Look it up. Don’t let it be you.
- Chapstick – This is surprisingly more useful than you would think.
- Snacks – Keep your body running optimally! I always bring fruit cups or pre-packaged smoothies.
- Wallet – To treat yourself to a drink or snack after all of your hard work! You deserve it!
Pro Tip: If new sparkly gear isn’t in the budget, consider looking on neighborhood selling platforms like NextDoor, Facebook marketplace, or Craigslist.
My Current Snowboard Gear – Snowboard | Boots | Bindings | Bib | Jacket | Socks

Tips for Learning to Snowboard
Let me tell you how I failed miserably…so you can fail less miserably.
do some strength training before learning to snowboard
Although I had pretty strong legs from yoga, I was surprised at how many muscles were destroyed from learning to snowboard as an adult.
If I could wind back the clock, I would do some strength training before my first day, particularly hitting legs (calves and quads) and core.
I think that by strengthening those muscles, it would have put me in a better position to learn how to snowboard—not to mention less risk of injury.
Training During the Off-Season
Another amazing piece of advice that I received was to keep training once the season is over!
Work to strengthen all of those muscles so that once the next snowboard season hits, you will be ready to shred.
This is especially important if you are no longer a spring chicken!
Working to strengthen your body as an older adult will help to reduce your risk of injury while you are snowboarding and increase the amount of time you will get to spend on the slopes!
Try a Snowboard session at an indoor facility
When I first started learning to snowboard, I did my first 30 minutes at an indoor training facility. In Denver, I went to a company called Snöbahn.
This was my first time on a snowboard and we worked on going down the artificial mountain on my heels.
For those of you who just said, “Uhhh…how?”. It is basically a carpet that replicates snow on a conveyor belt so that it can simulate the feeling of snowboarding down the mountain.
This experience was so helpful, and I wish I would have invested more time with a certified instructor in a controlled environment before venturing out into the snowy wilderness!
What if this isn’t an option?
If this isn’t available to you, I would suggest putting your boots and board on in your living room and simply practicing distributing your weight on your heels and your toes.
This could get you more comfortable when you do end up heading up the hill and give you the practice of getting in and out of your bindings.
Learn in a Safe Environment
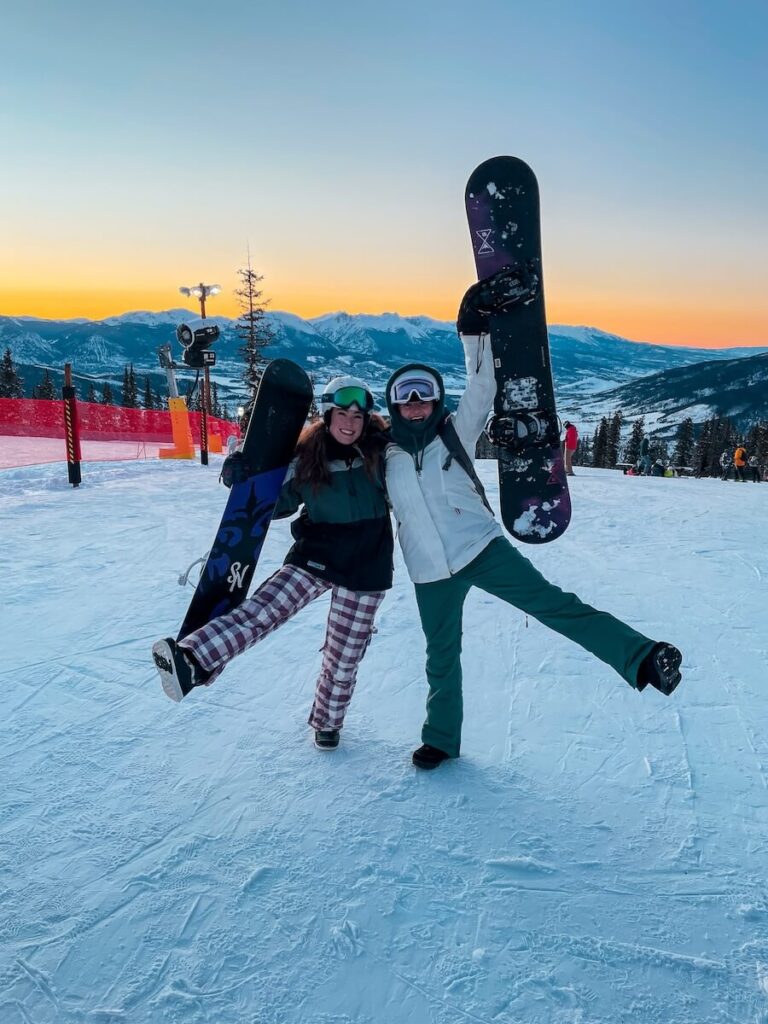
So I did my first snowboard day at Loveland: the hidden local gem of Colorado.
There are two areas: the valley and the pass. The valley is more for beginners and had a magic carpet (a moving conveyer belt) and a traditional lift.
However, since it was early in the season, the Valley was closed.
Therefore, my first experience putting on a board was just at the bottom of the hill by the lifts. And let me tell you that was STRESSFUL.
There were people everywhere, I caused a skier to fall, and the snow was very uneven.
We didn’t really have a choice but if I were to do it again, I would have found an actual learner’s area to rip off that bandaid.
It is very important to learn in a stress-free and safe environment. Pick a place with a lot of open space to fall and where a child skier isn’t going to cut right in front of you.
Read More
If you are looking for more Colorado adventures, check out the full bucket list.
Consider starting on Your toes first when learning to snowboard
I am sure that there is a reason that everyone starts learning on their heels, but one of the most frustrating parts for me was getting up from my butt.
Please note that if you prefer getting up from your backside, then skip this one!
I finally found that if you place your feet very close to your rear and then grab the long side of the board and pull yourself up, it made it a bit easier.
Yeah sure that is great, but keep in mind that I am a bit taller with long legs..so this took a lot of energy.
And if you are falling every 10-20 feet and constantly needed to get up, that energy can add up quickly and make you exhausted.
And guess what happens when you are exhausted? You get injured.
After learning to get up on My toes first
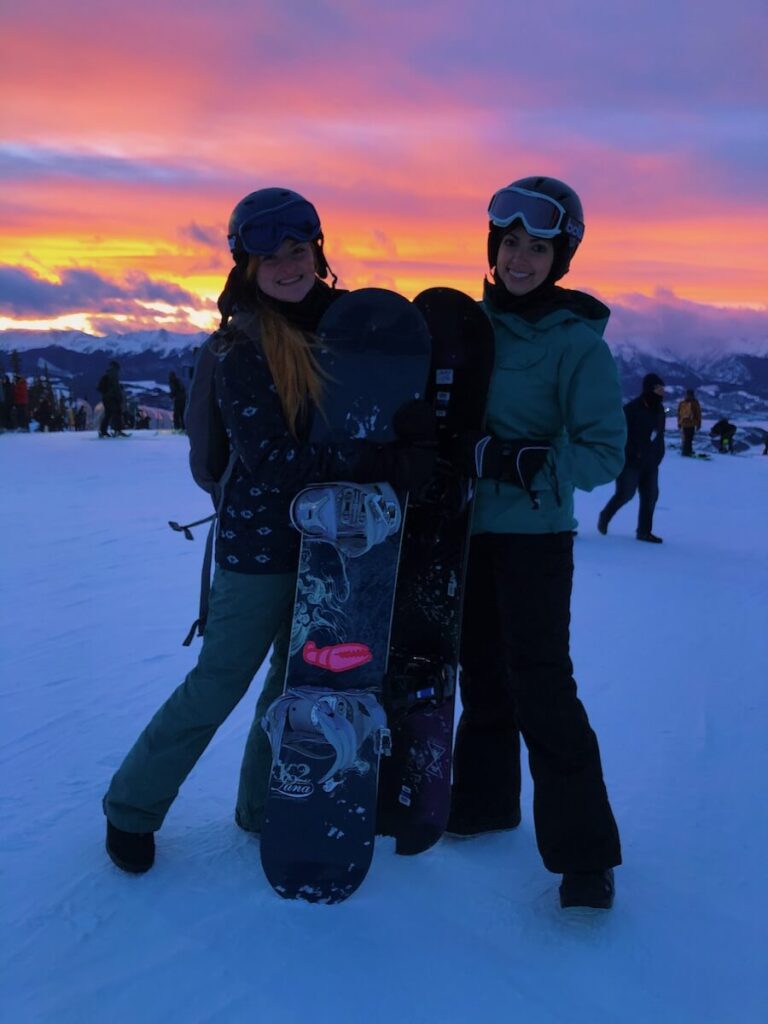
After I learned my toe side, I realized that it was substantially easier to go on my knees and push my body up with my arms. Ever since I learned this, I rarely get up from my heel side.
I am in no way shape or form a snowboard instructor and I know that it is most common to start learning on your heels.
However, if I could go back and learn all over again, I would learn how to get up on my toes and then transition to my heels right away to save myself some of that energy and exhaustion.
focus more on the correct technical aspects of where to place Your weight than just doing what “feels correct”
Looking back, most of my learning experience was just figuring out what I thought was correct and not falling.
I would literally get up and tell myself internally over and over again, “Don’t fall. Don’t fall. Don’t fall.”
Although I am doing okay now, I realize that this strategy cost me a lot of time and pain.
If I had to go back, I would have hired an instructor or at the very least looked up some videos on YouTube on the proper technique regarding where to distribute your weight and what to do with your feet.
I think that if I would have taken the time to practice good technique, I would have progressed faster than figuring it out for myself.
As the old saying goes: practice does not make perfect, only perfect practice makes perfect.
Find Simple Instructions that work for You
When I took a snowboard lesson or was being taught by my uncle, it sometimes seems as if they were speaking another language.
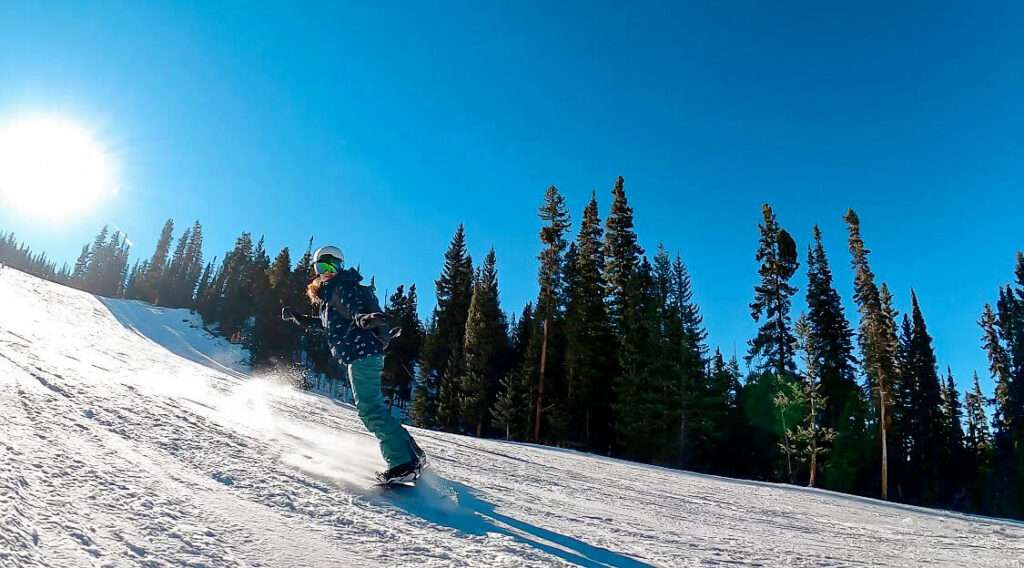
Once I started accumulating simple tricks to help me become a better snowboarder, I started improving.
Here are the best ones that I have heard over the years (including instructors) that made sense to my brain:
- Look forward and focus on where you want to go.
- Stop looking at your feet – they aren’t going anywhere.
- Leaning into your back foot isn’t going to make you go slower; don’t be afraid to lean forward into the slope.
- Bend your knees to have more control over the snowboard.
- Bring your arms out to a “T” and reach in the direction you want to go.
- When on your toes, reach and look over your shoulder gently in the direction you want to go.
- Be patient and don’t rush the journey!
*Please note that none of these are here to substitute a snowboard instructor or be instructional advice. Please take a lesson from a qualified teacher to ensure the best experience. These were just tips that stuck in my brain and helped me learn.
Try to Go on a Powder Day for your first day
I hate to be the bearer of bad news, but you are going to fall hard on your first day. Maybe even your first few days! And this is okay!
If you manage not to fall at all during the initial learning phase, then you deserve an award!
Because of this, try to start your snowboarding experience on a powder day.
This means that fresh snow has fallen and when you do fall, it won’t be on hard compacted snow or (even worse) ice. Your tailbone and head will thank you later.
The Dreaded First Days of Learning to Snowboarding
It depends on the snowboarder, but generally people complain about the first 3 days of learning to snowboard.
The first few days of snowboarding can be downright frustrating, no sugarcoating it!
Between constantly catching edges, tumbling into the snow, and feeling like your board has a mind of its own, it can feel like you’ll never get the hang of it.
Your muscles ache from awkward falls, and watching seasoned riders effortlessly carve down the slopes can be discouraging.
Even strapping in and getting off the lift can seem like impossible tasks. But here’s the thing—every pro once started here too.
It’s all part of the learning curve, and every fall is just one step closer to finally linking those turns and gliding with confidence.
Is Snowboarding Easier Than Skiing?
This question is different for everybody. They are both difficult in their own ways.
However, as somebody who has learned how to ski and snowboard, I would say that snowboarding was harder to learn.
I don’t know if I was expecting it to be as easy as learning how to ski. But, if I could go back in time, I think that I would warn myself.
You might have heard that skiing is easy to learn and hard to master, and snowboarding is hard to learn and easy to master.
Keep in mind, I am not a master at skiing (maybe one of my readers can confirm this for me), but I agree with the learning part of that statement.
I think that if I had a more realistic outlook on how brutal it was and how much work it would actually take to learn, I think I would have been a little less hard on myself.
Instead, I compared it to how fast I picked up skiing and beat myself up (more than my body was already beaten up) for not picking the sport up faster.

What Does it Mean To “Catch an Edge” in Snowboarding?
If I had to pick the most common and dreaded thing about snowboarding, it would no doubt be catching an edge.
In fact, just writing it out caused me to gag a little bit. But what exactly does this mean?
Front Edges
When you catch a front edge, it means that you are on your heels and you’ve dipped your toes down a little too far. This causes your toes to catch on the snow and you to fly forward to land on your face. Not fun…at all.
Front edges are one of the most common reason for wrist injuries since it is basic instinct to try to catch yourself when you are flying forward.
The best advice I’ve received for handling front edges: try to brace your fall with your forearms instead of your wrists. Or, even better, just let your clothing and snow break your fall. This will increase the surface area and avoid wrist injuries.
Back Edges
Back edges are reversed. You are on your toe side and you dip your heels down too far to catch on the snow.
Then, you crash on your butt or your back (and maybe your head!) down the mountain.
This is even more intense than you are used to because you are at an angle on the slope.
Again, not fun…not even a little bit.
The best advice I’ve received for handling back edges: try to sit down as fast as possible and land on your butt.
This will avoid you landing on your back and getting the wind knocked out of you. I’ve been there and it’s not a great time. Trust me.
For me, edges and getting off of the lift were the worst parts about learning how to snowboard. Once, I caught a back edge so bad that I couldn’t sit properly for a week.
I don’t care how good they are, every snowboarder has eaten the snow or been slammed on their back at one point or another.
Just say “catch an edge” to a snowboarder and watch their left eye twitch.
With that being said, I think it’s important to be aware of catching edges, but not let the fear of them hold you back.
They are a part of learning how to snowboard, just like falling when riding a bike. It is a rite of passage.
So, accept that they suck, get over it, dust off your ego, and keep snowboarding!
Why The Lift Always Sucks on a Snowboard
You want to know my second biggest anxiety that comes with snowboarding besides catching edges? Getting off of the lift!
How do you get off the lift as a snowboarder?
When riding the lift, you will have one foot strapped in and another foot loose. This causes the board to dangle by one foot when you are riding the lift.
Once you approach the end, you will put your food on the inside of your back binding and ride on out.
Seems simple? It’s actually super difficult. The times that I have gotten injured have all been getting off the lift…
Okay, skiiers. You win this round, because it is super easy for you!
How to get better at getting of lifts with a snowboard?
The honest answer? You don’t. All you can do is practice and try not to fall.. Even after 4 years of snowboarding, the lift still gives me anxiety and I still fall every once and a while.
It’s a necessary evil of the sport. Oh, well.
However, there are some things that you can do…
Practice Riding one footed First
The best advice that worked for me was strapping only your front foot and getting very good at riding with one foot.
This is similar to a skateboard where you push off the ground and then bring your unattached back foot to the board.
I’ve seen it both ways, but generally snowboarders push off with their unattached foot behind the board.
This will prepare you for lift lines as well as muscle memory for where to place your foot on the board as you are exiting the lift.
Buy a Stomp Pad
It is a common practice to put what is known as a “stomp pad” on the area inside of your back foot.
This increases traction with your boot and makes it easier to get off lifts.
Mine is currently a cute little snowflake and I love it!
You will find this on the majority of snowboards-even pros.
Slow Down the Lift
I would recommend waving your hands in a downward motion as you approach the end of the lift.
This way, the lift operator will slow down the lift for you. This gives you more time to get your foot and body in place (and have a mini anxiety attack).
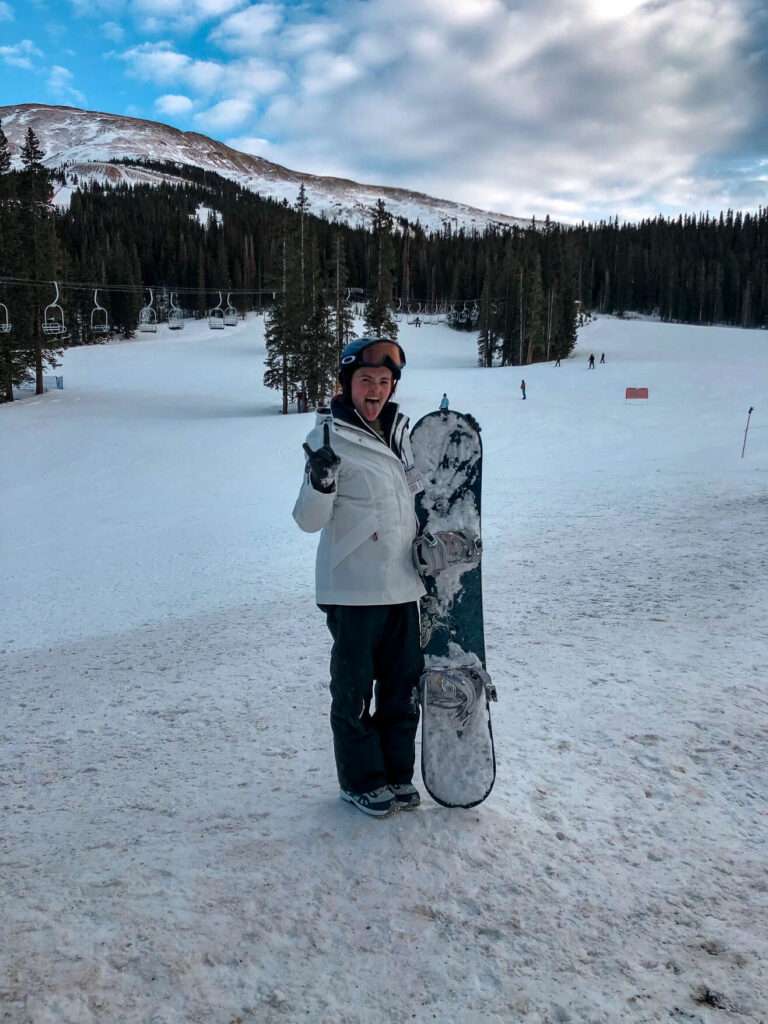
Is Snowboarding Hard?
After covering all of this information, let’s answer the question that everyone is dying to know the answer to…
Is snowboarding hard or is snowboarding easy?
I am going to be completely honest with you. When I first decided to snowboard, I looked up “how hard is it to snowboard” and got a lot of answers from professional snowboarders saying that it was easy.
But I’m not a professional snowboarder. I’m just an average lady with average athletic abilities. And I don’t want to sugar coat anything only to have you blind-sided later.
It is hard. You will fall. You will cry. You wonder why you are doing this to yourself and spent so much money on a lift ticket.
But I promise that it is worth it! You just have to get over that hump and make it through the first season! And if you are taking professional lessons this process will go even faster!
I think it is important to go at your own pace, don’t worry if you look like a beginner, and enjoy the journey.
Honestly, once I felt comfortable on my heels with the “falling leaf” or riding across the slope, I felt like I could handle most things and get out of the learning area.
Once I started linking my turns, I was HOOKED and was having the time of my life.
Learning to Snowboard FAQ
Let’s answer some common questions about becoming average at snowboarding.
Final Word on If Snowboarding is Hard
Are you looking to learn snowboarding and reading this article? Don’t forget to follow and tag me on social media so that I can see how it went!
I would love to hear about your experience of checking this off of your bucket list and to cheer you on from the sidelines (and wincing when you catch an edge).
Let’s connect on social media @TheBucketListMermaid and nerd out about snowboarding together!
Just remember—we’ve all been there and it is worth it in the end!
More Snow For Your Bucket List
Colorado Bucket List (By a Local!)
Christmas Bucket List: Travel Edition
Travel Winter Bucket List: 110+ Ideas to Warm Your Wanderlust This Winter (with Printable!)
January Bucket List For Travel
More Travel Resources
Adventure Bucket List Resources
I am here to help your travel adventures go as smoothly as possible! That way you can check off that bucket list with minimal complications and spending!
SHOP – Shop the best adventure gear and essentials on my Amazon Storefront – handpicked by a full-time adventuring mermaid!
AIRFARE – There are a few I use, but Aviasales is normally my go-to for flights without any extra fees or markups.
ACCOMMODATION – My two favorites are Booking.Com for hotels and VRBO for rentals.
GUIDED TOURS – If you are looking for quick and easy tours, check out GetYourGuide and Viator.
MULTI-DAY TOURS – For more in-depth tours that span several days, TourHub has many great options with reputable travel companies. Use my code (ALEXANDRA1GURU) for up to 5% off your next bucket list adventure.
TRANSPORTATION – You can either rent a car yourself with Discover Cars or do a guided bus tours like Big Bus Tours.
CREDIT CARD – I always use my Chase Freedom Unlimited card for all of my purchases. There is no annual fee and you get 1.5% cash back and 5% cash back on travel purchased through Chase Travel.
SIM CARDS – Avoid expensive roaming charges with an eSim card with Airalo. Personally, I prefer wifi boxes, and recommend WiFi Candy (get 10% of with the code THEBUCKETLISTMERMAID).
TRAVELER’S INSURANCE – Check out VisitorsCoverage for affordable insurance plans.
See Some PHotos You Like?
Check out my full photography page for a full gallery and prices.
