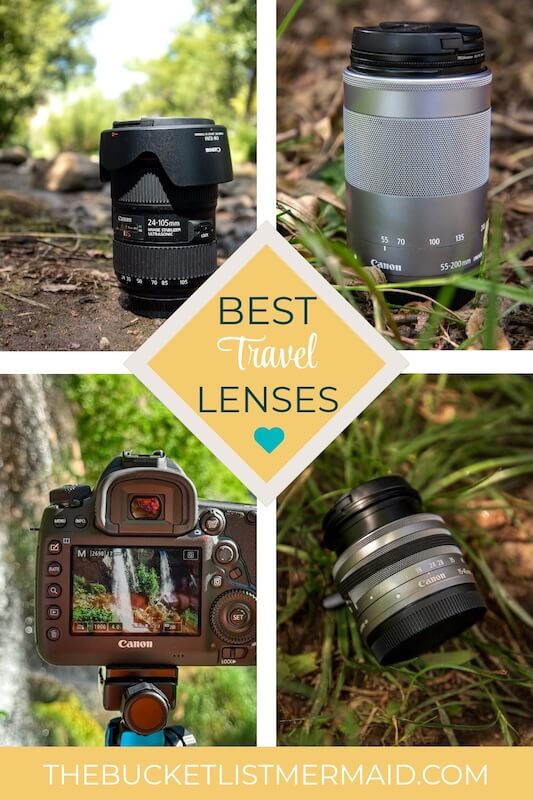
Best Lens for Travel Photography (2025 Guide)
This website contains affiliate links from trusted partners. If you purchase through a link on this site, I may earn a commission at no extra cost to you. As an Amazon Associate, I earn from qualifying purchases. See my Privacy Policy and Disclosure for more information.
Too many lenses, not enough suitcase? Same.
I’m Alexandra – full-time RVer, adventure blogger, mermaid, and travel/landscape photographer, and I’ve carried all the camera gear from slot canyons to city rooftops so you don’t have to.
This simple guide cuts through the jargon and shows you exactly which travel lenses work best: when to go wide, when a standard zoom wins, when a telephoto saves the shot, and why a tiny prime belongs in your daypack.
By the end, you’ll know the one (or two) lens from every major brand to pack with confidence.
Key Takeaways
- If you only buy one lens, make it a stabilized standard zoom, like a 24–105mm.
- Add a tiny 35mm or 50mm prime for night/indoor magic or a compact 70–300mm for wildlife and distant details.
- If you hate swaps, grab a 24–240 superzoom and go.
IMPORTANT: Before you invest in any lens, make sure that it will fit your camera body or you have the necessary attachments before you buy!
How to Read Travel Lens Names
Before we get started, let’s look at how to read lens names so that you don’t accidentally invest in the wrong gear.
Lens names look like code, but it’s really just a few parts:
- Focal length (mm): How “wide” or “zoomed” it is.
- Single number = prime (e.g., 50mm).
- Range = zoom (e.g., 24–105mm).
- Aperture (f/number): The brightest the lens opens.
- f/1.8, f/2.8 = brighter, better low light, more background blur.
- f/4–7.1 = variable aperture (dims as you zoom); f/4 = constant.
- Mount / system letters: Which cameras it fits.
- Canon: RF / EF / EF-S • Sony: FE / E • Nikon: Z / Z DX • Fujifilm: X
- Stabilization: Keeps shots sharp handheld.
- Canon IS, Nikon VR, Sony OSS, Fuji OIS.
- Focus motor (quiet/fast AF):
- Canon STM/USM, Sony XD/Linear, Nikon AF-P/STM, Fuji LM.
- Weather sealing / pro badge:
- WR (weather-resistant), L / GM / PRO / S = premium lines.
Whew! Sorry – that was a lot of information. Now, we can get into the fun stuff for the best lens for travel photography!
Quick Answer: My Top Travel Lens Types
Only want one lens → standard zoom
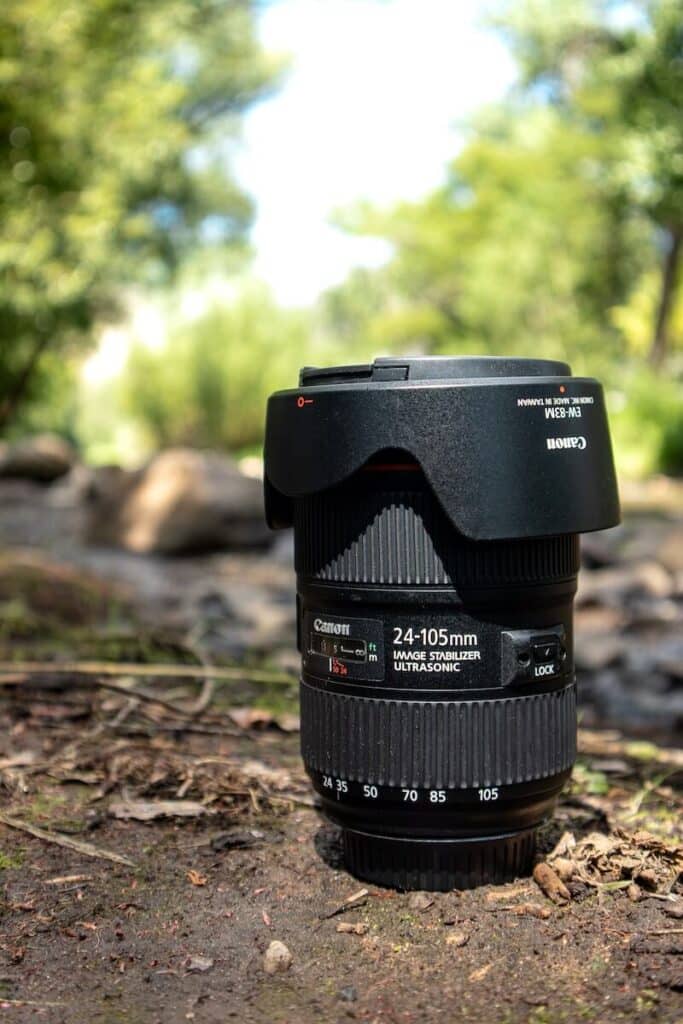
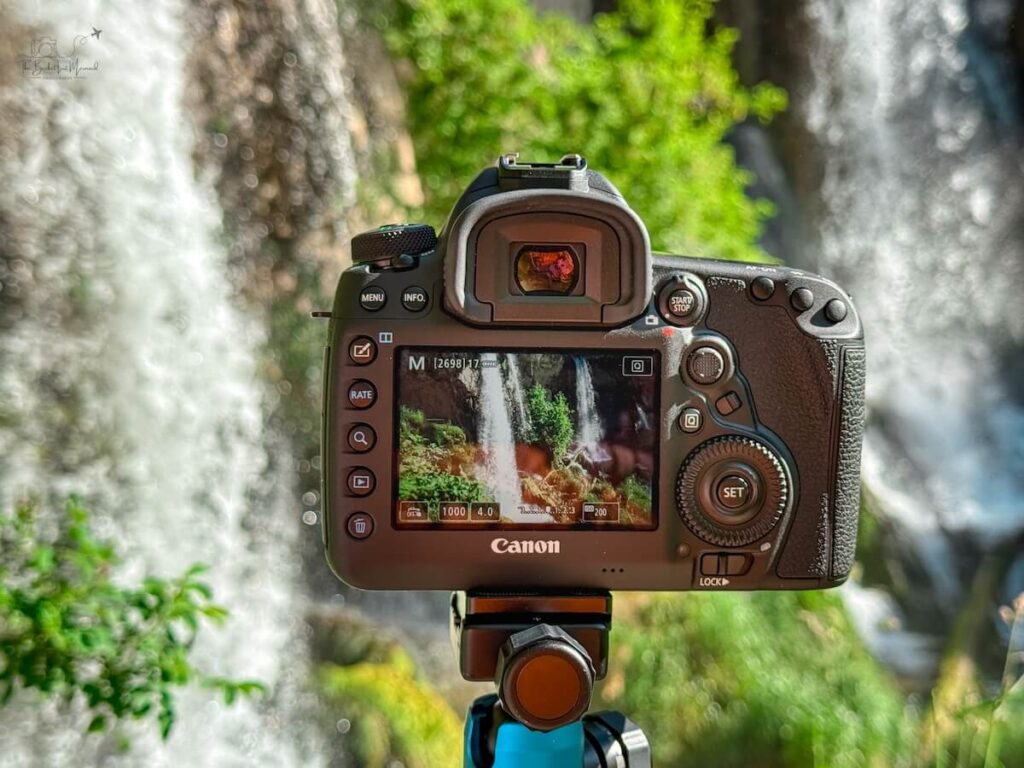
I shoot primarily with a Canon EOS 5D mark IV with an EF 24-105mm f/4 lens.
This covers landscapes, food, portraits, and city details without constant lens swaps.
Keep in mind…when you are traveling and adventuring, it has a tendency to get dusty, wet, and dirty.
Because of this, I try to swap my lens as few times as possible!
Also, consider investing in a rain cover to protect your gear!
The Two-lens combo → Pair a Zoom with…
- A small fast prime (35mm or 50mm) for low light, food, and people, or
- A compact telephoto (70–200mm) for wildlife, architecture details, and compressed vistas.
Maximum convenience: Superzoom (24–200/240) = one lens to rule them all. Trade-offs: softer corners, slower apertures, and meh in low light.
| Scenario | Recommended Focal Length |
|---|---|
| City | 35mm or 50mm |
| Landscapes | 70-200mm or <35mm |
| Safari / Wildlife | 70–200mm or 100–400mm |
| Low Light / Night | 35mm or 50mm prime with wide apertures |
| People / Street | 35mm prime or 24–70mm |
| Adventure Sports | 35mm prime, 50mm prime, 70–200mm |
Lens Types for Travel
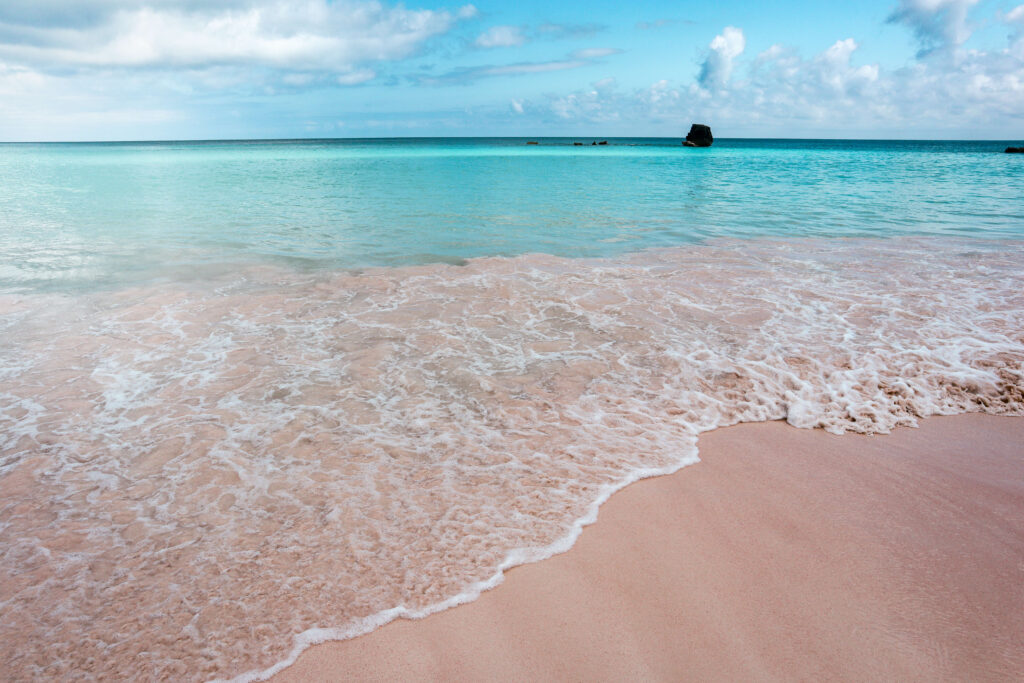
Wide Angle
Wide angles are your “wow, that’s huge” lenses.
They pull in more scene and exaggerate foregrounds, which makes rocks, flowers, or market stalls pop.
Best for: big landscapes, tight alleys, interiors, astro.
Pros: fits more in frame; dramatic perspectives.
Cons: edge stretch, warped verticals, extra clutter, bigger filters.
Pro tip: before pressing the shutter, scan your edges for distractions and step closer to a strong foreground instead of just cranking wider. You’ll get depth, not distortion chaos.
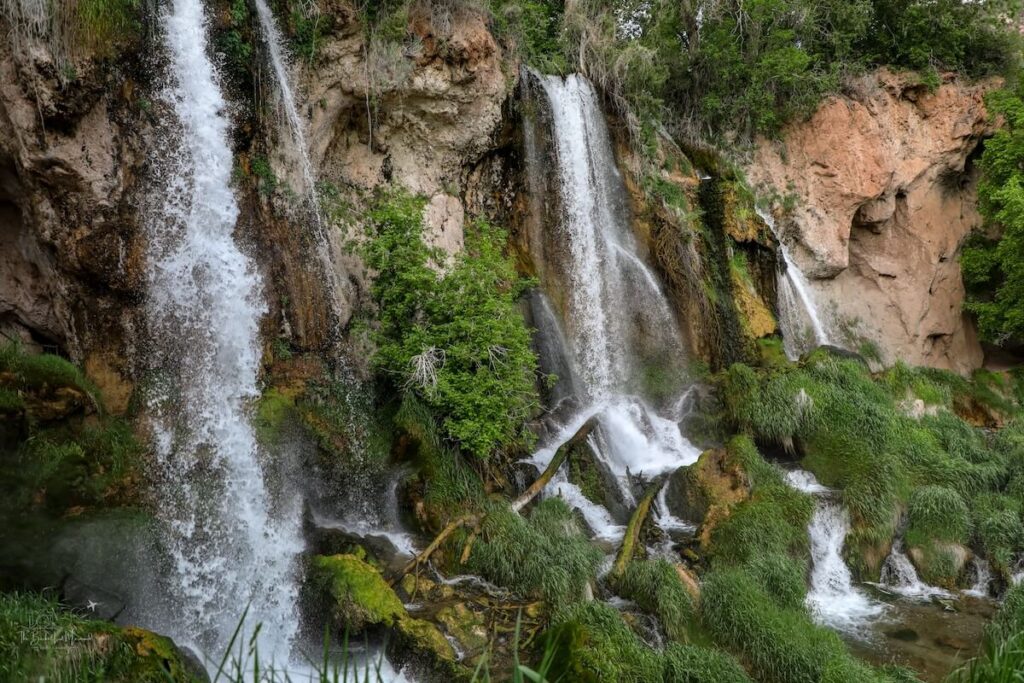
Standard Zoom
If travel had a default setting, this would be it.
A standard zoom covers about 80% of travel shots (city scenes, food, portraits, landscapes) without swapping lenses every block.
Best for: city, food, portraits, landscapes.
Pros: versatile, often stabilized, comfy walk-around.
Cons: f/4 is dimmer than primes; variable apertures darken as you zoom.
Pro tip: if your camera has IBIS, an f/4 standard zoom is usually enough (and lighter). Want more subject separation? Zoom toward the long end and step back. This gives instant background blur without changing lenses.
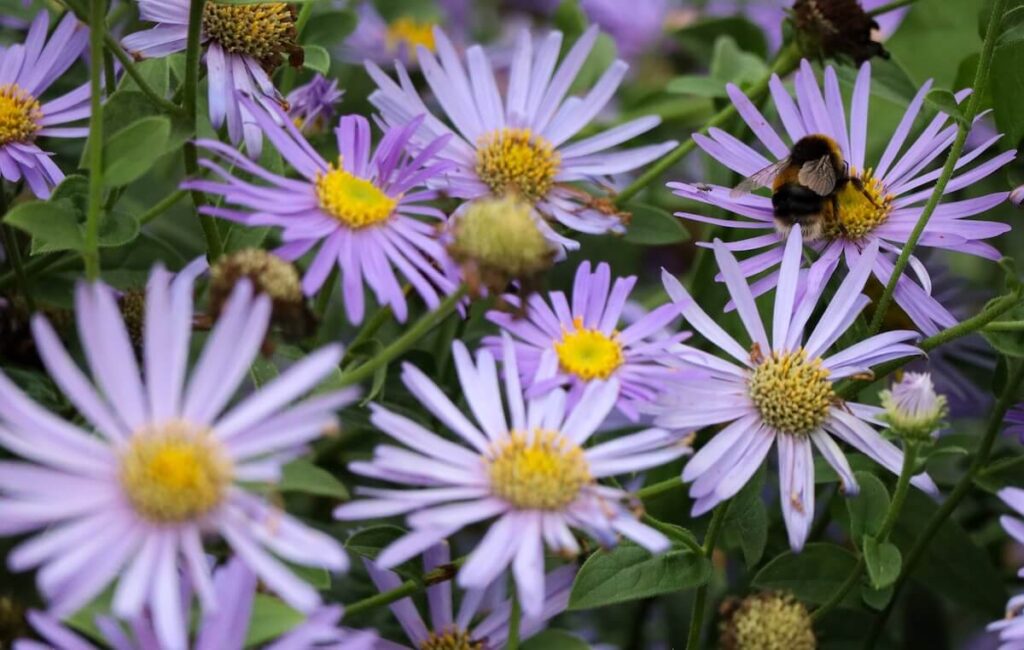
Primes
Primes are the secret sauce. Less glass = crisper image.
Plus, they tend to have bright apertures (f/1.4–f/1.8) that let in loads of light, keep ISO down, and deliver creamy bokeh.
Best for: low light, portraits, food, night markets, storytelling.
Pros: tiny, sharp, bright (f/1.4–f/1.8).
Cons: fixed focal length = “zoom with your feet.”
Pro tip: a 35 or 50 turns dim restaurants and moody streets into keepers.
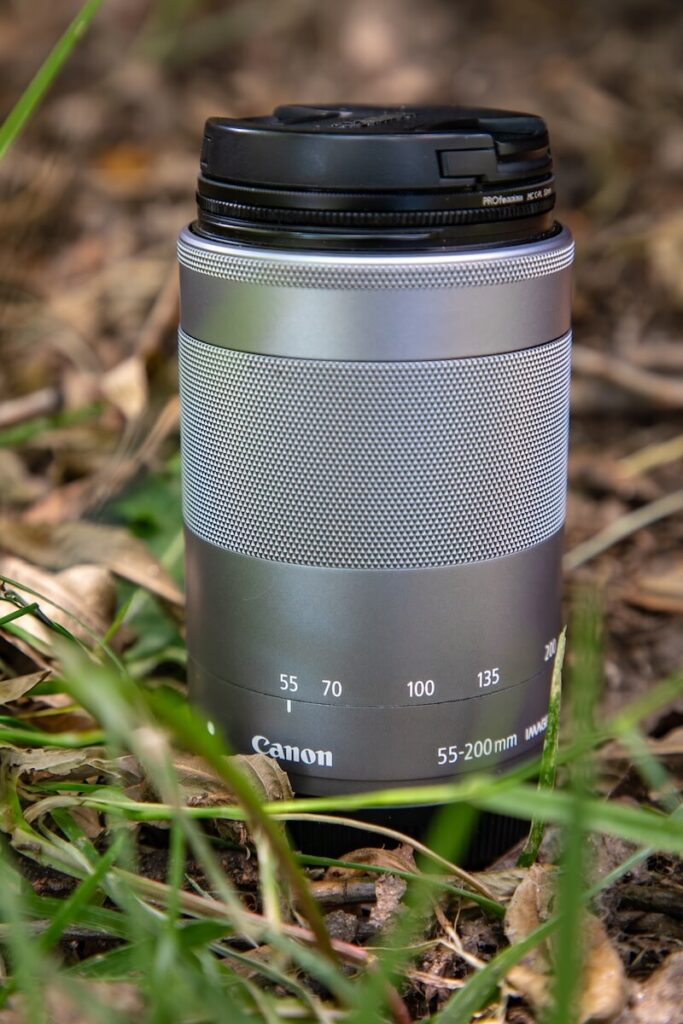
Telephoto & Superzoom
Long lenses are your detail hunters!
Best for: safari, distant architecture, mountain layering, compressed cityscapes.
Pros: flattering compression, subject isolation, safer wildlife distance.
Cons: heavier, pricier, slower apertures; more handshake.
Read More – Best Travel Photography Hashtags to Use
How to Choose (Without Overthinking It)
Most photographers (me included) find a setup that works and stick to 1–2 lenses. Don’t collect glass…carry what you’ll actually carry.
Prioritize by trip
- City & museums: Standard zoom + small fast prime for low light.
- Alpine vistas: add ultra-wide
- Wildlife/safari: Add a compact tele (70–300 or 100–400).
- Night markets: 35mm or 50mm prime (f/1.8–f/1.4).
What you are doing on your travels should determine which lens you take.
Read More – Museum Photography Guide | How to Become a Travel Photographer
Things to Keep in Mind
Weight & size: If it’s heavy, it stays in the hotel.
Stabilization: In-lens (IS/VR/OSS) or in-body (IBIS) = sharper handheld shots. I always will avoid tripods if I can.
Weather sealing: Necessary for dust, mist, and surprise rain.
Filter size: Standardize with step-up rings (one CPL, one ND, many lenses).
Packing Sytles
- One-lens minimalist: Standard zoom or a travel superzoom.
- Two-lens versatile: Standard zoom + 35/50 prime or compact tele.
- Three-lens pro kit: Ultra-wide + standard zoom + compact tele.
Rent vs buy
If you are going on once-in-a-lifetime trips, I would consider renting a specialty lens.
For example, if I ever went on a safari, I would rent a 100-400 f/4.5.
This is also a great way to test out lenses before you invest.
Best Travel Lens by Brand
Just a reminder, you will notice the RF/FE/Z or similar. This is the lens mount and will depend on the body of the camera. For example, my camera takes the Canon EF mount.
Canon
- Walk-around: RF 24–105 f/4 L
- Ultra-wide: RF 14–35 f/4 L
- Tele (compact): RF 70–200 f/4 L | RF 100–400
- Superzoom: RF 24–240
- Prime: RF 35 f/1.8 Macro IS | RF 50 f/1.8
Sony
- Walk-around: FE 24–105 f/4 G
- Ultra-wide: FE PZ 16–35 f/4 G
- Tele (compact): 70–200 f/4 G II
- Superzoom: 24–240 f/3.5
- Prime: FE 35 f/1.8
Nikon
- Walk-around: Z 24–120 f/4 S
- Ultra-wide: Z 14–30 f/4 S
- Tele (compact): Z 70–180 f/2.8 | 100–400 S
- Superzoom: Z 24–200 VR
- Prime: Z 35 f/1.8 S | 50 f/1.8 S
Fujifilm
- Walk-around: XF 16–80 f/4 OIS WR
- Ultra-wide: XF 10–24 f/4 OIS WR
- Tele (compact): XF 70–300 OIS WR
- Superzoom: XF 18–135 OIS WR
- Prime: XF 35 f/2 WR

Canon Corner: What I Pack as a Travel Photographer
Most trips I bring one standard zoom; then I add a prime or telephoto only if the itinerary demands it.
- Casual Walk-around: 5D Mark IV + 24–105. Weather-sealed, better camera, but heavy.
- Low light: 50mm f/1.2L is my dream tiny add-on; markets and restaurants look like cinema.
- Long Treks/Adventures: M50 Mark II + 15–45 for streets/interiors, then 70–200 for layered mountains and wildlife. I take this when I need to keep it as light as possible.
Other Accessories for Travel Photography
- One filter to rule them all: buy one CPL + one ND in a larger size and use step-up rings for every lens.
- Protection squad: rain cover or zip bag, a few silica packets.
- Tripod reality check: Although I wish I could carry a study tripod around while I’m adventuring…I have to be realistic. Most of the time, I carry my handy travel tripod instead.
- Clean crew: 2–3 microfiber cloths + rocket blower. Dust happens.
Travel Lens Lingo: A Pocket Dictionary
- Full-Frame (FF): Big sensor. Lenses read at their labeled focal length.
- APS-C: Smaller sensor (~1.5× crop).
- Prime Lens: Fixed focal length. Small, sharp, bright.
- Zoom Lens: Variable focal length. Versatile; fewer swaps.
- Ultra-Wide / Wide: Super broad view.
- Standard Zoom: The “do-everything” range.
- Telephoto: Long reach (70–200/300/400).
- Superzoom: Huge range (e.g., 24–200/240). One lens, all trip; some trade-offs.
- Fast Lens: Big max aperture (low f-number like f/1.8 or f/2.8). Better in low light; more blur.
- Slow Lens: Smaller max aperture (f/4–6.3). Lighter/cheaper; needs more light.
- Aperture (f-number): Lens opening size. Lower = brighter + shallower depth of field.
- Depth of Field (DoF): How much looks in focus front-to-back.
- Stabilization: Helps reduce blur from hand shake.
- IBIS: In-Body Image Stabilization.
- OIS/IS/VR/OSS: In-Lens stabilization (brand names: Canon IS, Nikon VR, Sony OSS, etc.).
- Sync-IS / Dual IS: Body + lens stabilization working together.
- Constant vs Variable Aperture:
- Constant: Same f-number through the zoom.
- Variable: Gets dimmer as you zoom.
- Compression: Long lenses make background look closer/larger relative to the subject.
- Reach: How “far” a lens brings subjects to you (longer focal length = more reach).
- Edge/Corners (Sharpness): Image quality near the frame edges.
- Minimum Focus Distance (MFD): Closest your lens can focus.
- Internal Zoom: Lens doesn’t extend when zooming. Better balance/sealing.
- Zoom Lock: Physical switch to stop the lens extending (“creeping”) in your bag.
- PZ (Power Zoom): Motorized zoom—handy for smooth video zooms.
- Weather Sealing: Gaskets/engineering that help resist dust/moisture. (Not scuba gear.)
- Lens Hood: Petal tube that blocks stray light and protects the front element.
- CPL (Circular Polarizer): Cuts glare; deepens skies; makes water/windows less reflective.
- ND Filter (Neutral Density): Sunglasses for your lens.
- Step-Up Ring: Adapter that lets one big filter fit smaller lenses (buy one great CPL/ND, use on all).
- Filter Thread Size: Millimeter size on your lens front. Matches your filters/rings.

FAQ for Finding the Best Lens for Travel Photography
Use this space to provide your website visitors with a brief description on what to expect before clicking on a section title.
Final Take: Pick the Lens That Matches Your Trip
In the end, the “best” travel lens is the one that makes you leave the room and chase the light.
Pick a partner you trust…maybe a walk-around zoom, maybe a tiny prime…and go make the kind of photos you’ll brag about to strangers on a shuttle bus.
Missed focus? Wrong lens? That’s called a story. Pack light, shoot bold, and let curiosity, not specs, set your itinerary. Grab your lens, zip the bag, and meet me at sunrise.
What’s Next For Your Travel Photography?
Ready to make some magic? Pick your move 👇
Download my Adventure Photography Cheat Sheet (free!)
Pocket settings for capturing every adventure
Join my Facebook lounge: Shutterbugs Gone Wild
Share your travel shots, ask questions, snag feedback, and meet your people. No gatekeeping, just good vibes.
Hire me to edit your photos (you travel, I polish)
Consistent, pro-level edits without the late-night Lightroom spiral. So you can spend more time chasing sunsets.
It is very important to also talk about mental health and burnout with travel photography (yes, that’s a thing)! Always take care of yourself and don’t forget to live!
More Travel Photography Posts
More Travel Resources
Adventure Bucket List Resources
I am here to help your travel adventures go as smoothly as possible! That way you can check off that bucket list with minimal complications and spending!
SHOP – Shop the best adventure gear and essentials on my Amazon Storefront – handpicked by a full-time adventuring mermaid!
AIRFARE – There are a few I use, but Aviasales is normally my go-to for flights without any extra fees or markups.
ACCOMMODATION – My two favorites are Booking.Com for hotels and VRBO for rentals.
GUIDED TOURS – If you are looking for quick and easy tours, check out GetYourGuide and Viator.
MULTI-DAY TOURS – For more in-depth tours that span several days, TourHub has many great options with reputable travel companies. Use my code (ALEXANDRA1GURU) for up to 5% off your next bucket list adventure.
TRANSPORTATION – You can either rent a car yourself with Discover Cars or do a guided bus tours like Big Bus Tours.
SIM CARDS – Avoid expensive roaming charges with an eSim card with Airalo. Personally, I prefer wifi boxes, and recommend WiFi Candy (get 10% of with the code THEBUCKETLISTMERMAID).
TRAVELER’S INSURANCE – Check out VisitorsCoverage for affordable insurance plans. If you are a nomad or remote worker, I would check out SafetyWing.
SEE MORE – Adventure Resources | Photography Resources
See Some Photos You Like?
Check out my full photography page for a full gallery and prices.