So You Wanna Hike the 14er Mt. Bierstadt? Read This First!
This website contains affiliate links from trusted partners. If you purchase through a link on this site, I may earn a commission at no extra cost to you. As an Amazon Associate, I earn from qualifying purchases. See my Privacy Policy for more information.
Thinking of bagging your first Colorado 14er? Or wondering why Mt. Bierstadt is the Fourteener that turns casual hikers into summit junkies?
Welcome to the gateway drug of high-altitude hiking.
Mt. Bierstadt may be labeled one of the “easiest” 14ers in Colorado – but don’t let that fool you.
Between thin air, unpredictable weather, and underestimating the climb, this trail has humbled many.
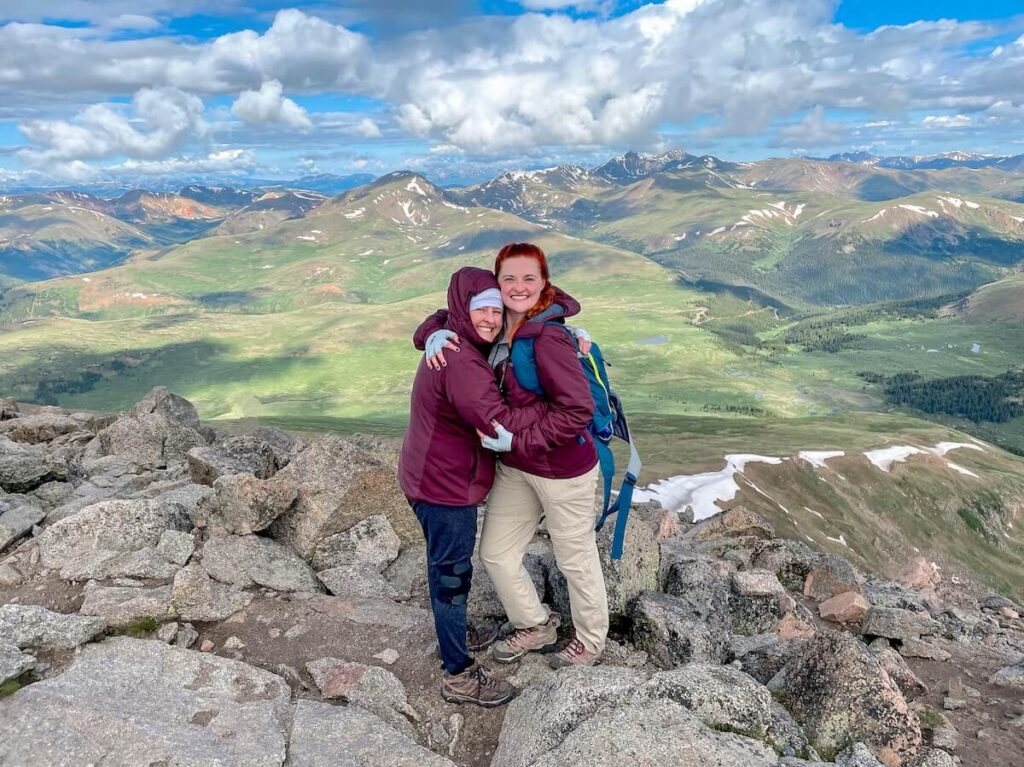
I’m a Colorado local who’s climbed Mt. Bierstadt more times than I can count – including guiding wide-eyed first-timers like my British boyfriend at the time, who learned the hard way that altitude doesn’t care about your sea-level confidence.
This isn’t your average trail guide. You’ll get the full local scoop: how to prepare, what to expect, gear to pack, how to avoid rookie mistakes, and what it actually feels like to summit this 14,065 ft beast.
This guide will help you hike smarter, stay safer, and soak in every jaw-dropping step – with fewer surprises and more summit selfies.
Quick Facts About the 14er Mt. Bierstadt
| Feature | Details |
| 🏔️ Elevation | 14,065 feet |
| 📍 Trailhead | Guanella Pass (accessible via paved road). Be careful! It’s easy to miss in the dark! |
| 🥾 Mileage | ~7.2 miles round trip |
| 📈 Elevation Gain | ~2,700 feet |
| ⚠️ Difficulty | Class 2 (mostly hiking, short rock scramble at the summit) |
| ⏱️ Estimated Time | 4–6 hours total |
| 📆 Best Season | Late June – Early October |
| 🐾 Dog-Friendly? | Yes – but expect rock scrambling and pack extra water |
| 🚗 Parking Situation | Fills up very early – arrive before sunrise or risk overflow lot cardio |
Why Mt. Bierstadt Is Called the “Easiest Colorado Fourteener” (And Why That’s Misleading)
You’ll hear it everywhere: “Oh, Bierstadt? That’s one of the easiest 14ers. You’ll be fine.”
Famous last words.
Yes – Mt. Bierstadt has earned a reputation as one of the most “approachable” 14ers in Colorado.
The trail is well-marked, the access road is paved, and the relatively short mileage makes it seem like a friendly intro to high-altitude hiking.
But let’s get one thing straight: “Easy” does not mean effortless.
Here’s why Mt. Bierstadt still kicks butt (and lungs)
You’re still hiking to 14,065 feet: Altitude doesn’t care if you CrossFit or run marathons at sea level. Oxygen is scarce up there, and your lungs will notice.
The trail gains 2,700 feet in under 4 miles: It’s a steady uphill grind – and that last rocky summit push? It’s a boulder-hopping scramble that’ll have you questioning your life choices (or your legs).
The weather can go from bluebird to blizzard: Afternoon lightning storms are common in summer, and wind can turn that summit selfie into a full-body shiver.
Real Talk from the Trail
I have hiked Mt. Bierstadt many times, often with someone who was losing their “14er virginity”.
One time, my parents hiked it with their marathon-running friend, only for her to get altitude sickness so bad that she literally appeared drunk!
Other times, I’ve had people feel dizzy, nauseous, and just flat-out breathless.
Each time, we made it to the top. But every person did mutter a version of, “This isn’t hiking – it’s suffering with scenery.”
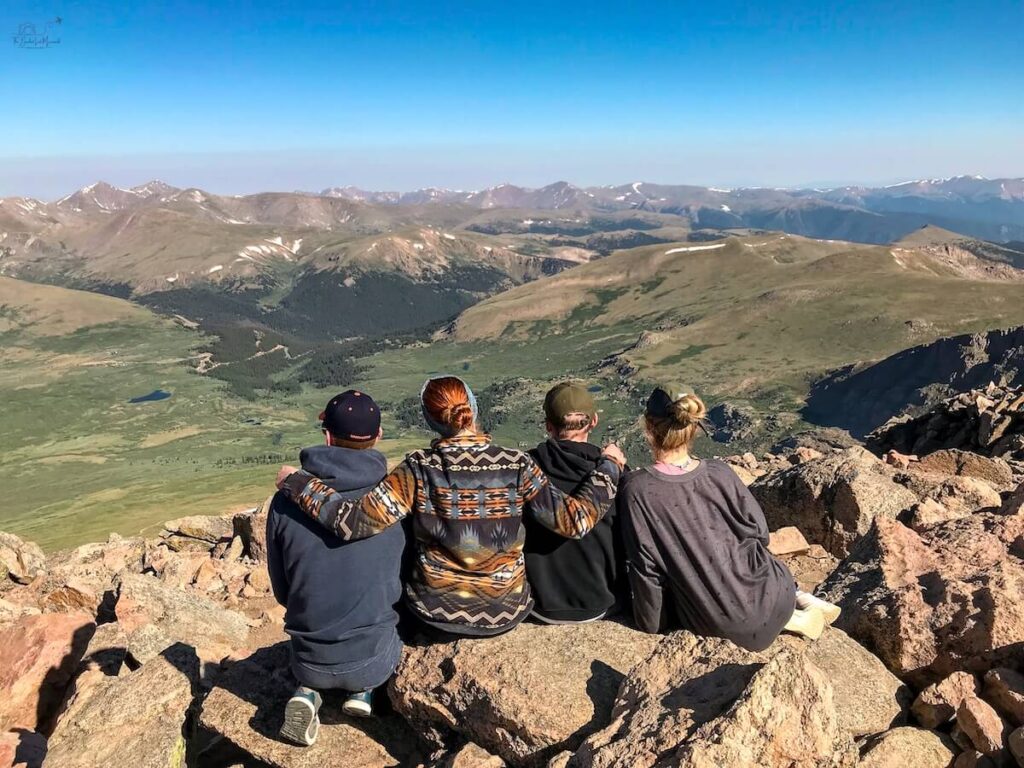
Expect Crowds (and Summit Selfies)
Because Mt. Bierstadt is one of the easiest (and closest to Denver) Colorado 14ers, the trail is usually bustling, especially mid-morning to afternoon.
You’ll share narrow stretches with slow hikers, day-trippers, and plenty of selfie stick warriors at the summit.
If you’re looking for peace and quiet, you might want to rethink your timing or do a different 14er.
The Bottom Line
Mt. Bierstadt is a fantastic first Fourteener – but only if you take it seriously. Don’t show up with a granola bar, a water bottle, and dreams.
You need proper gear, solid fitness, and a healthy respect for the mountain.
This isn’t just a walk in a really big park.
It’s a high-altitude adventure – and if you’re not ready, it’ll humble you real quick.
Getting to the Trailhead for Mt. Bierstadt
Trailhead Details
- Name: Guanella Pass Trailhead
- Access Road: Fully paved (yay!), but closes in winter due to snow
- Elevation at Trailhead: ~11,600 ft – so you’re already up there
- Coordinates: See Google Maps
Parking Tips (This Is Crucial!)
- Arrive before 5:30 a.m. on weekends – earlier if it’s a holiday or peak season
- The lot fills up fast, and there’s limited overflow (you don’t want extra miles at altitude)
- Use the USDA Forest Service site for parking/closure updates
Closest Towns (For Snacks + Sleep)
Georgetown: 20–25 min drive, cute mountain town, gas + grub + charming Airbnbs
Idaho Springs: 35–40 min drive, more lodging and restaurants
Bonus tip: Stay overnight in Georgetown to help your body adjust to the elevation before your hike. Trust me…your lungs will thank you 👇
Essential Gear for Climbing Mt. Bierstadt
- Layers – temps swing wildly from sunrise to summit
- Windbreaker or rain jacket – weather can turn fast
- Hat, gloves, sunglasses & sunscreen – yes, even in July
- 2–3 liters of water – dehydration hits harder at altitude
- A small roll of toilet paper and a plastic bag for you to pack out your trash
- High-calorie snacks – trail mix, granola bars, candy, you name it
- Sturdy hiking boots – traction matters, especially on that summit scramble
- Trekking poles – not essential, but great for knees and balance
- First aid kit + electrolytes – headaches, blisters, and cramps happen
Read More – Hiking Gear Essentials
Optional But Helpful
- AllTrails map downloaded offline
- Microspikes – if you’re hiking in late spring or early fall
- Headlamp – if you’re starting before sunrise (and you should)
- Camera or phone – because those summit views are chef’s kiss
Pro Tip: Pack like the weather hates you. Because some days, it absolutely does.
Best Times to Hike + Weather Warnings
When it comes to 14ers, timing isn’t just everything – it’s life or death (literally).
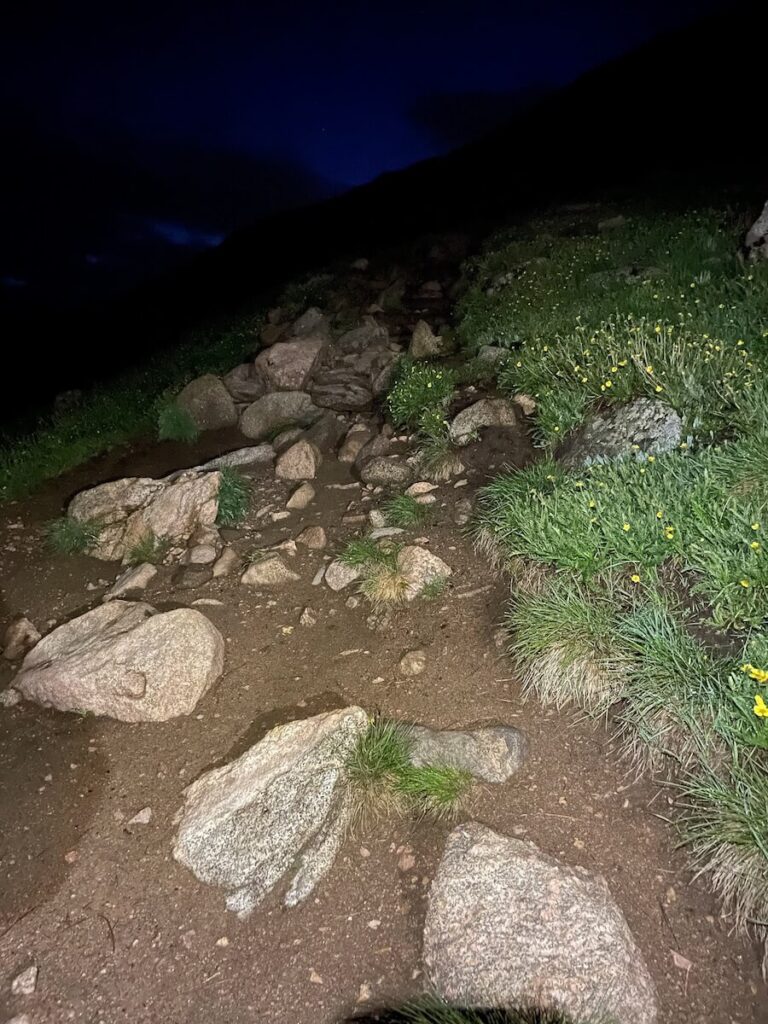
Start Early…Like Really Early
Aim to hit the trail before sunrise.
That’s not being hardcore – that’s beating the afternoon thunderstorms that regularly roll in, especially during Colorado’s monsoon season (July–August).
Read More – Full Colorado Bucket List
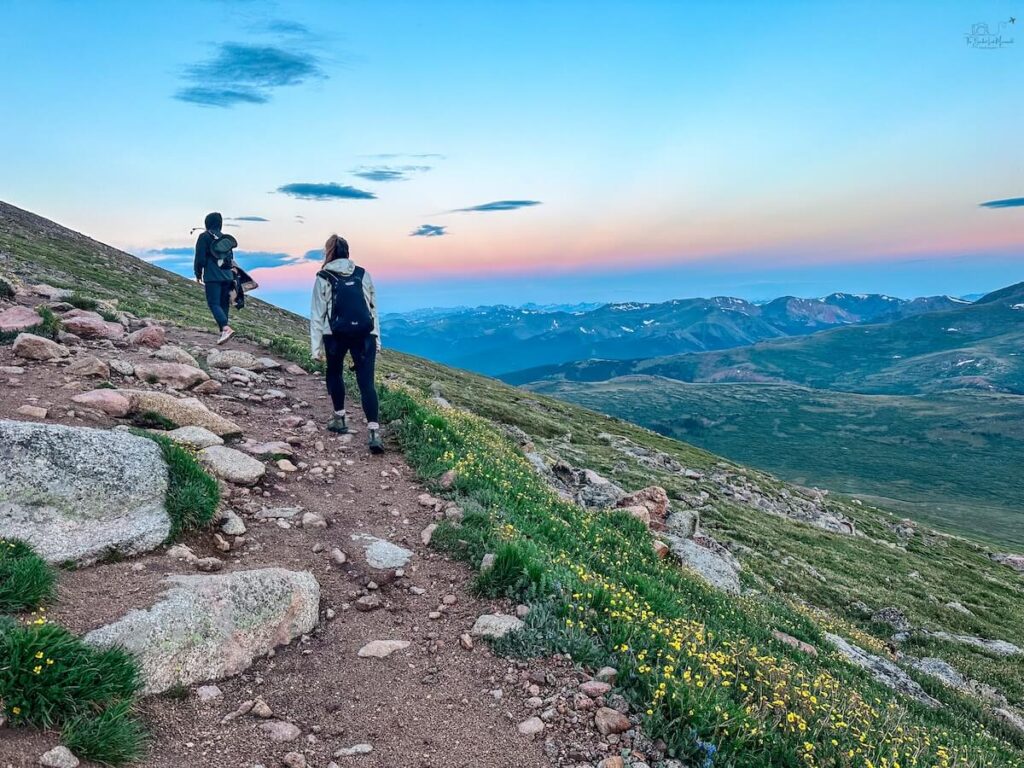
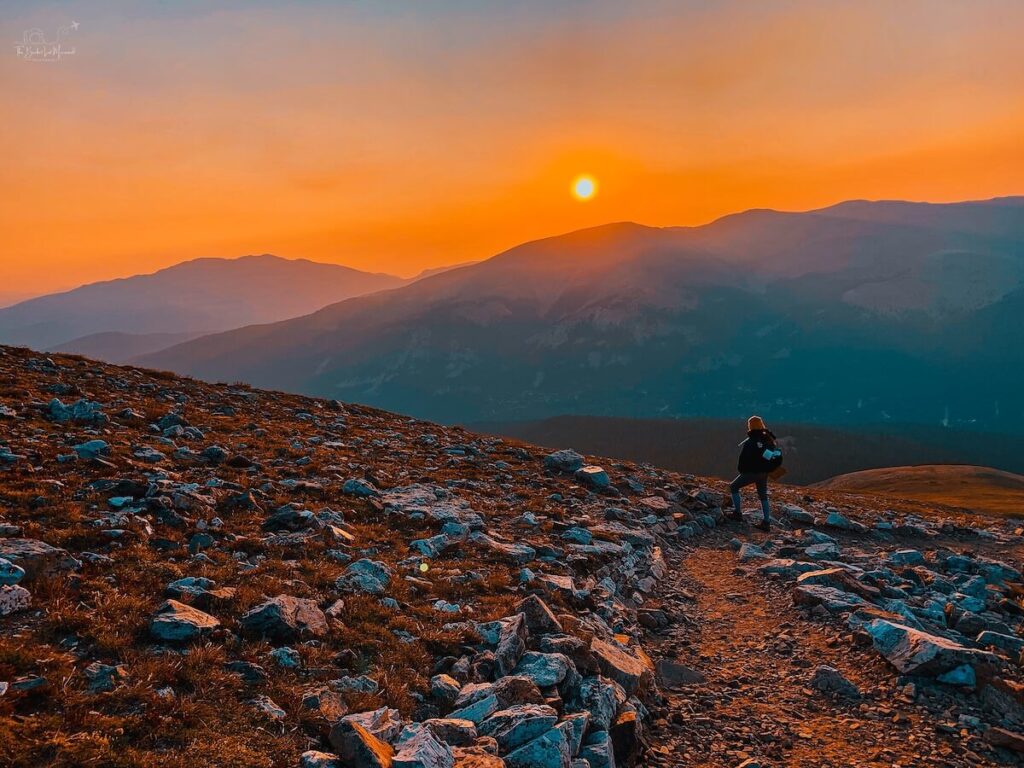
Try for a Sunrise Summit
This is my hidden gem secret…shhh…don’t tell anyone!
I always start about 2 to 3 hours earlier than the rest of the crowds.
Yup, that means I arrive at the parking lot at around 2 to 3am!
There are several reasons for this:
- Parking is guaranteed.
- I HATE hiking in the heat. I once did an entire ascent in the heat at Greys and Torreys and literally wanted to die. No, thanks.
- The trail is virtually empty.
- Night hiking is an additional adrenaline rush!
- Try to coordinate it with a full moon and you can do part of the hike with just a red light.
- Summiting for sunrise is absolute MAGIC!
Watch for Snow
Even in late June, snowfields can linger – especially in shaded or higher spots. Come prepared with microspikes and know how to spot unstable patches.
A Weather Reality Check
Colorado is notorious for its afternoon thunderstorms. And, if you are above tree line…congratulations! You are now a lightning rod!
This is crucial: always check the weather before you go and try to be off the trail by lunchtime.
And if you do decide to hike, be prepared! I once hiked with my mother and we got hailed on for about two hours on the descent.
What to Expect on the Trail: A Step-by-Step Breakdown of Mt. Bierstadt
Let’s be real – this hike is a rollercoaster (with fewer safety harnesses and way more snacks).
Here’s what the Mt. Bierstadt trail actually feels like, from your first bootstep to that triumphant summit shuffle.
1. The Boardwalk
Right out of the parking lot, you’ll stroll across a charming little boardwalk through willows and alpine wetlands.
It’s mostly flat, ridiculously scenic, and full of wildflowers and chirping pika if you hit it in July.
Right before you get out of this section, there is a small river you will have to cross. And depending on the rainfall, “small” is being nice!
Take your time here! I’ve had friends fall in and other times where I just hit my limit and just walked through it.
💡Pro Tips:
- This is your warm-up zone – pace yourself and find your rhythm
- Take your “before” photos here – it’s the last time you’ll look fresh
- Watch for morning frost on the boardwalk – it can be slick early on
This is going to be so awkward to say…but I have to say it…PEE HERE.
One you start hiking above tree line, there are very minimal places for you to do your business in private and there are going to be two moons in the sky for everyone to see 😳
2. The Climb
The trail starts to rise steadily as you move out of the willows and into high alpine terrain.
This is the meat of the hike – a consistent uphill battle with epic views of the Sawtooth Ridge (and the occasional mountain goat sighting, if you’re lucky).
💡Pro Tips:
- Break every 15–20 minutes to hydrate, snack, and catch your breath – the altitude gets real, real fast
- Don’t forget to turn around occasionally – the views behind you are just as stunning
- This is where a lot of hikers start slowing down – don’t let ego outrun your lungs
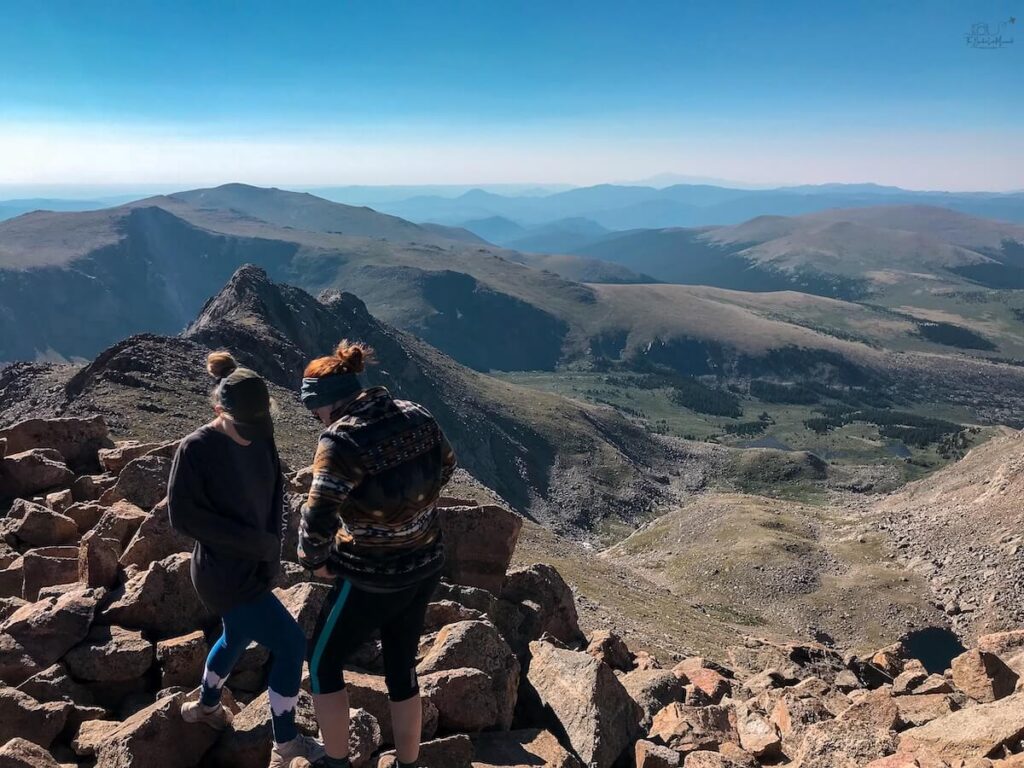
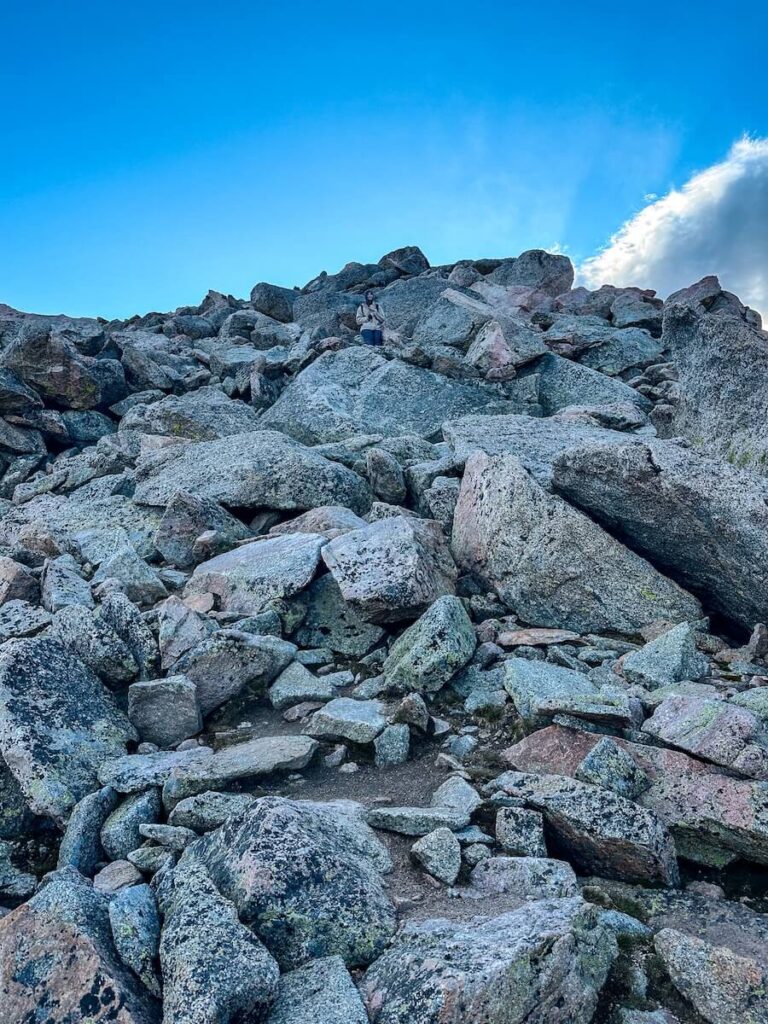
3. The Final Push
This is the boulder field from hell and where Mt. Bierstadt earns its Fourteener stripes.
The last half mile is a steep, rocky scramble – not technical, but awkward and exhausting.
You’ll use your hands…you’ll slip on a few rocks…you’ll question your life choices.
This is where the fatigue and altitude pack a punch!
💡Pro Tips:
- Take it slow – there’s no rush to the summit
- Watch your footing – loose rocks and altitude brain make a spicy combo
- Cheer on your fellow hikers – everyone’s suffering together
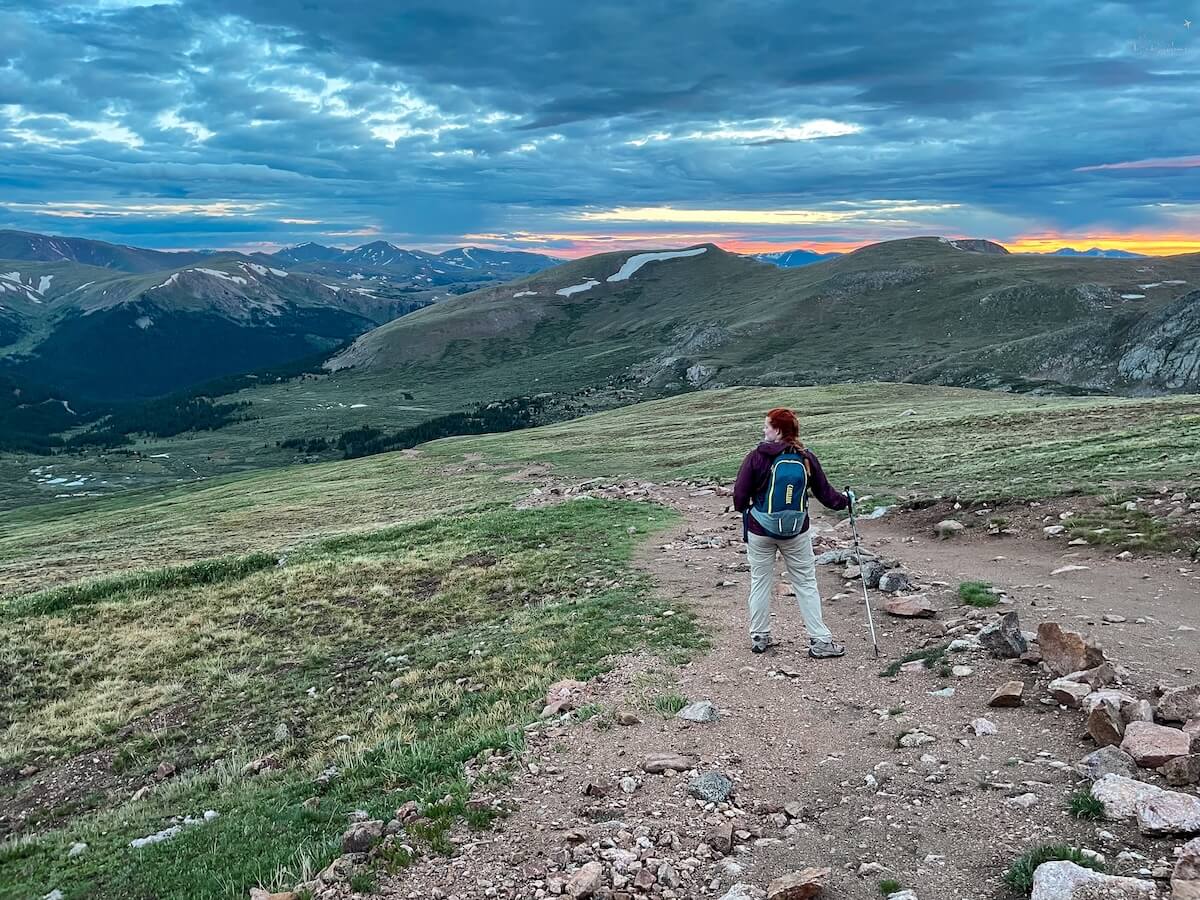
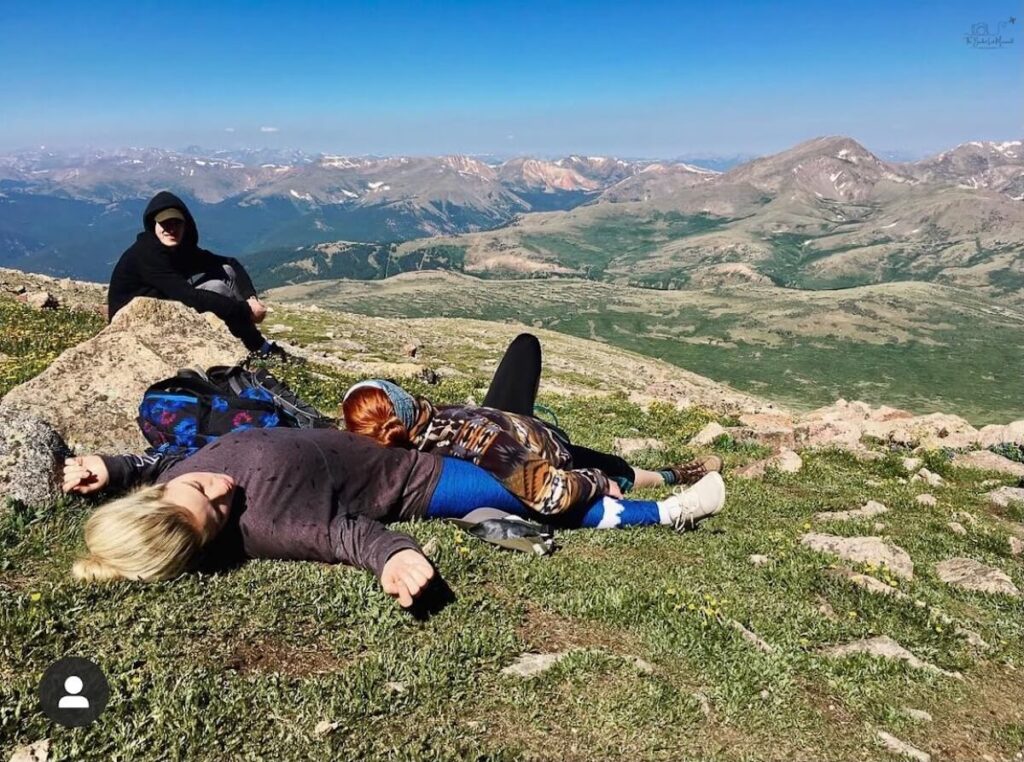
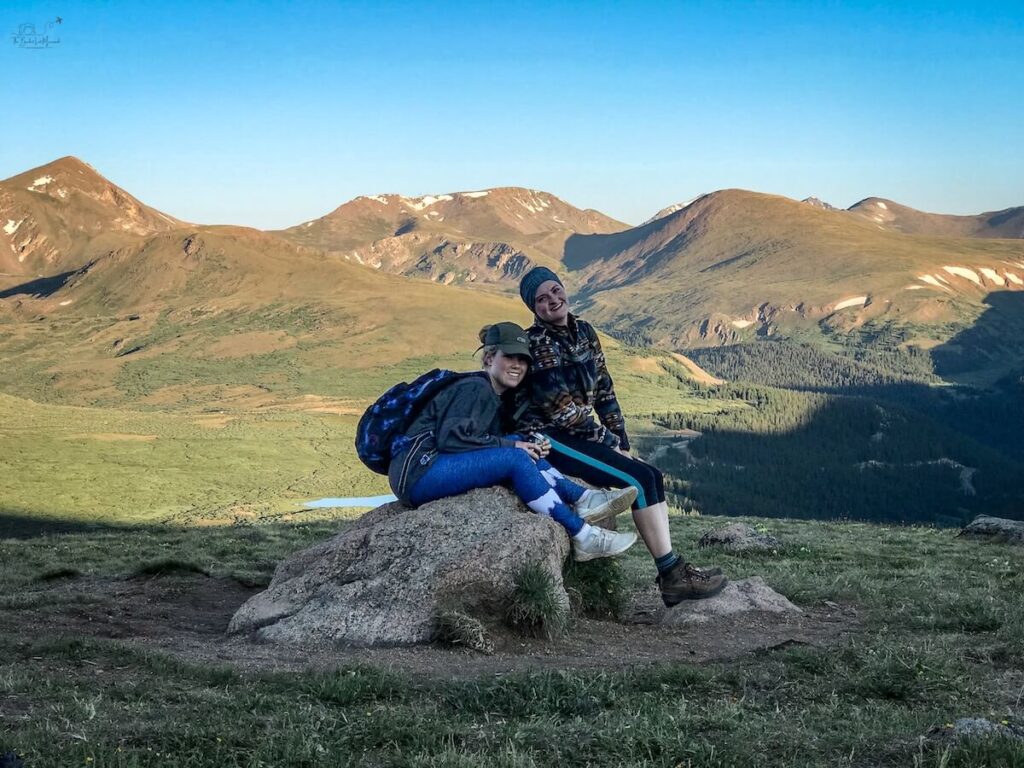
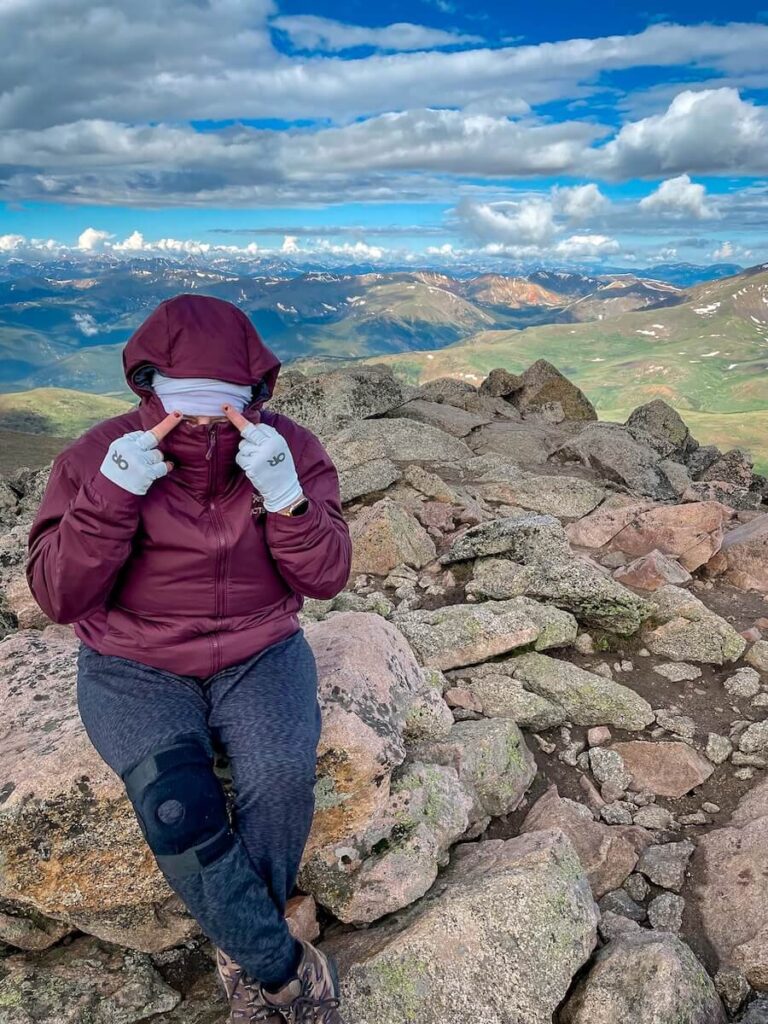
4. The Summit
Congratulations – you made it! 🎉
The summit is wide and open with sweeping panoramic views of Mt. Evans, Grays & Torreys, the Sawtooth, and more peaks than you can name.
It’s also usually freezing, even in July, so don’t hang out too long without layers.
This is also the point where your adrenaline crashes…and you realize that you have a long walk down.
I always stop here for a snack, a few photos, and a little hype party for my soon-to-be “jello legs” on the descent.
Funny story: I was training to hike the Salkantay trail in Peru with my sweet mother…and she flipped me off at the summit. Sometimes…that’s just how you feel.
💡Pro Tips:
- Layer up immediately – wind chill is brutal
- Snap your summit photos quickly before the weather shifts
- Celebrate with a snack that makes you irrationally happy (peanut M&Ms? A burrito? Go wild)
Acclimatization + Altitude Tips
Mt. Bierstadt starts at over 11,000 feet – and climbs past 14,000. That’s thin-air territory, and it can knock you flat if you’re not ready.
Common Altitude Sickness Symptoms
- Headache
- Nausea or loss of appetite
- Dizziness or shortness of breath (beyond the usual hiking huffs)
- Feeling “off,” spacey, or extra fatigued
How to Prep Like a Pro
- Spend 1–2 nights at altitude (think: Georgetown, Breckenridge, or Idaho Springs) before your hike
- Hydrate like your summit depends on it…because it does
- Snack often: Carbs and salt help your body adapt
- Pace yourself: Even if you feel good early on, take it slow
If you start feeling sick mid-hike
Descending is always the right call. The summit will be there another day.
Pride won’t keep you safe – preparation and self-awareness will.
Photography Tips for Capturing Mt. Bierstadt’s Epic Views
Not only am I an avid hiker, but I also am a travel and adventure photographer!
Here’s how to nail those shots – even when you’re gasping for air.
1. Pack Light but Smart
Carry only your essentials. A lightweight camera or mirrorless setup is perfect. Don’t forget extra batteries and an SD card.
2. Golden Hour Is Your Best Friend
Try to summit close to sunrise.
The soft, warm light brings out the rugged textures of the rocks and makes those sweeping views pop. Plus, fewer crowds mean less photo-bombing.
Some of my best sunrise pictures were taken on 14ers.
3. Use the Boardwalk & Wildflowers for Foreground Interest
Early in the hike, the boardwalk surrounded by wildflowers offers beautiful compositions.
Low angles here can create stunning shots with the mountain looming in the background.
Once you get above tree line, it is going to be tough to get a subject in your shot, but you will get some epic wide and sweeping landscapes.
4. Bring a Wide-Angle Lens
The panoramic views demand a wide-angle lens to capture the full sweep of the Sawtooth Ridge, Mt. Evans, and surrounding peaks.
If you only have a smartphone, use the panorama mode.
Read More – Best Lenses for Travel Photography
5. Mind the Weather & Light
Clouds can add drama or doom your shot. Overcast skies soften shadows; storm clouds can create epic moods – just stay safe!
Always check the forecast and be ready to protect your gear.
6. Don’t Forget to Snap the Summit Vibe
Capture candid moments of your group (or solo self) against the vast, windy summit backdrop.
A mini tripod or selfie stick helps for steady shots and epic group photos.
7. Protect Your Gear
Altitude, wind, and dust can be rough on cameras. Use lens caps, keep your gear in a padded backpack, and clean lenses regularly.
Nearby Adventure Add-Ons
If Mt. Bierstadt leaves you craving more, you’re in luck – the area is packed with killer side adventures.
- For Class 3 Junkies: Take on The Sawtooth ridge for a thrilling scramble that’ll push your skills to the edge.
- Post-Hike Chill: Hop aboard the historic Georgetown Loop Railroad and enjoy a scenic, laid-back ride through Colorado mining country.
- Soak It Out: Soothe those tired calves in the natural hot springs of Idaho Springs – pure bliss after a hard day’s climb.
- Fuel Up: Some of my favorite pizza is in Idaho Springs at Beau Jo’s. I would highly recommend checking it out! If you want a root beer, the restaurant next door, Tommyknockers, is legendary!
Read More – Best Colorado Mountain Towns
Ready to Tackle Mt. Bierstadt?
Mt. Bierstadt is the perfect first step into the world of Colorado 14ers – if you show up ready to respect the altitude, weather, and trail.
It’s not just a hike, it’s a high-altitude adventure that’ll test your lungs and reward your soul.
So lace up, hydrate like a champ, and don’t forget to pack that extra layer (because Mother Nature loves surprises).
And if you make it to the summit, celebrate big – you earned every sweaty, stunning step.
Got your own Mt. Bierstadt photographs to share? Drop them below or join the conversation in my Shutterbugs Gone Wild Facebook group.
Mt Bierstadt 14er Frequently Asked Questions
All of your questions answered by a Colorado local!
More Wild Hikes
I’ve done some pretty wild hikes in my life. Here are more guides so you can check them off of your bucket list!
Ultimate Survival Rim to Rim Guide for Extreme Adventurers (+Podcast)
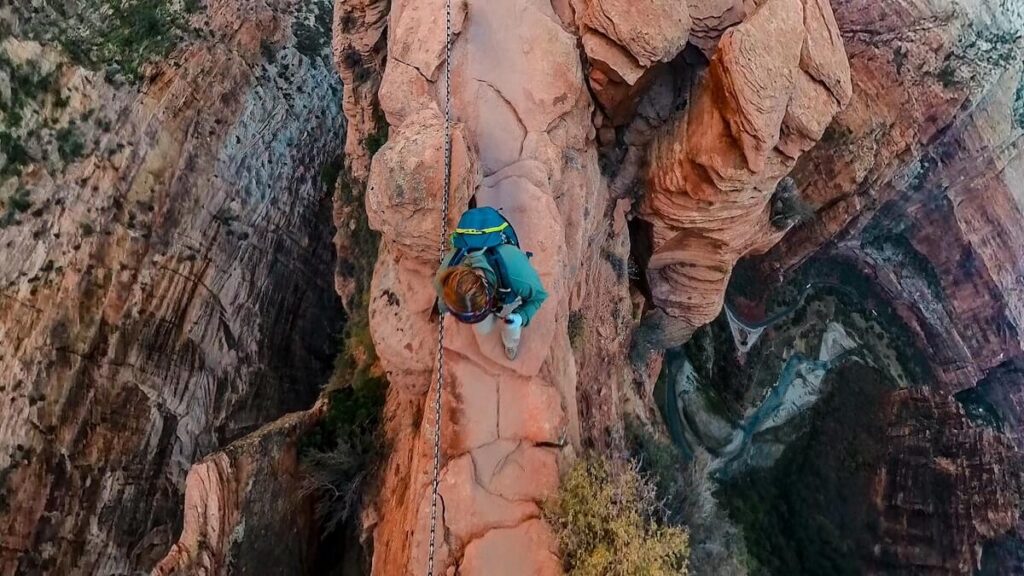
Angels Landing Tips: How Not to Panic, Plummet, or Pee Yourself
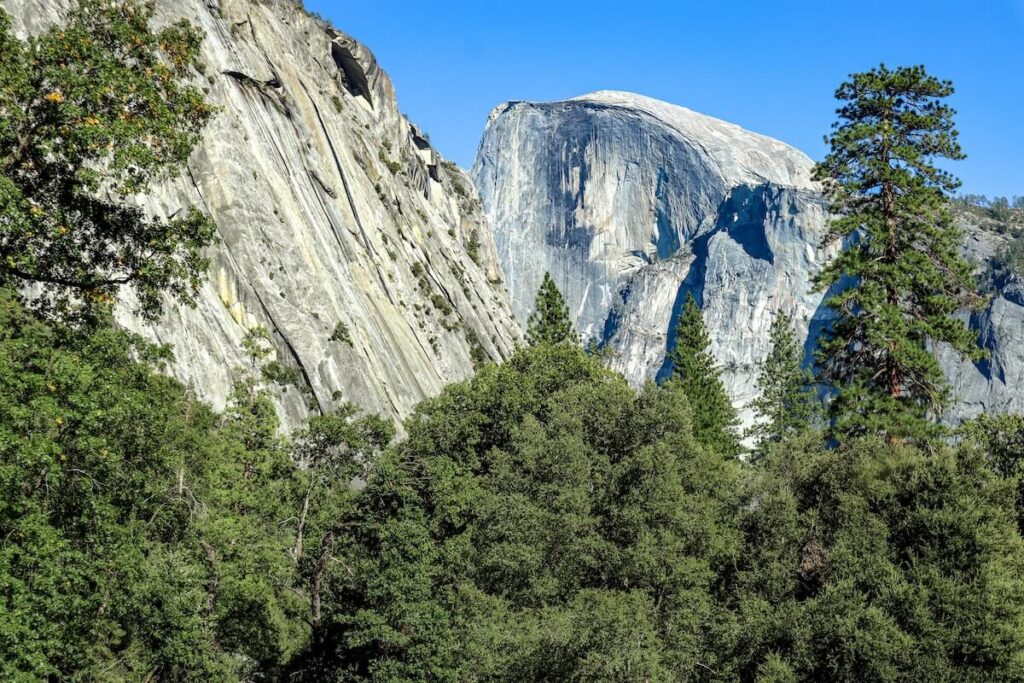
How to Hike Half Dome…And Live to Tell About It [Podcast Ep. 23 + In-Depth Guide]
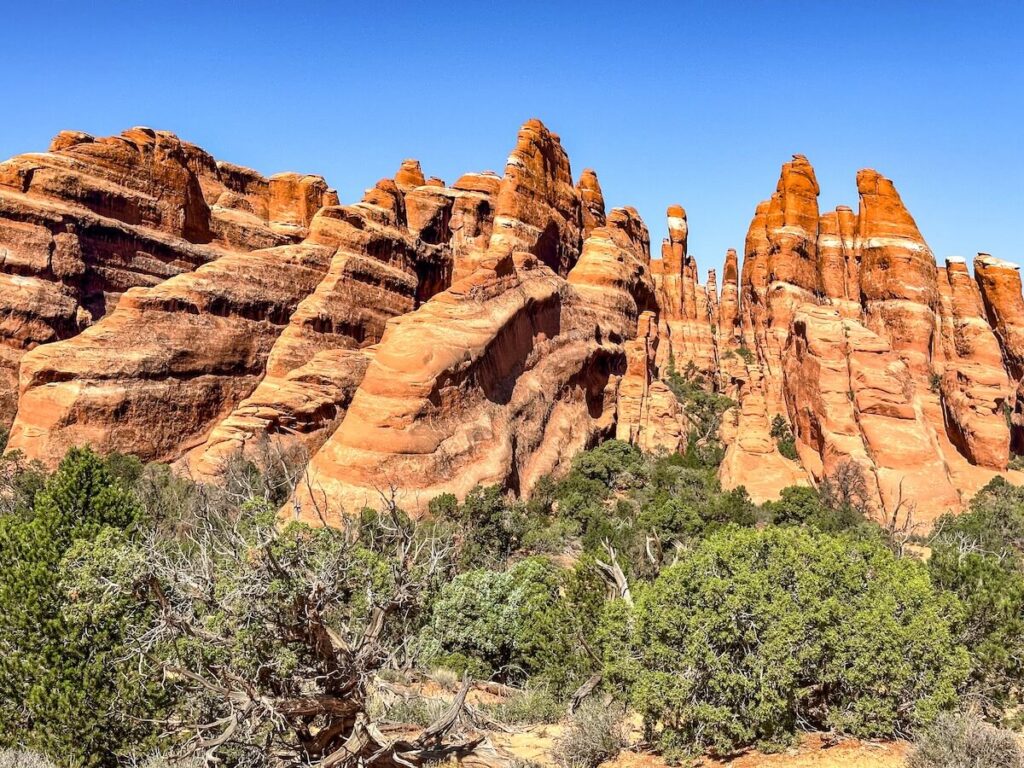
Worst Mistakes Hikers Make In Devils Garden
More Travel Resources
Adventure Bucket List Resources
I am here to help your travel adventures go as smoothly as possible! That way you can check off that bucket list with minimal complications and spending!
SHOP – Shop the best adventure gear and essentials on my Amazon Storefront – handpicked by a full-time adventuring mermaid!
AIRFARE – There are a few I use, but Aviasales is normally my go-to for flights without any extra fees or markups.
ACCOMMODATION – My two favorites are Booking.Com for hotels and VRBO for rentals.
GUIDED TOURS – If you are looking for quick and easy tours, check out GetYourGuide and Viator.
MULTI-DAY TOURS – For more in-depth tours that span several days, TourHub has many great options with reputable travel companies. Use my code (ALEXANDRA1GURU) for up to 5% off your next bucket list adventure.
TRANSPORTATION – You can either rent a car yourself with Discover Cars or do a guided bus tours like Big Bus Tours.
CREDIT CARD – I always use my Chase Freedom Unlimited card for all of my purchases. There is no annual fee and you get 1.5% cash back and 5% cash back on travel purchased through Chase Travel.
SIM CARDS – Avoid expensive roaming charges with an eSim card with Airalo. Personally, I prefer wifi boxes, and recommend WiFi Candy (get 10% of with the code THEBUCKETLISTMERMAID).
TRAVELER’S INSURANCE – Check out VisitorsCoverage for affordable insurance plans.
See Some Photos You Like?
Check out my full photography page for a full gallery and prices.