The Exposure Triangle For Beginner Adventure Photographers
This website contains affiliate links from trusted partners. If you purchase through a link on this site, I may earn a commission at no extra cost to you. As an Amazon Associate, I earn from qualifying purchases. See my Privacy Policy and Disclosure for more information.
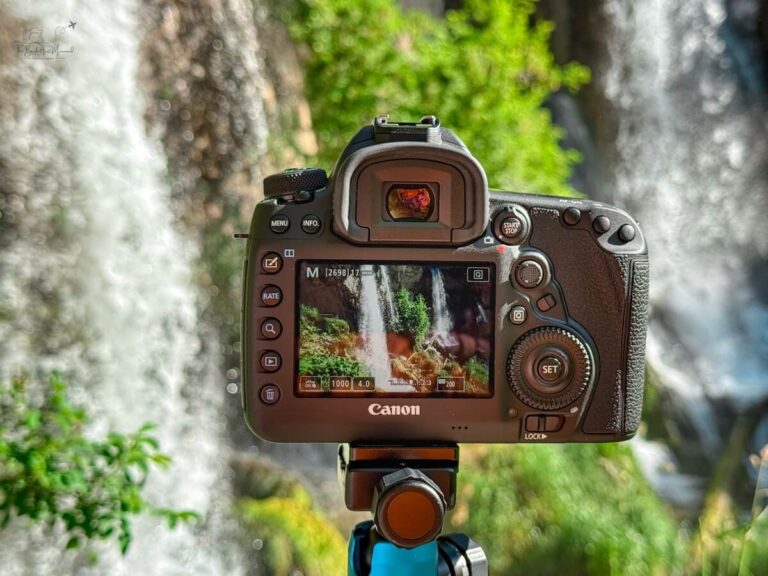
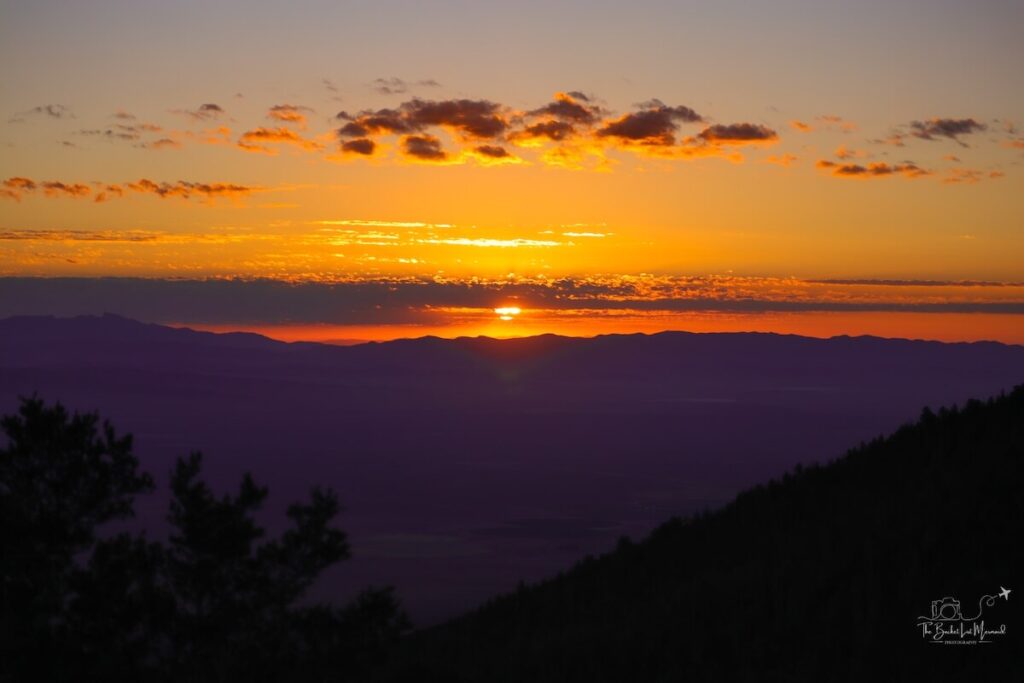
Let me guess. You are standing on top of a mountain as the sunset breaks over the rim, painting everything in gold.
You grab your camera and confidently set it to manual mode…press the shutter…and BAM! The entire photo is black. The moment is gone.
I’m not judging you, because I used to be you.
It didn’t matter how many times people screamed “aperture” at me, it just never stuck!
Yeah. Been there. That’s when I realized: photography is just like adventuring. You can’t wing it and hope for magic. You’ve got to learn the terrain, and in photography, that terrain is the Exposure Triangle.
Sound intimidating? Don’t bail yet. I’m about to break this baby down Mermaid-style.
No tech jargon, no snooze-fest, just real-talk from someone who’s fumbled their camera settings on way too many summits.
By the end, you’ll know how to balance light like a total pro and grab your free Adventure Photography Cheat Sheet (because who doesn’t love an easy win?).

Key Takeaways
Don’t have time for my adventure photography exposure rant? Here’s a quick cheat sheet!
| Element | Think Of It As | Controls | Adventure Mood |
|---|---|---|---|
| Aperture | How wide your lens “eye” opens | Depth of field | Zoomed-in vs panoramic |
| Shutter Speed | How fast your camera blinks | Motion | Frozen vs silky |
| ISO | Your camera’s caffeine | Light sensitivity | Smooth vs grainy |
Meet the Three Amigos of Light in Adventure Photography
The Exposure Triangle has three sides:
- Aperture (aka your lens’s eyeball)
- Shutter Speed (your camera’s blink rate)
- ISO (your camera’s caffeine level)
Each one controls light. Change one, and the others have to shimmy to keep balance.
Think of it like hiking with three friends who all walk at different paces.
You can’t sprint ahead or fall behind. You’ve gotta keep them in sync if you want to make it to the summit together.
This truly is a triangle. If you change one side, you have to compensate by changing the other two (or else you will end up with an underexposed black mass or a white ball of light).
Read More – What is Adventure Travel?
1. Aperture — The Lens Eyeball 👁️
What It Does
Aperture is how wide your lens opens when taking a photo. It’s measured in f-stops (like f/1.8, f/4, f/11).
Big hole = more light. Small hole = less light.
Simple, right?
The Vibe Shift
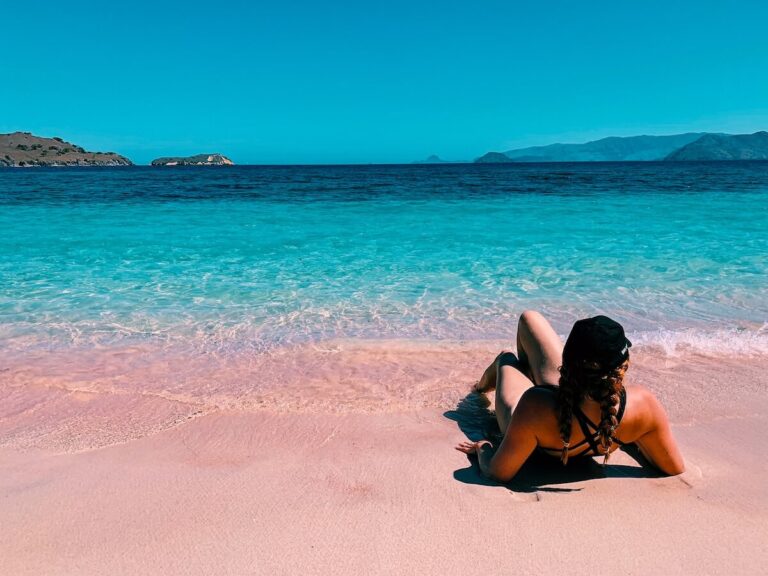
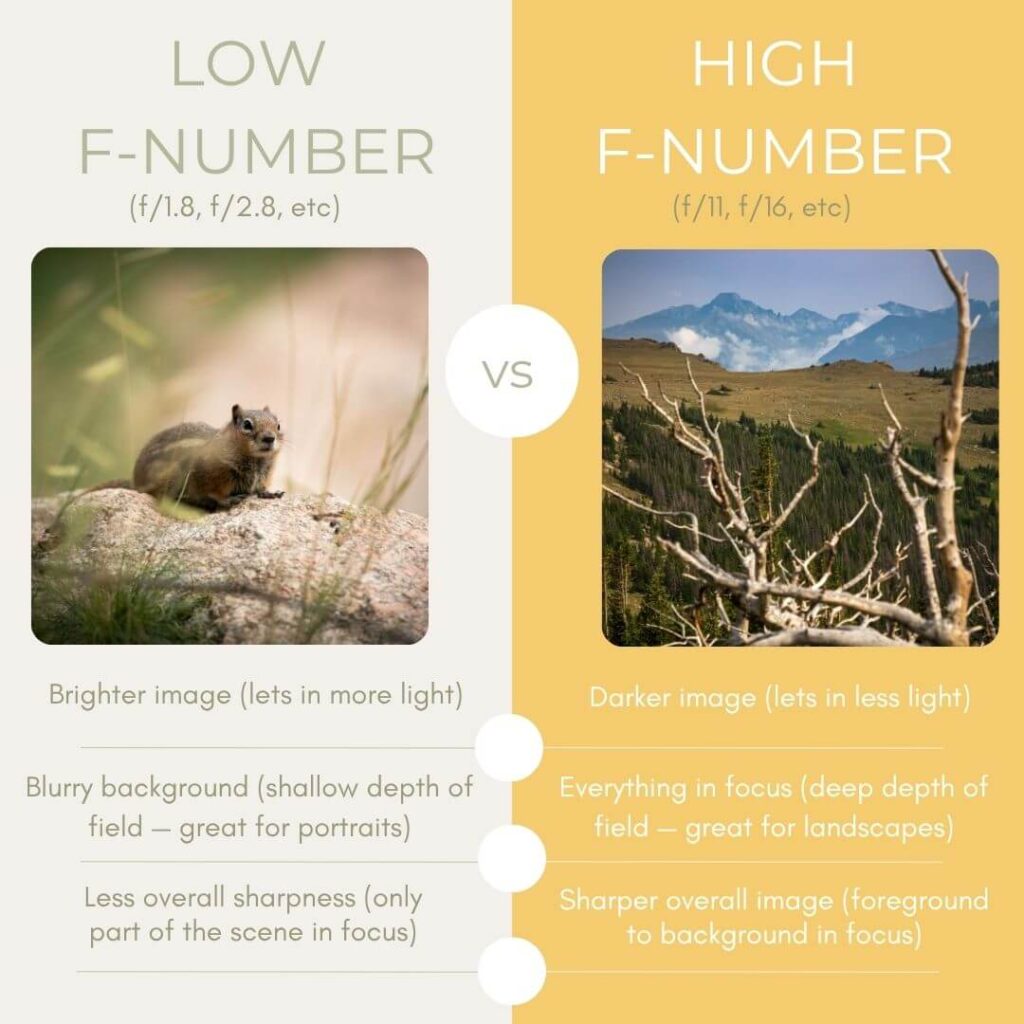
- Wide open (like f/1.8) → dreamy backgrounds, bokeh heaven, perfect for portraits or those “lone hiker against the mountains” shots. Makes your photo brighter.
- Closed down (like f/11-f/16) → everything crisp and clear, ideal for landscapes where you want detail from your boots to the horizon. Makes your photo darker.
Adventure Analogy
Aperture is like choosing your trailhead view. Do you want the whole panorama, or are you zooming in on a single wildflower?
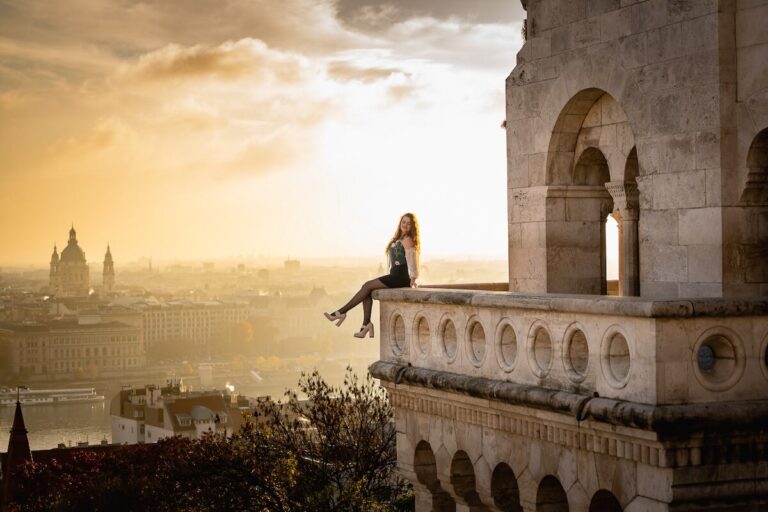
📸 Real Life Tip:
If you’re shooting your travel buddy mid-hike with a mountain backdrop, try f/4. Keeps them sharp while still giving that creamy depth that says, “Yeah, this wasn’t taken on an iPhone.”
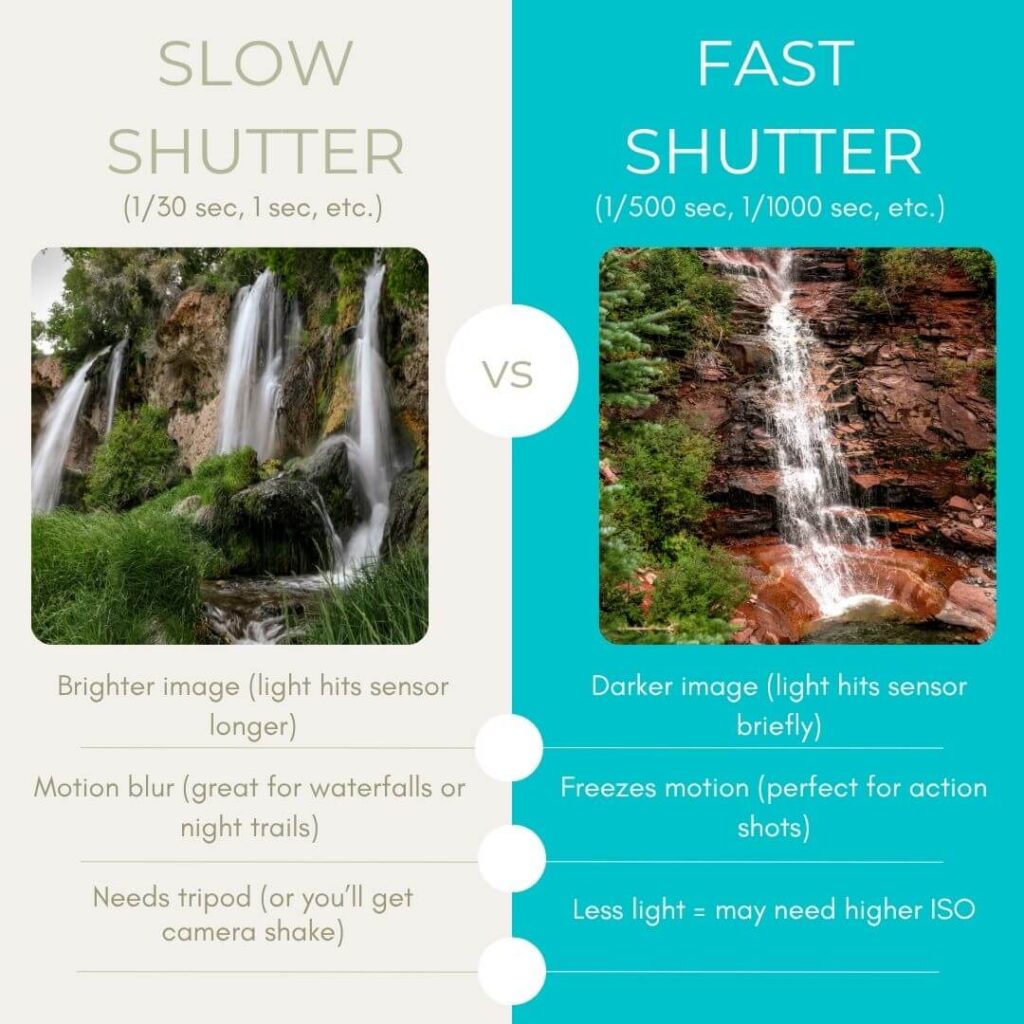
2. Shutter Speed — The Blink ⚡️
What It Does
Shutter speed is how long your camera’s “eye” stays open.
Fast = freezes motion. Slow = blurs motion (in a cool, silky-waterfall kind of way).
The Adventure Angle
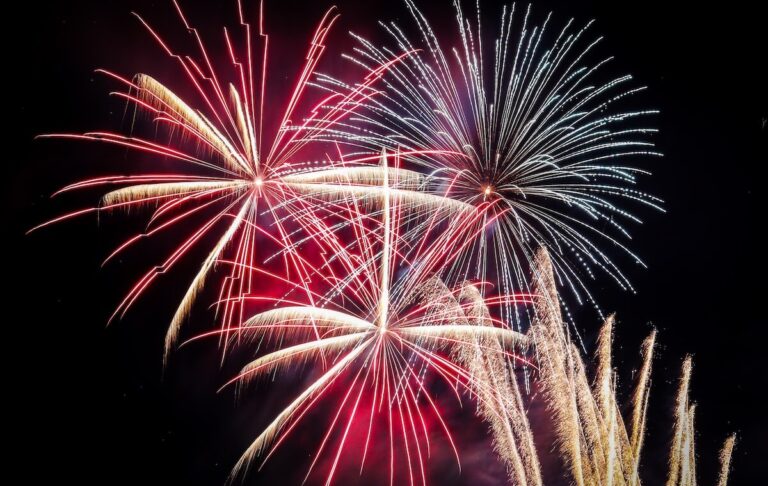
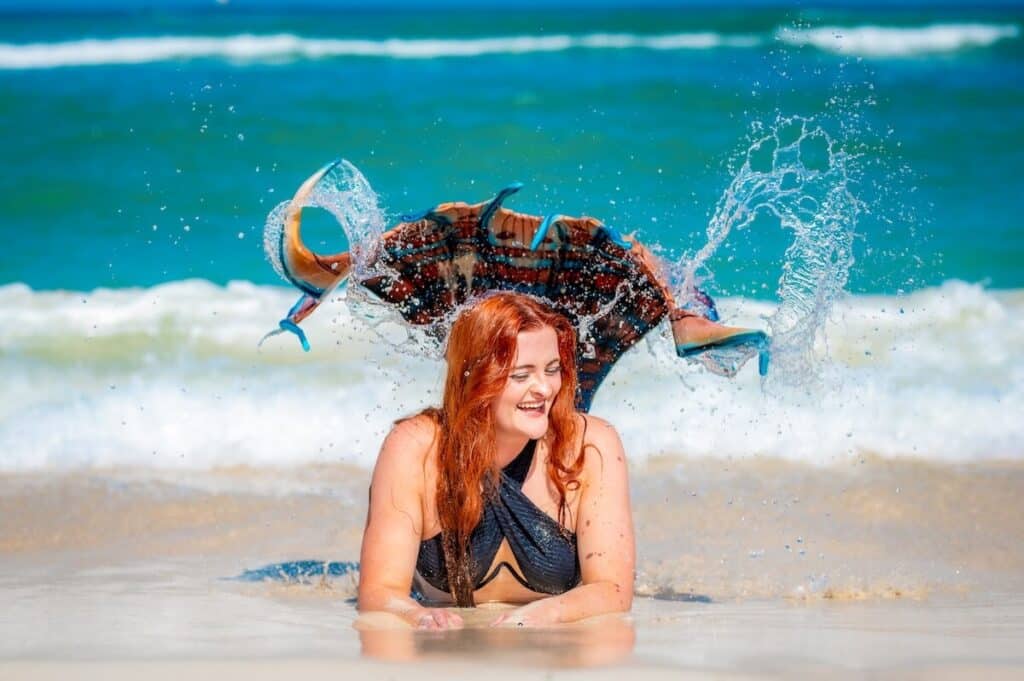
- Fast (like 1/1000 sec) → Freeze that mountain biker mid-jump or your bestie flinging snow into the air. Makes your photo darker.
- Slow (like 1/10 sec, 1 sec, etc.) → Smooth waterfalls, dreamy cloud trails, night shots with star movement. Makes your photo lighter.
Real Talk
I once tried a long exposure while attempting astrophotography in the Grand Canyon… without a tripod. The result looked like a Monet painting in the dark.
Beautiful? Maybe. Intentional? Definitely not.
Don’t be me. Bring a mini adventure tripod if you’re slowing down your shutter.
Finding Your Handheld Limit
I am coining a new term. It’s called “The Handheld Limit”.
This is the minimum shutter speed that you personally can hold handheld without a tripod that’s still crisp.
This is different for everyone depending on how steady your hands are. Mind is 1/125 of a second. Experiment and learn yours (then don’t forget it).
Anything slower? Plant those elbows or use a rock as your stabilizer. Or, grab a tripod.
3. ISO — The Camera’s Caffeine ☕️
What It Does
ISO controls how sensitive your camera’s sensor is to light.
Low ISO = smooth, clean images.
High ISO = brighter images…but with that nasty noise that looks like digital sandpaper.
The Adventure Twist
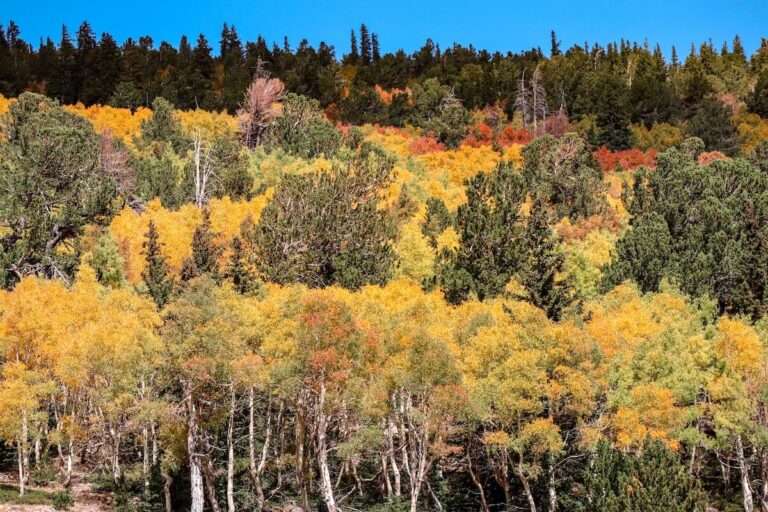
- Daylight hikes: ISO 100–200
- Sunset shoots: ISO 400–800
- Night photography: ISO 1600+ (if your camera can handle it)
Pro Tip
Raise ISO only when you have to. It’s like coffee — too much, and things get jittery real fast.
Quick Editing Tip
Just because I am an editing nerd… there is a way to help with ISO grain in post.
I normally use Lightroom’s Denoise feature or Topaz AI. This is super easy and a miracle worker for shots where you have to bump up your ISO because it’s too dark.
Read More – How to Edit Adventure Photos

You might have to zoom in to see this one. But look how grainy the right image is. It’s crispier than a burnt chicken nugget!
Balancing the Triangle
Here’s the truth: mastering exposure isn’t about memorizing settings. It’s about feeling the light.
It also doesn’t help when you mix them up all the time (hint: that was me).
You’re juggling three levers — aperture, shutter, ISO — and they all tug on each other.
Here is the process that helped me get the basics before it became second nature:
- Step 1: Figure out what you want. Do you want a blurry background or everything in focus?
- If you want everything in focus, decrease aperture (higher f-numer)
- If you want a blurry background, decrease aperture (lower f-number)
- Step 2: Balance Exposure with Shutter Speed
- If you decreased aperture, your photo might be too dark. Decrease your shutter speed (faster blink) to compensate and let more light in.
- If you increased aperture, your photo might be too light. Increase your shutter speed (slower blink) to compensate and darken your photo.
- Step 3: If your photo is too bright, lower ISO. If your photo is too dark, increase ISO (slowly).
- Step 4: Do this until the exposure meter or histogram is in the middle (or to your liking).
It’s all about trade-offs, like choosing between carrying a heavy pack and leaving your snacks behind.
There’s no wrong answer, just what fits your adventure.

Real-Life Scenarios (Because Theory Is Boring)
Sunrise Summit
Goal: Everything sharp and glowing.
- Aperture: f/11
- Shutter: 1/200 sec
- ISO: 200
- Bonus: Use a tripod and a self-timer so you can actually be in the photo without sprinting back into frame like a maniac.
What Goes Through My Mind As a Photographer
Okay. I want the scene to be crisp, but I also don’t want it to be too high because then the photo will be super dark. I’ll go for f/11.
My handheld limit is 1/200 a second is fast enough to get a crisp image, but slow enough to compensate for my aperture and let in some extra light.
I don’t want any grain and the shutter speed is enough to compensate for the aperture. So I’ll leave it alone at 200.
Set up a tripod, set a 10 second timer, and BOOM. Mermaid magic🧜🏻♀️
Read More – All Guides on Extreme Hiking | US National Park Photo Destinations
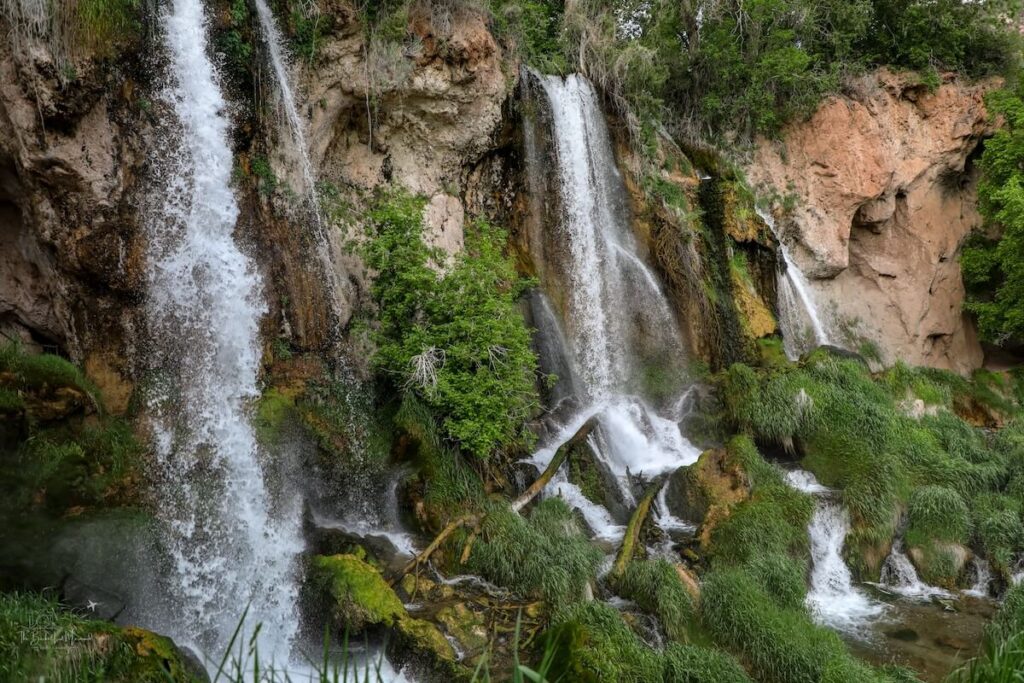
Waterfall Magic
Goal: Dreamy, silky water.
- Aperture: f/8
- Shutter: 1/2 sec
- ISO: 100
- Gear: Tripod (non-negotiable) + ND filter if it’s bright.
What Goes Through My Mind As a Photographer
I want those silky waterfalls. Therefore, this is all about shutter speed. AKA I want my eyeball to blink very slowly so that they are blurry in a controlled way.
I’ll open my shutter speed to about 1/2 of a second or longer (while on a tripod cause that’s longer than my handheld limit). This is going to let a lot of light in, so I am going to compensate by increasing my aperture to f/8.
Since there is a lot of light, no need for ISO or any “caffeine”.
Read More – Guide to Waterfall Photography
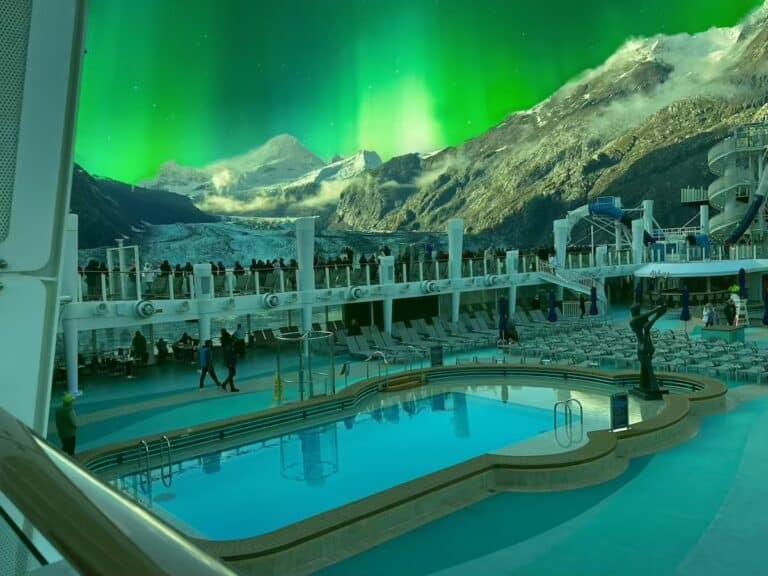
Night Sky
Goal: Stars, baby.
- Aperture: f/2.8
- Shutter: 20 sec
- ISO: 1600–3200
- Bonus Tip: Use manual focus on infinity, and shoot RAW for cleaner editing later.
What Goes Through My Mind As a Photographer
Tricky, tricky, tricky because there is NO light.
Therefore, I am going to let in as much light as I can by opening the aperture as much as I can, decreasing the shutter speed (a lot), and bumping up that dreaded ISO.
Read More – How to Become an Adventure Photographer
The Adventure Cheat Sheet You’ll Actually Use
Let’s be honest — remembering all these numbers on a windy ridge? Not happening.
That’s why I built my Free Adventure Photography Cheat Sheet.
This is a quick-glance guide you can save on your phone or print for your camera bag.
It covers:
- Cheat settings for sunrise, waterfalls, and night shots
- Adventure pose & composition ideas
- Quick composition reminders so you don’t forget rule of thirds mid-hike
🎁 Grab it FREE + More Adventure Resources → Get the Cheat Sheet
Final Word on The Exposure Triangle of Adventure Photography
Mastering the Exposure Triangle isn’t about perfection. It’s about practice. It’s about fumbling through fog and overexposed skies until one shot just clicks.
Next time you’re out there, tripod in one hand, coffee in the other, remember: you’re not just taking photos. You’re bottling adventure.
Mermaid Mode, fully activated. 🧜♀️
More Adventure Photography Basics

More Adventure Resources
Adventure Bucket List Resources
I am here to help your travel adventures go as smoothly as possible! That way you can check off that bucket list with minimal complications and spending!
SHOP – Shop the best adventure gear and essentials on my Amazon Storefront – handpicked by a full-time adventuring mermaid!
AIRFARE – There are a few I use, but Aviasales is normally my go-to for flights without any extra fees or markups.
ACCOMMODATION – My two favorites are Booking.Com for hotels and VRBO for rentals.
GUIDED TOURS – If you are looking for quick and easy tours, check out GetYourGuide and Viator.
MULTI-DAY TOURS – For more in-depth tours that span several days, TourHub has many great options with reputable travel companies. Use my code (ALEXANDRA1GURU) for up to 5% off your next bucket list adventure.
TRANSPORTATION – You can either rent a car yourself with Discover Cars or do a guided bus tours like Big Bus Tours.
SIM CARDS – Avoid expensive roaming charges with an eSim card with Airalo. Personally, I prefer wifi boxes, and recommend WiFi Candy (get 10% of with the code THEBUCKETLISTMERMAID).
TRAVELER’S INSURANCE – Check out VisitorsCoverage for affordable insurance plans. If you are a nomad or remote worker, I would check out SafetyWing.
SEE MORE – Adventure Resources | Photography Resources