Best Travel Photography Backpacks for Every Budget & Adventure
This website contains affiliate links from trusted partners. If you purchase through a link on this site, I may earn a commission at no extra cost to you. As an Amazon Associate, I earn from qualifying purchases. See my Privacy Policy and Disclosure for more information.
Your camera bag can make or break your trip.
I’ve hauled gear through 40+ countries, shoved backpacks under budget airline seats, hiked steep switchbacks with 25 pounds of glass, and sprinted through airports praying my zippers wouldn’t betray me.
Here’s what I’ve learned:
A regular backpack won’t cut it for travel photography.
You need protection, comfort, smart organization, carry-on compliance, and something that doesn’t scream “expensive gear inside”.
That’s why I put together this guide to the best travel photography backpacks that are tested on planes, trails, and chaotic travel days.
Inside, I’ll help you choose based on:
- Carry-on rules
- Comfort for long travel days
- Safety & anti-theft features
- Organization for cameras, lenses & laptops
- Budget vs. investment options
Let’s find your ride-or-die travel camera backpack. 🧜♀️📸
Key Takeaways
- Best Overall: Peak Design Travel Backpack 45L
The ultimate all-in-one travel camera backpack — carry-on approved, amazingly customizable, and built like a tank for serious photographers. - Best for Carry-On Flights: Nomatic McKinnon Camera Pack 35L
Structured, sleek, and sized perfectly for overhead bins — ideal for photographers who travel carry-on only. - Best Lightweight: Lowepro ProTactic BP 350 AW II
Compact but protective, this one keeps weight down without sacrificing organization. - Best Budget: Brevite The Jumper
Affordable, stylish, and surprisingly functional — perfect if you want solid protection without dropping luxury-level cash. - Best for Hiking: Shimoda Explore V2
Built for adventure with serious back support, weather resistance, and space for extra layers. - Best for Women: Lowepro PhotoSport BP 24L AW III
Lightweight, comfortable, and less bulky on smaller frames — great for city travel and everyday shooting.
How to Choose the Best Travel Photography Backpack
Not all camera bags are built for real travel. Airports are chaos. Trails are sweaty. Overhead bins are ruthless.
Here’s what actually matters when choosing the best travel photography backpack for your adventures:
1. Size & Carry-On Compatibility
If you’re serious about protecting your gear, you need a carry-on camera backpack. Period. Checking camera equipment? Absolutely not.
Most U.S. airlines allow carry-ons up to 22 x 14 x 9 inches, but budget international airlines can be stricter.
CHECK THIS BEFORE YOU GO!
When choosing a travel camera backpack, ask:
- Does it fit overhead?
- Can it squeeze under the seat if needed?
- Is it expandable (but compressible)?
Pro Tip: Look for backpacks in the 30L–45L range for the sweet spot between storage and airline compliance.
2. Comfort for Long Travel Days
You will feel every ounce of your gear by hour six.
A good travel camera backpack should have:
- Thick, padded shoulder straps
- A supportive hip belt (huge for hiking or long airport walks)
- A ventilated back panel (because sweaty spine? No thanks.)
- Smart weight distribution so heavy lenses sit close to your back
If you plan to hike with your camera backpack for travel, this section matters more than aesthetics. Comfort = endurance.
3. Camera Protection
This is non-negotiable for both your wallet and your sanity.
The best camera backpack for travel should include:
- Adjustable padded dividers
- A structured frame to prevent gear crush
- Weather-resistant materials
- Lockable or anti-theft zippers
Bonus points if it opens from the back panel because it keeps strangers out while you’re wearing it in crowded cities.
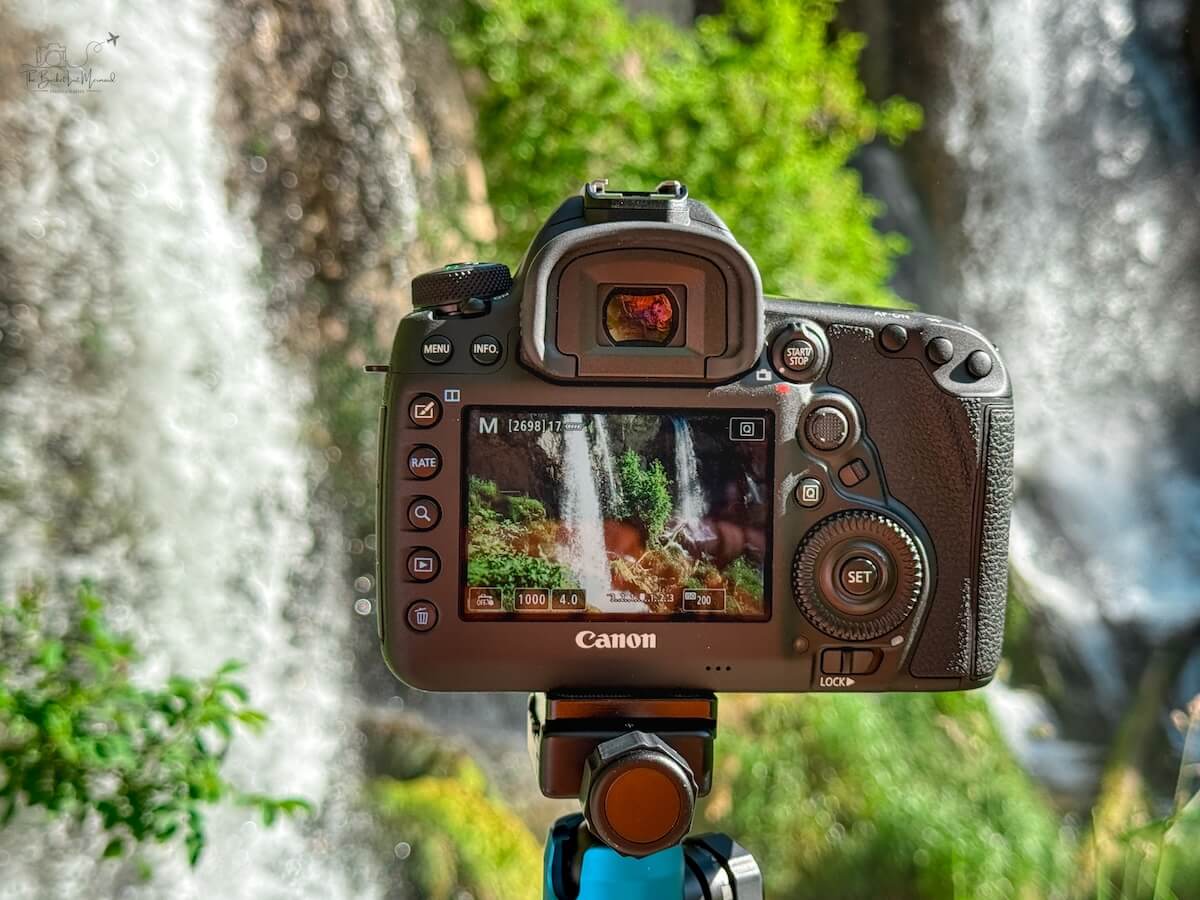
My lenses and camera gear are my babies and I protect them as such!
My Go-To Travel Cameras: Canon EOS M50 mark II | Canon EOS 5D mark IV | What’s in My Camera Bag?
4. Accessibility
You don’t want to fully unpack your life every time the light gets good.
Look for:
- Side access panels for quick lens swaps
- Rear panel access for security
- Quick-draw compartments for your camera body
A smart travel photography backpack lets you grab your camera in seconds, not minutes.
This is also a must for safety. You don’t want to be laying out all your gear in a crowded city for somebody to swipe!
5. Laptop & Drone Storage
If you’re a digital nomad or content creator, this is huge.
Most travel camera backpacks fit:
- 13” laptops (almost all models)
- 15” laptops (common)
- 16” MacBooks (check dimensions carefully)
If you travel with a drone, make sure the interior dividers can accommodate it without sacrificing lens space.
You want one bag, not three.
6. Waterproofing & Weather Resistance
Here’s the thing: very few backpacks are fully waterproof.
Most high-quality travel camera backpacks are weather-resistant, meaning they can handle light rain. For heavy storms? You’ll want:
- Waterproof zippers
- Durable coated materials
- A built-in rain cover
If you shoot in unpredictable climates this feature becomes essential.
The Best Travel Photography Backpacks
These are the best travel photography backpacks based on real-world use, airline compliance, comfort, and protection.
Best Overall Travel Photography Backpack
Peak Design Travel Backpack 45L — Best All-in-One Travel Beast
Capacity: 35–45L (expandable)
Weight: ~4.5 lbs
Laptop Sleeve: Up to 16”
Carry-On Approved: Yes (compressed)
Price Range: $$$
Best for: Photographers who want one bag for EVERYTHING.
If I’m hauling a full-frame setup like a Canon 5D Mark IV plus multiple lenses, laptop, and travel gear? This is the kind of bag I trust on international flights. It’s structured, secure, and doesn’t scream “steal me.”

Pros of Peak Design
- Expandable design
- Incredible organization with camera cubes
- Sleek, low-profile look
- Fits serious full-frame setups
Cons of Peak Design
- Pricey
- Heavier than minimalist bags
Best Carry-On Camera Backpack
Nomatic McKinnon Camera Pack 35L — Best for Organized Flyers
Capacity: 35L
Weight: ~5.5 lbs
Laptop Sleeve: Up to 16”
Carry-On Approved: Yes
Price Range: $$$
Best for: Carry-on-only travelers who love structure.
This is the bag for photographers who fly constantly and refuse to check gear. It fits overhead bins like a champ and keeps everything tight and padded.
Pros of the Nomatic McKinnon
- Extremely organized interior
- Rear panel access for security
- Professional aesthetic
Cons of the Nomanic McKinnon
- Heavier build
- Expensive
Best Lightweight Camera Backpack for Travel
Lowepro ProTactic BP 350 AW II — Compact & Protective
Capacity: 17L
Weight: ~3.7 lbs
Laptop Sleeve: Up to 13”
Carry-On Approved: Yes
Price Range: $$
Best for: Minimalist travelers & smaller camera setups.
If you’re traveling with something compact or a streamlined kit, this kind of lightweight travel camera backpack keeps you mobile without shoulder regret.
Pros of the Lowepro
- Lightweight
- Multiple access points
- Built-in rain cover
Cons of the Lowepro
- Smaller capacity
- Tight for large telephoto lenses
Best Budget Travel Camera Backpack
Brevite The Jumper — Affordable & Stylish
Capacity: 18L
Weight: ~3 lbs
Laptop Sleeve: Up to 16”
Carry-On Approved: Yes
Price Range: $
Best for: Beginners & city travelers.
Perfect if you want low-profile vibes and don’t want to spend luxury-level money starting out.
Pros of the Brevite
- Budget-friendly
- Doesn’t look like a camera bag
- Lightweight
Cons of the Brevite
- Less structured than premium bags
- Limited heavy gear capacity
Best Camera Backpack for Hiking & Adventure
Shimoda Explore V2 — Built for Adventure
Capacity: 30L
Weight: ~4.4 lbs
Laptop Sleeve: 13”
Carry-On Approved: Yes
Price Range: $$$
Best for: Outdoor photographers & alpine chasers.
If you’re hiking for sunrise shots and scrambling over rocks, this is the travel photography backpack that keeps your gear safe and your back intact.
Pros of the Shimoda
- Incredible back support
- Weather-resistant materials
- Modular camera core
Cons of the Shimoda
- Premium price
- Overkill for casual city trips
Best Camera Backpack for Women Travelers
Lowepro PhotoSport BP 24L AW III — Lightweight & Adjustable
Capacity: 24L
Weight: ~2.9 lbs
Laptop Sleeve: Tablet / small laptop
Carry-On Approved: Yes
Price Range: $$
Best for: Smaller frames & active travelers.
If you’ve ever felt swallowed by a giant travel camera backpack, this one fits more ergonomically without sacrificing protection.
Pros of the Lowepro PhotoSport
- Lighter build
- Adjustable torso fit
- Built-in rain cover
Cons of the Lowepro PhotoSport
- Limited laptop storage
- Smaller camera capacity
Real-World Use:
If you’ve ever felt swallowed by a giant travel camera backpack, this one fits more ergonomically without sacrificing protection.
Travel Photography Backpack Comparison Table
Here’s a side-by-side breakdown of the best travel photography backpacks so you can quickly compare size, airline compatibility, laptop storage, and who each bag is best for.
| Backpack | Capacity | Weight | Carry-On Approved | Laptop Size | Best For | Price Range |
| Peak Design | 35–45L (expandable) | ~4.5 lbs | Yes (compressed) | Up to 16” | Best Overall / All-in-One Travel | $$$ |
| Nomatic McKinnon | 35L | ~5.5 lbs | Yes | Up to 16” | Carry-On Flights / Organized Flyers | $$$ |
| Lowepro ProTactic | 17L | ~3.7 lbs | Yes | Up to 13” | Lightweight Travel Setups | $$ |
| Brevite The Jumper | 18L | ~3 lbs | Yes | Up to 16” | Budget / City Travel | $ |
| Shimoda | 30L | ~4.4 lbs | Yes | Up to 13” | Hiking & Adventure Travel | $$$ |
| Lowepro PhotoSport | 24L | ~2.9 lbs | Yes | Tablet / Small Laptop | Women Travelers / Active Trips | $$ |
Travel Photography Backpack FAQ
How to Pack a Travel Camera Backpack Efficiently
Packing your travel camera backpack the right way isn’t just about space, it’s about balance, security, and getting through TSA without chaos.
Here’s how to do it like a pro:
1. Put the Heaviest Gear Closest to Your Back
This is non-negotiable.
Place:
- Camera body
- Heaviest lens
- Drone
In the compartment closest to your spine.
Better weight distribution = less shoulder strain = way more comfortable for long airport walks or hikes.
If the weight pulls backward, you’ll feel it within minutes.
2. Use Lens Pouches for Extra Protection
Even if your travel photography backpack has padded dividers, lens pouches add an extra layer of protection, especially for prime lenses or fragile glass.
They also make it easier to:
- Grab lenses quickly
- Rearrange dividers
- Protect gear inside tighter setups
Plus, they prevent accidental scratches when you’re rushing.
3. Remove Batteries for Airport Security
When flying:
- Store spare batteries in a protective battery case
- Keep them in your carry-on (never checked luggage)
- Make sure contacts are covered
This makes security smoother and prevents awkward bag searches.
Keep batteries in an easy-access pocket so you’re not unpacking your entire life at TSA.
In fact, I actually tell TSA that it is a camera bag and ask what is safest for the camera. This is especially important if you are traveling with an older or film camera.
4. Keep Travel Essentials Accessible
Your passport should not be buried under a 70–200mm lens.
Use:
- Top compartments
- Front admin pockets
- Small zip sections
For:
- Passport
- Boarding pass
- Wallet
- Phone
- AirPods
Your camera backpack for travel should function like a travel bag first and a photography bag second.
5. Leave Room for Layers & Snacks
Yes, I’m serious.
Flights get cold. Hikes get sweaty. You’ll want:
- A lightweight jacket
- Electrolytes
- Protein bars
A well-packed travel camera backpack leaves a little breathing room for real-life needs.
Final Thoughts on the Best Travel Photography Bags
The best travel photography backpack isn’t about hype, it’s about fit.
- If you travel light, go compact and streamlined.
- If you fly carry-on only, prioritize airline dimensions.
- If you hike for your shots, comfort and weather resistance matter most.
- If you travel with tech, make sure your laptop and hard drives have real protection.
Your camera backpack for travel should make your trips easier…not heavier, not more stressful, not chaotic at security.
Choose the one that fits your gear, your travel style, and the kind of adventures you’re chasing next.
Next Steps
Got your travel photography backpack picked out? Perfect. Now let’s level up what goes inside it.
- 📸 Grab the Free Travel Photography Cheat Sheet
- Quick settings, composition tricks, and my go-to travel shooting tweaks. Instant upgrade for your next trip.
- 🌊 Join the Paid Newsletter for Adventurous Creators
- Deeper gear breakdowns, behind-the-scenes business lessons, and the real strategy behind building a travel-focused creative life.
- 🧜♀️ Dive into the Adventure Creator Bundle
- Grab my presets, workbooks, scavenger hunts and more to live more adventurously through your lens.
Find Your Next Photography Adventure

Most Beautiful Destinations in Italy to Photograph
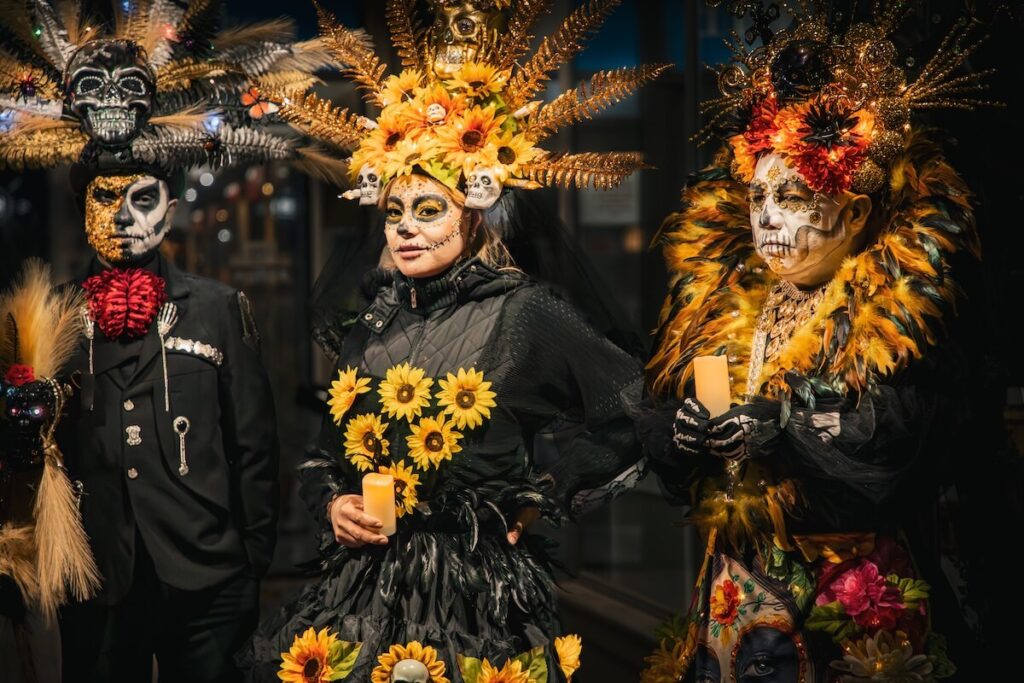
How to Photograph Day of the Dead Respectfully (and Beautifully)
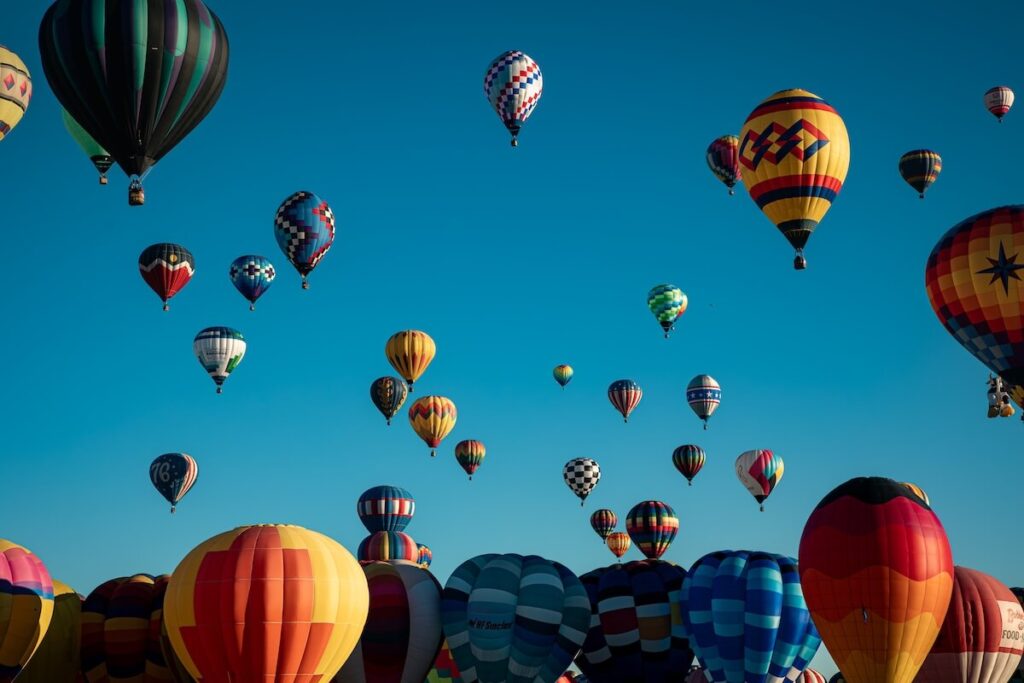
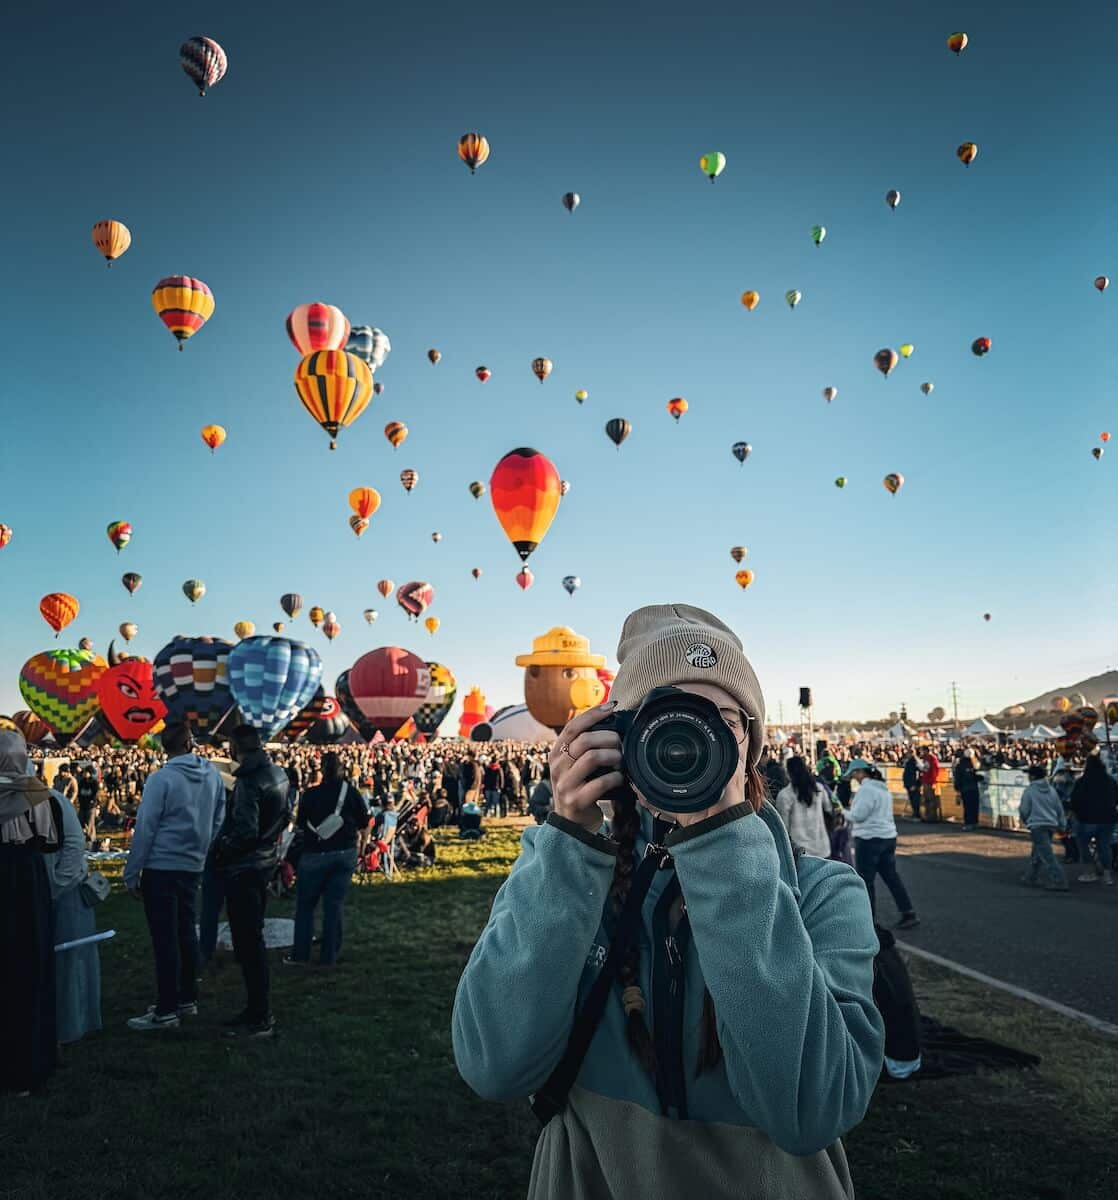
13 Unique Photos You Can Take at the Albuquerque Balloon Fiesta

Florence Photography Guide: Best Photo Spots in Florence in 2025
MOre Adventure Resources
Adventure Bucket List Resources
I am here to help your travel adventures go as smoothly as possible! That way you can check off that bucket list with minimal complications and spending!
SHOP – Shop the best adventure gear and essentials on my Amazon Storefront – handpicked by a full-time adventuring mermaid!
AIRFARE – There are a few I use, but Aviasales is normally my go-to for flights without any extra fees or markups.
ACCOMMODATION – My two favorites are Booking.Com for hotels and VRBO for rentals.
GUIDED TOURS – If you are looking for quick and easy tours, check out GetYourGuide and Viator.
MULTI-DAY TOURS – For more in-depth tours that span several days, TourHub has many great options with reputable travel companies. Use my code (ALEXANDRA1GURU) for up to 5% off your next bucket list adventure.
TRANSPORTATION – You can either rent a car yourself with Discover Cars or do a guided bus tours like Big Bus Tours.
SIM CARDS – Avoid expensive roaming charges with an eSim card with Airalo. Personally, I prefer wifi boxes, and recommend WiFi Candy (get 10% of with the code THEBUCKETLISTMERMAID).
TRAVELER’S INSURANCE – Check out VisitorsCoverage for affordable insurance plans. If you are a nomad or remote worker, I would check out SafetyWing.
SEE MORE – Adventure Resources | Photography Resources
See Some Photos You Like?
Check out my full photography page for a full gallery and prices.