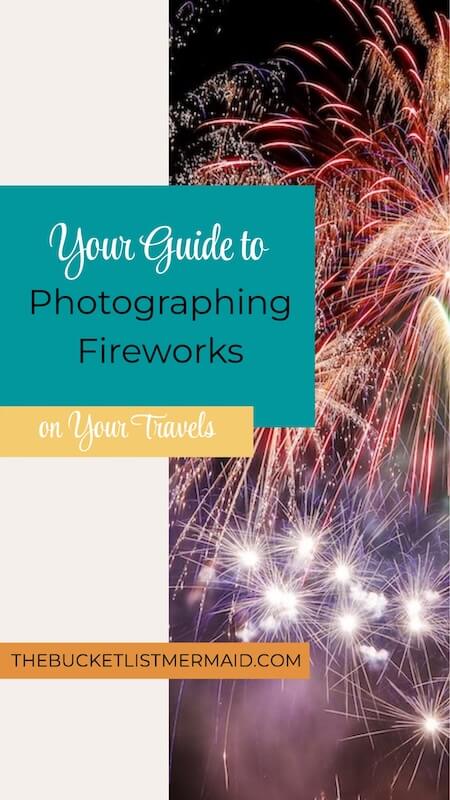
How to Photograph Fireworks Without Losing Your Mind
This website contains affiliate links from trusted partners. If you purchase through a link on this site, I may earn a commission at no extra cost to you. As an Amazon Associate, I earn from qualifying purchases. See my Privacy Policy and Disclosure for more information.
I still remember the first time I tried to photograph fireworks.
My camera was in one hand, a sparkler in the other, and I had absolutely no idea what I was doing.
I fiddled with buttons, changed settings at random, and somehow ended up with 72 photos of smoke, blur, and one glorious shot of my thumb.
Sound familiar?
Whether you’re heading to a Fourth of July celebration, catching New Year’s Eve fireworks abroad, or chasing explosions of light over a mountaintop during your bucket list adventure, I’ve got you.
In this beginner-friendly guide, we’ll cover:
- My first experience photographing fireworks
- The best camera settings for fireworks photos
- Fireworks photography tips that actually work when you’re on the go
- How to take fireworks pictures with a camera
Let’s turn those blurry blobs into bucket list bangers, shall we?
Watch the YouTube Video ↓
My First Experience Photographing Fireworks
Let’s start by setting up some realistic expectations here.
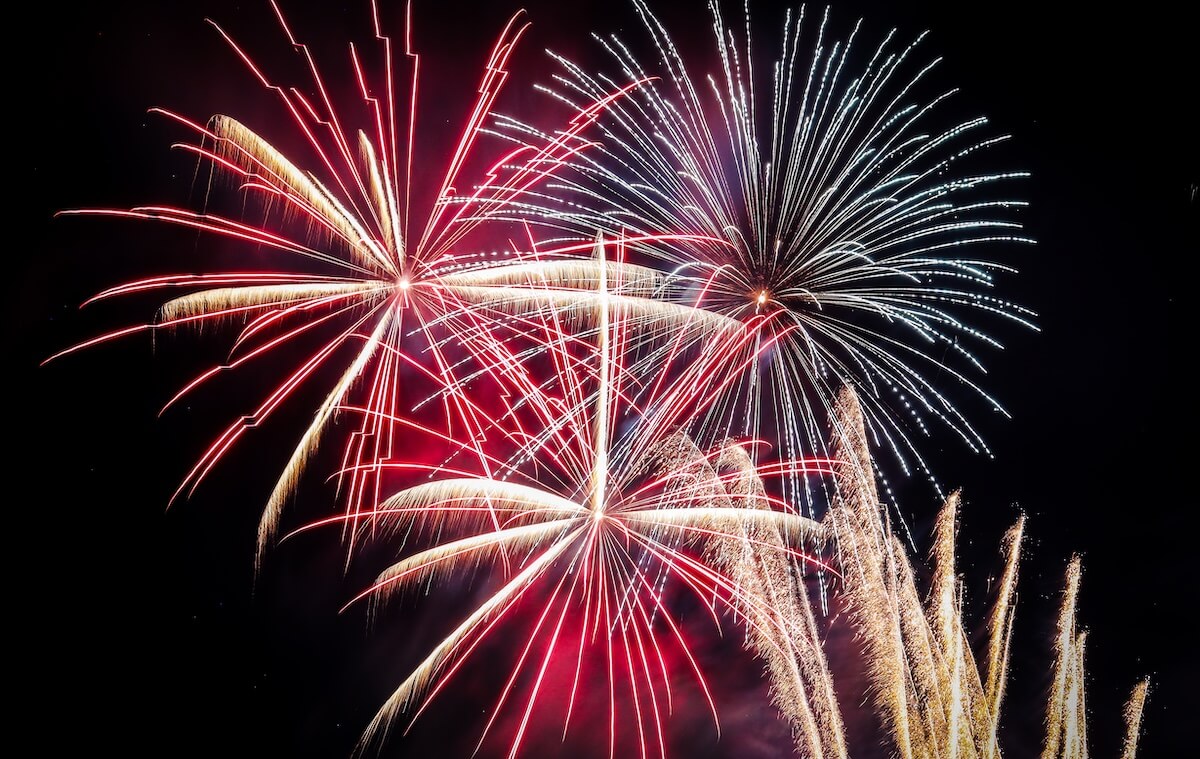
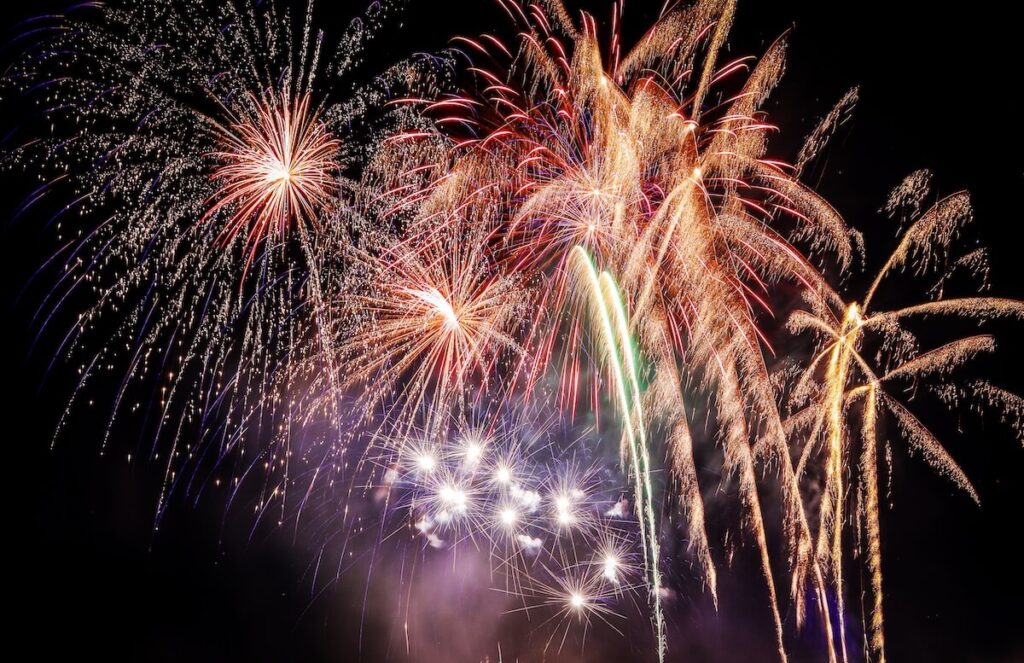
My fireworks photography journey began in a simple neighborhood on the Fourth of July with no tripod and a semi-professional camera.
I watched a TON of YouTube videos and professional photography articles and soon got frustrated when my pictures looked like a giant blurry light blob.
Read More – How to Play with Light in Travel Photography
By some miracle, a few did turn out. Fortunately, once I started going with my own flow, that’s when the magic started happening.
So, while this guide is helpful, it’s just a starting point.
Expect the first photos to look like your toddler took them, adjust your expectations, experiment, and have fun!
Fireworks Photography Gear for Beginners
Let’s be real – fireworks photography sounds super technical, but you don’t need to be a pro or haul a suitcase of gear to get amazing shots.
In fact, you might be traveling or the show might not even allow certain gear.
Here’s the lowdown on what you actually need:
Do You Need a DSLR/mirrorless camera to Photograph Fireworks?
Short answer: yes and no.
Do you want those crisp firework shots that look like every other person’s phone at the show? No shame, stay with your phone.
However, if you want full control and those flawless long exposure firework shots you see on the cover of holiday magazines? I would opt for the camera…
Cameras give you control over your shutter speed, aperture, and ISO to match the scene rather than letting the camera guess (which it usually does wrong in the dark).
If you’re still getting comfortable with manual settings – don’t worry, we’ll walk through it step-by-step in the next section.
My Cameras – Canon EOS M50 mark II | Canon EOS 5D mark IV
Tripod vs. No Tripod (And DIY Stabilizing Hacks while adventuring)
If you want those stunning long exposure shots that look professional, a tripod is going to be an essential piece of gear.
Tripods keep your camera rock solid while the shutter stays open for several seconds to capture all that delicious movement and color.
But what if you’re traveling light, adventuring hardcore, or forgot your tripod at home?
My very first time capturing fireworks, I wasn’t allowed to bring a standard tripod, which meant I had to improvise and hope for the best.
I ended up taking a mini tripod and stabilizing on my legs/purse (and taking some really long deep breaths.
Is it perfect without a tripod? No…But will it work? Absolutely.
Try these DIY stabilization tricks if you don’t have a tripod:
- Use a mini tripod (lightweight and travel-friendly)
- Brace your camera on a rock, bench, backpack, or even your shoe
- Use a remote shutter or set a 2-second timer to avoid the dreaded camera shake
- As you press the shutter, take a long deep breath and hold. Release once the photo is complete.
Pro tip: Even if you think you’re holding it still, handheld shots at slow shutter speeds almost always blur. Go hands-free when you can!
Best Beginner Lenses for Fireworks Photos
You don’t need an expensive lens to get epic results. Still, if you are looking in leveling up your photography, here are some suggestions.
- Wide-angle zoom
→ Great for capturing the full scene—sky, crowd, landscape, and fireworks. - Prime lens (like a 35mm or 50mm)
→ Super sharp and lets in more light, which is helpful if you’re shooting in darker locations. You’ll lose flexibility in framing but gain in crispness. - Avoid long telephoto lenses unless you’re far from the action. They’re harder to keep stable and can make focusing trickier at night.
Read More – Best Lenses for Travel Photography
Quick Gear Checklist for Fireworks Photography
| Camera with manual mode (DSLR or mirrorless) | Invest in a Camera |
| Wide or standard lens (zoom or prime) | Shop Lenses |
| Tripod or some form of stabilization | My Favorite Tripod | My Fav Mini Tripod |
| Remote shutter | Best Rated Remote Shutter |
| Extra batteries (long exposures eat power faster!) | Buy Extra Batteries |
| Microfiber cloth—fireworks = smoke = lens smudges | Get the Best Microfiber Cloth |
Best Fireworks Camera Settings
Alright, it’s time to go full manual – but don’t panic.
I promise, you don’t need a degree in astrophysics to take amazing fireworks photos.
Once you understand the basic settings (and why they matter), you’ll wonder why you ever let your camera guess for you.
If you are confused about these settings, I would encourage you to download my FREE photography cheat sheet!
Once you understand, let’s break it down, step by step:
Shutter Speed: 1–5 Seconds
This is the secret sauce of fireworks photography.
You want to keep the shutter open long enough to capture the full burst – from launch to explosion.
Try starting with:
- 2 seconds for single bursts
- 5 seconds for multiple bursts or longer light trails
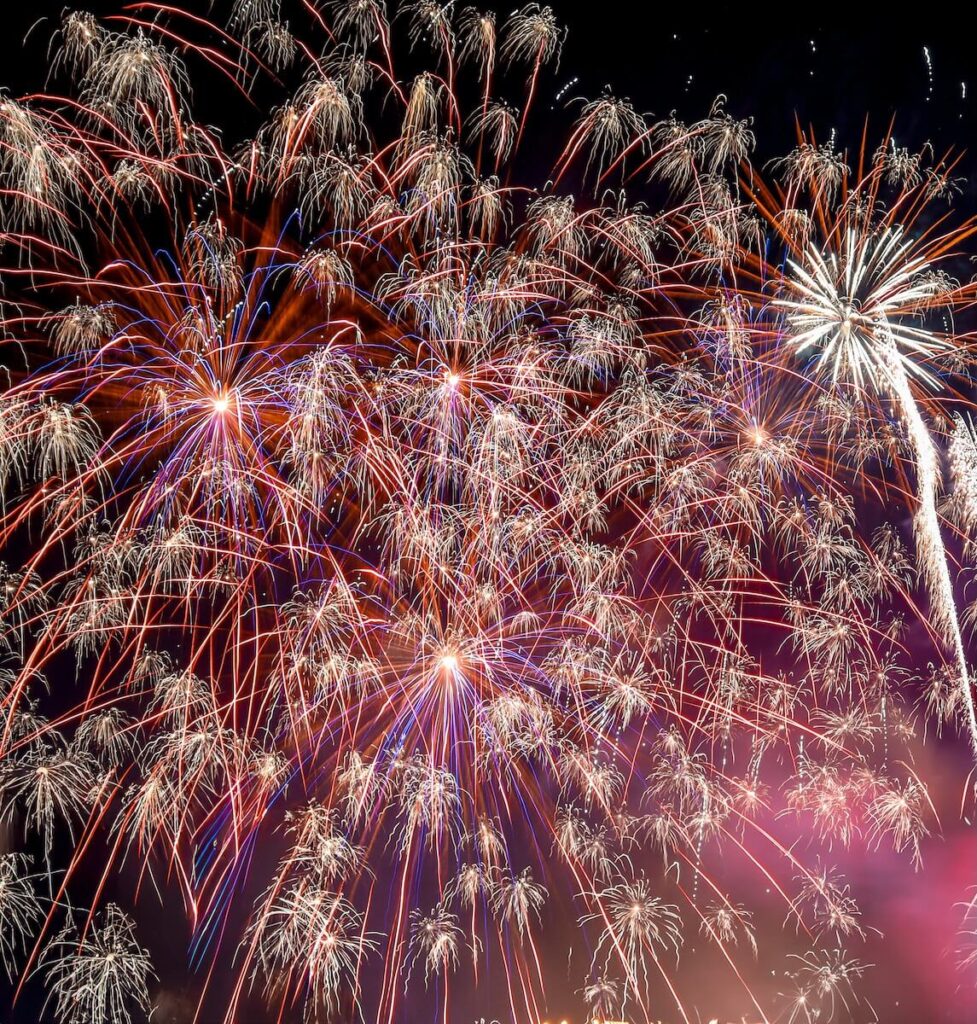
I found that when they are shooting up one firework at a time, go for a longer shutter speed like 4-6 seconds.
Once the “finale” starts, reduce it to 2-3 seconds.
💡Pro tip: If your shot is too bright, reduce the time. If you’re not catching enough light trails, increase it slightly.
Aperture: f/8 – f/16
This controls how much light hits your sensor and how much of your scene is in focus.
Fireworks are bright, so you actually want to close down your aperture a bit to avoid blowing them out.
I know this seems counterintuitive because it is nighttime.
- Start with f/11 as a baseline
- Go f/8 if the scene is darker
- Go f/16 if the fireworks are super close or intensely bright
To start, I decided on my shutter and adjusted my aperture based on the light meter from there.
I didn’t care too much about the aperture and just used it to keep my light balanced in the photo.
If you are having trouble, there is no shame in switching to “shutter priority” and having the aperture set automatically depending on the shutter.
Just be aware that it might bump up the ISO on auto and you might get some grain…
Read More – Best Travel Photography Hashtags to Use
ISO: 100 – 200
Lower ISO = less digital noise = cleaner shots.
Keep your ISO low – 100 is ideal.
Bump it up to 200 only if your shots are coming out too dark and you’re already maxed out on shutter speed/aperture.
Don’t use Auto ISO. Set it manually so your camera doesn’t crank it up and ruin the shot with grain.
Manual Focus: Set It and Forget It
Autofocus will panic in the dark and ruin your moment.
Do this instead:
- Switch to manual focus
- Before the fireworks start, focus on a distant light (like a lamppost or building)
- If you’re shooting a landmark + fireworks, focus on the landmark
- On mirrorless or DSLR screens, use focus magnification or Live View zoom-in to get it razor sharp
Then LEAVE IT. Don’t refocus between shots unless you change your scene.
If this isn’t working (which mine didn’t towards the end), I would enable the touch screen focus if you have it and also enable it to take a picture when you touch your focus point.
Once you see a firework go up, tap the middle of the firework and let the camera do the rest. It isn’t perfect, but it will work in a pinch.
Use a Remote Shutter or 2-Second Timer
Pressing your camera’s shutter shakes the camera and makes you want to cry when you look back and everything is blurry!
Do yourself a favor and save your tears.
- Remote shutter = best choice
- No remote? Use your camera’s 2-second timer so your hands are off when the shutter opens
Bulb Mode Versus Manual Mode
There is a big debate on whether you should be in manual mode or bulb mode.
Each have their own pros/cons. My advice would be to decide which one you are going to use before the firework show.
Manual Mode (M on your dial)
Manual Mode is your go-to setting for fireworks if you want simplicity with full control. You set:
- Shutter speed (e.g., 2–5 seconds)
- Aperture (f/8–f/16)
- ISO (100–200)
This is best for beginners, easy to test, tweak, and repeat, and great when you want to set it and shoot hands-free.
When to use it:
- You want consistent results
- You’re using a 2-second timer or remote shutter
- You’re not trying to manually time each firework burst
Bulb Mode (B or Bulb in your settings)
Bulb Mode keeps the shutter open as long as you hold down the button (or remote). This gives you full control over when to start and stop the exposure.
- Best for more advanced control
- Lets you time bursts perfectly (start when the firework launches, end right after it pops)
- Amazing for capturing multiple bursts in one frame
When to use it:
- You’re using a remote shutter or cable release (don’t try Bulb with your hand on the shutter – way too shaky)
- You want to experiment with layering bursts in one exposure
- You’re feeling confident and want more creative control
My Opinion for Beginners
Every YouTube video and article I studied suggested bulb mode.
I think this is great if you have a background to focus on and you want to open the shutter for the entire firework. You open it when it explodes and shut it when it’s over.
However, I had issues with bulb mode since I had so many fireworks going off simultaneously and I was going up the wall trying to figure out when to start and stop.
Therefore, I ended up using manual mode for the majority of the show.
How to Frame Your Fireworks Photos Like a Pro
Okay – you’ve got your settings dialed in, your camera’s steady, and the crowd is buzzing.
But before the show starts, there’s one thing you can’t fix in Lightroom later: where you stand and what’s in your frame.
Fireworks on their own are pretty…but fireworks in context? That’s what turns a basic snapshot into a bucket list photo.
Here are some tips on how to get stunning fireworks photos while on your adventures.
Don’t Just Shoot the Sky
It’s tempting to point your camera straight up and call it a day – but those shots rarely stand out.
Fireworks get way more interesting when there’s a story in the frame.
Look for:
- Silhouettes of people watching
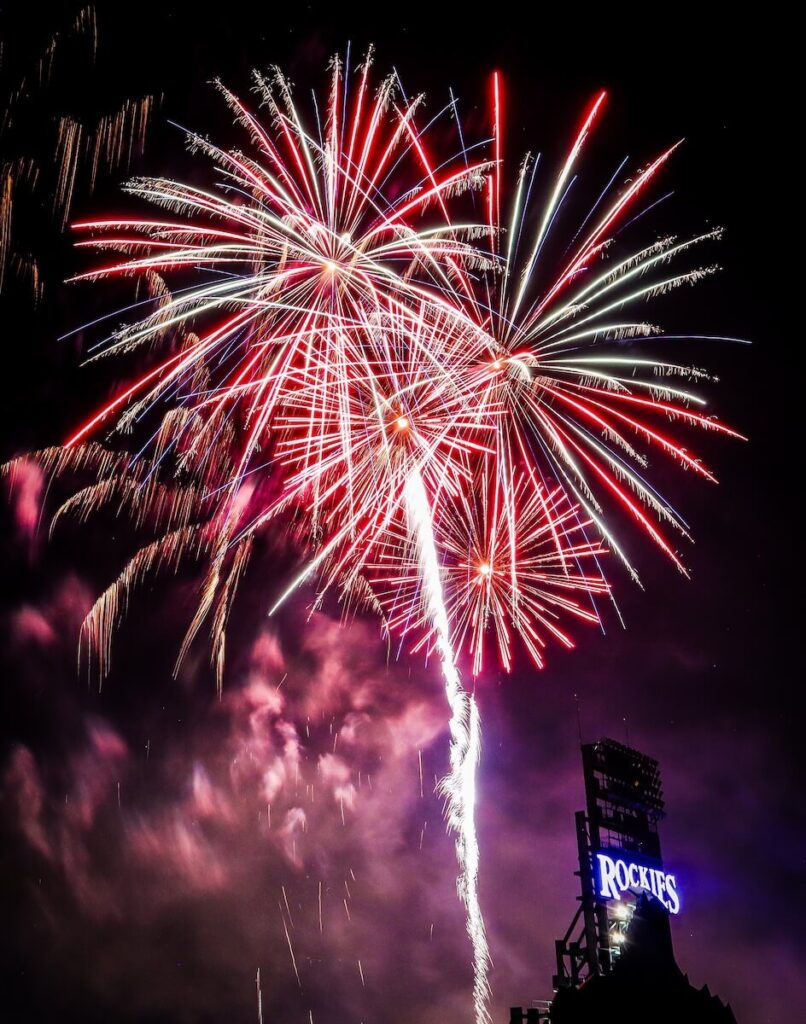
- Landmarks (bridges, castles, temples, city skylines, mountain ranges)
- Water reflections (lakes, rivers, ocean)
- Foreground objects (trees, statues, tents, etc.)
💡 Frame your shot before the fireworks start so you’re ready when the action hits.
Shoot Wide First, Then Zoom In
Start with your wide-angle lens or zoomed-out position. This lets you:
- Capture the full scene
- Adjust for unpredictable fireworks patterns
- Avoid accidentally cutting off half the explosion
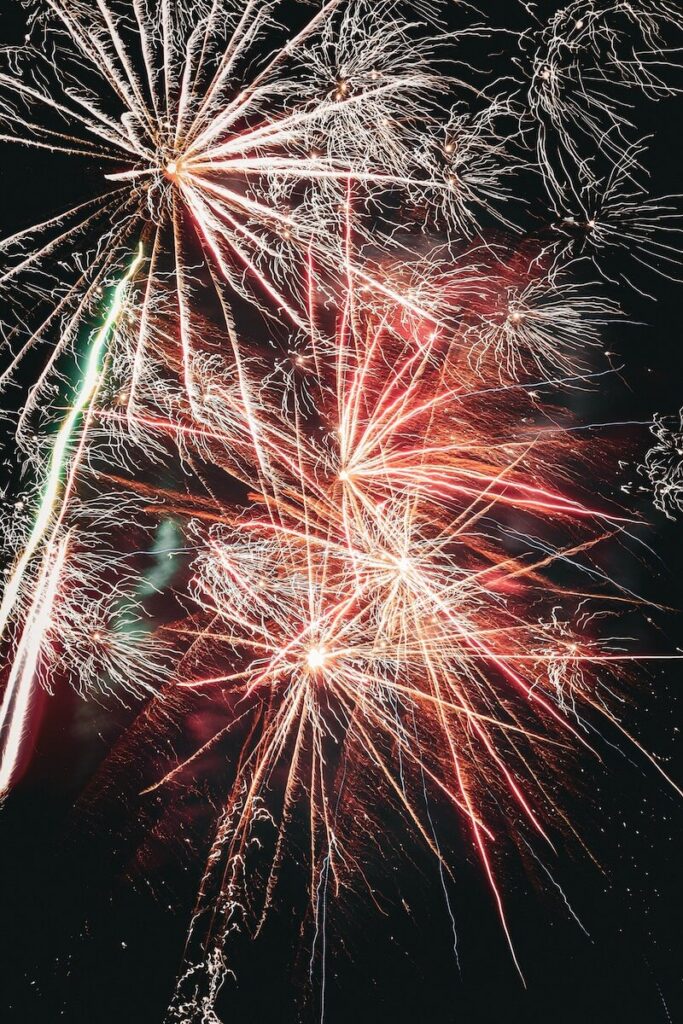
Once you get a few solid shots, then feel free to zoom in for those close-up, abstract bursts and light trails.
Generally, my focal length was around 15mm and kept it the same for the entire fireworks show.
Watch the Wind Direction
This one’s underrated: fireworks create smoke, and wind can ruin your shot if it’s blowing smoke right into your frame.
Here’s how to handle it:
- Stand upwind if possible (wind at your back)
- If you can’t move, shoot early in the show before the smoke builds up
- Avoid facing directly into thick smoke plumes – they’ll haze up your light trails
Not Every Photo Will be perfect
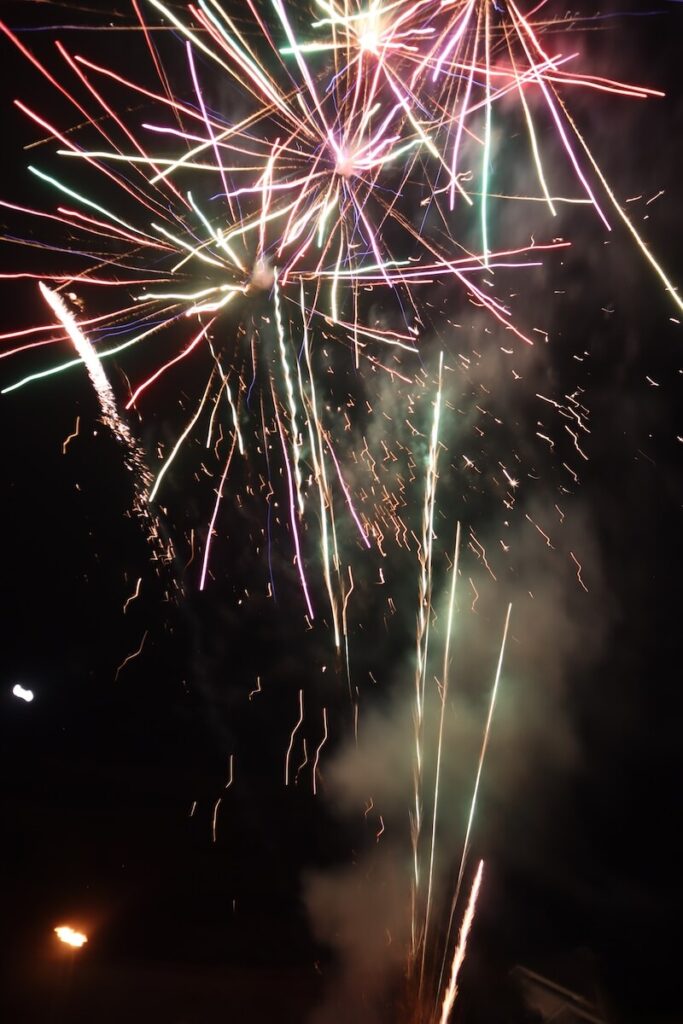
Even with the perfect settings dialed in, not every firework photo is going to turn out frame-worthy—and that’s okay.
Fireworks are unpredictable. Smoke drifts into the frame, bursts get cut off, timing gets weird, or a big finale blows out the shot.
Real talk: The best fireworks photographers delete dozens of duds to get a handful of keepers.
Instead of expecting every shot to be a masterpiece:
- Take lots of photos and be cool with experimenting
- Review your shots in batches (not after every click!)
- Focus on progress, not perfection
Final Thoughts: You’re Ready to Shoot Fireworks Like a Pro (Even If You’re a Beginner)
From gear choices to camera settings, from finding the perfect shooting spot to adding creative flair—you’ve now got the complete toolkit to capture fireworks like a total boss.
You know the difference between Manual and Bulb Mode, how to keep your shots sharp, what to avoid, and even how to turn an ordinary burst into a scroll-stopping masterpiece.
But here’s the deal: it doesn’t have to be perfect.
Fireworks photography is unpredictable by nature – things will go wrong, some shots will suck (yep, even with perfect settings), and that’s part of the game.
The key is not to chase perfection – it’s to show up prepared, shoot smart, and learn something every time you press the shutter.
So what now?
✅ Grab your gear
✅ Check your cheat sheet
✅ Show up early
✅ Pick your moments
✅ And most of all, HAVE FUN!
Fireworks are fleeting – but with the right approach, your photos won’t be.
They’ll tell stories. Spark memories. Show off your growth as a photographer. And maybe even inspire someone else to pick up a camera and try it too.
🎁 Don’t Forget Your Free Photography Cheat Sheet!
Want all the camera settings, gear tips, and focus tricks in one handy spot
Download your free 👉 Adventure Photography Cheat Sheet for Beginners —perfect for travel days, night shoots, or just having a quick reference on hand when the pressure’s on.
More Travel Resources
Adventure Bucket List Resources
I am here to help your travel adventures go as smoothly as possible! That way you can check off that bucket list with minimal complications and spending!
SHOP – Shop the best adventure gear and essentials on my Amazon Storefront – handpicked by a full-time adventuring mermaid!
AIRFARE – There are a few I use, but Aviasales is normally my go-to for flights without any extra fees or markups.
ACCOMMODATION – My two favorites are Booking.Com for hotels and VRBO for rentals.
GUIDED TOURS – If you are looking for quick and easy tours, check out GetYourGuide and Viator.
MULTI-DAY TOURS – For more in-depth tours that span several days, TourHub has many great options with reputable travel companies. Use my code (ALEXANDRA1GURU) for up to 5% off your next bucket list adventure.
TRANSPORTATION – You can either rent a car yourself with Discover Cars or do a guided bus tours like Big Bus Tours.
CREDIT CARD – I always use my Chase Freedom Unlimited card for all of my purchases. There is no annual fee and you get 1.5% cash back and 5% cash back on travel purchased through Chase Travel.
SIM CARDS – Avoid expensive roaming charges with an eSim card with Airalo. Personally, I prefer wifi boxes, and recommend WiFi Candy (get 10% of with the code THEBUCKETLISTMERMAID).
TRAVELER’S INSURANCE – Check out VisitorsCoverage for affordable insurance plans.
See Some Photos You Like?
Check out my full photography page for a full gallery and prices.